How to Add a Blog Post in WordPress
- George Apostolov
- 05 Sep 2025
Guide
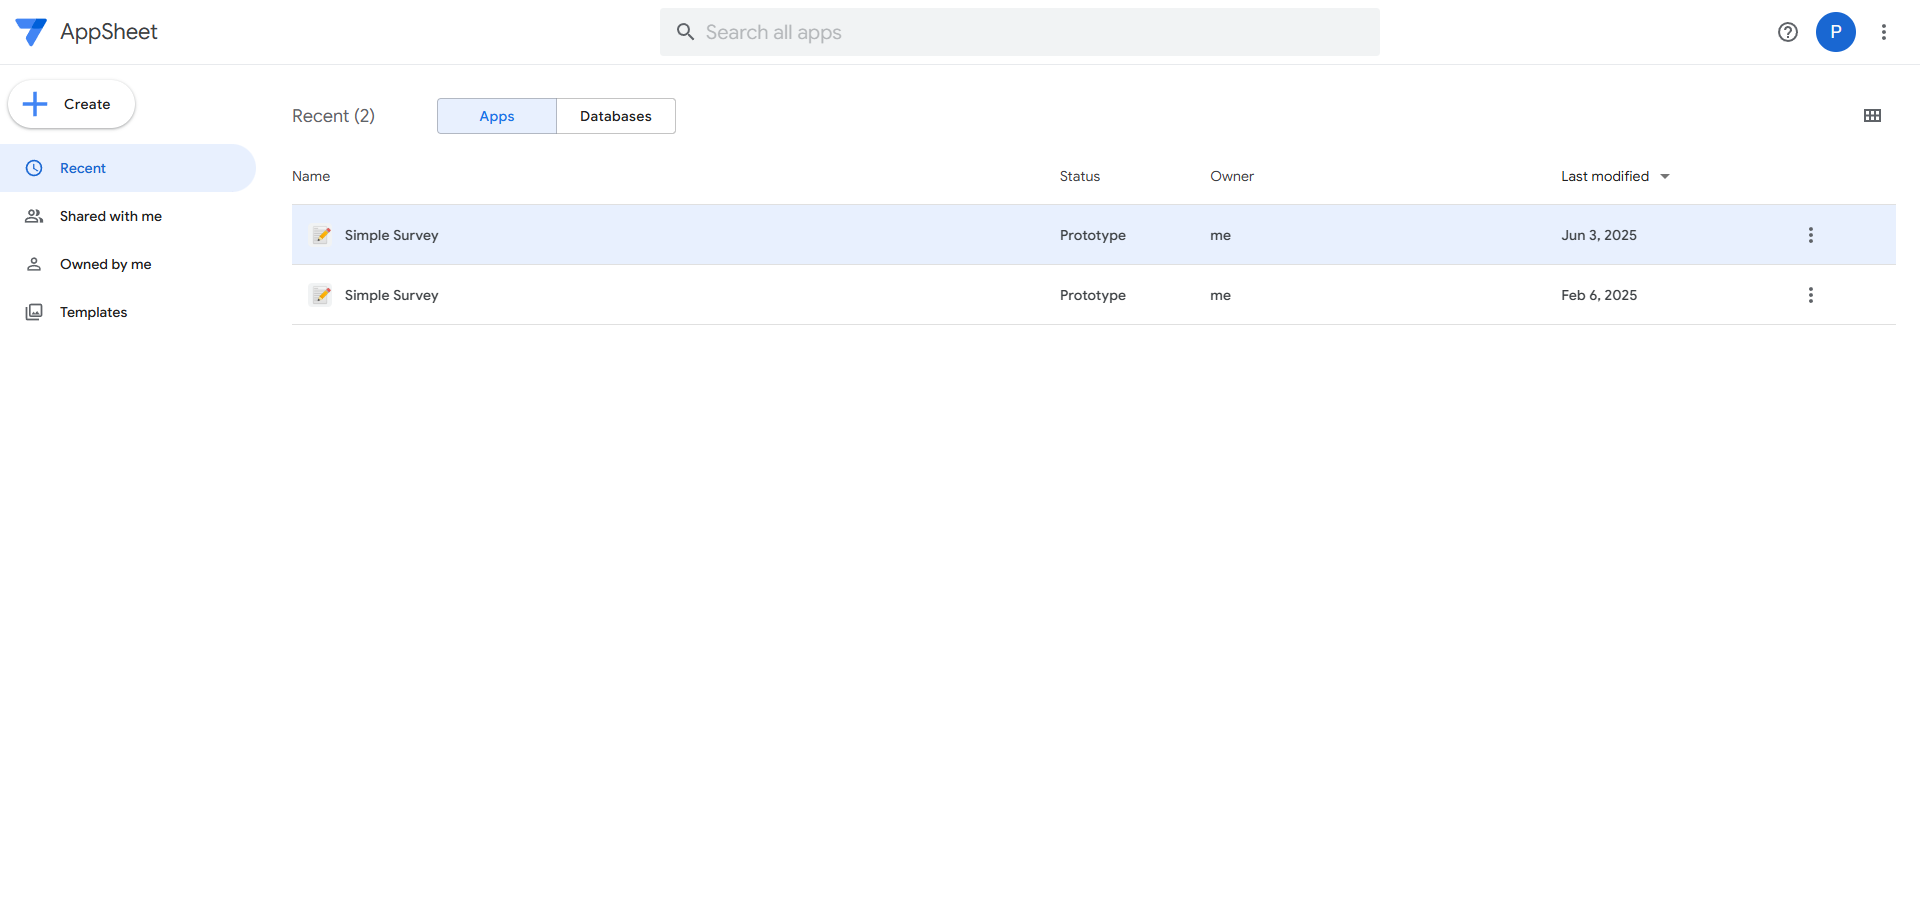
In the dashboard sidebar, click on 'Posts'.
Click 'Add new post'.
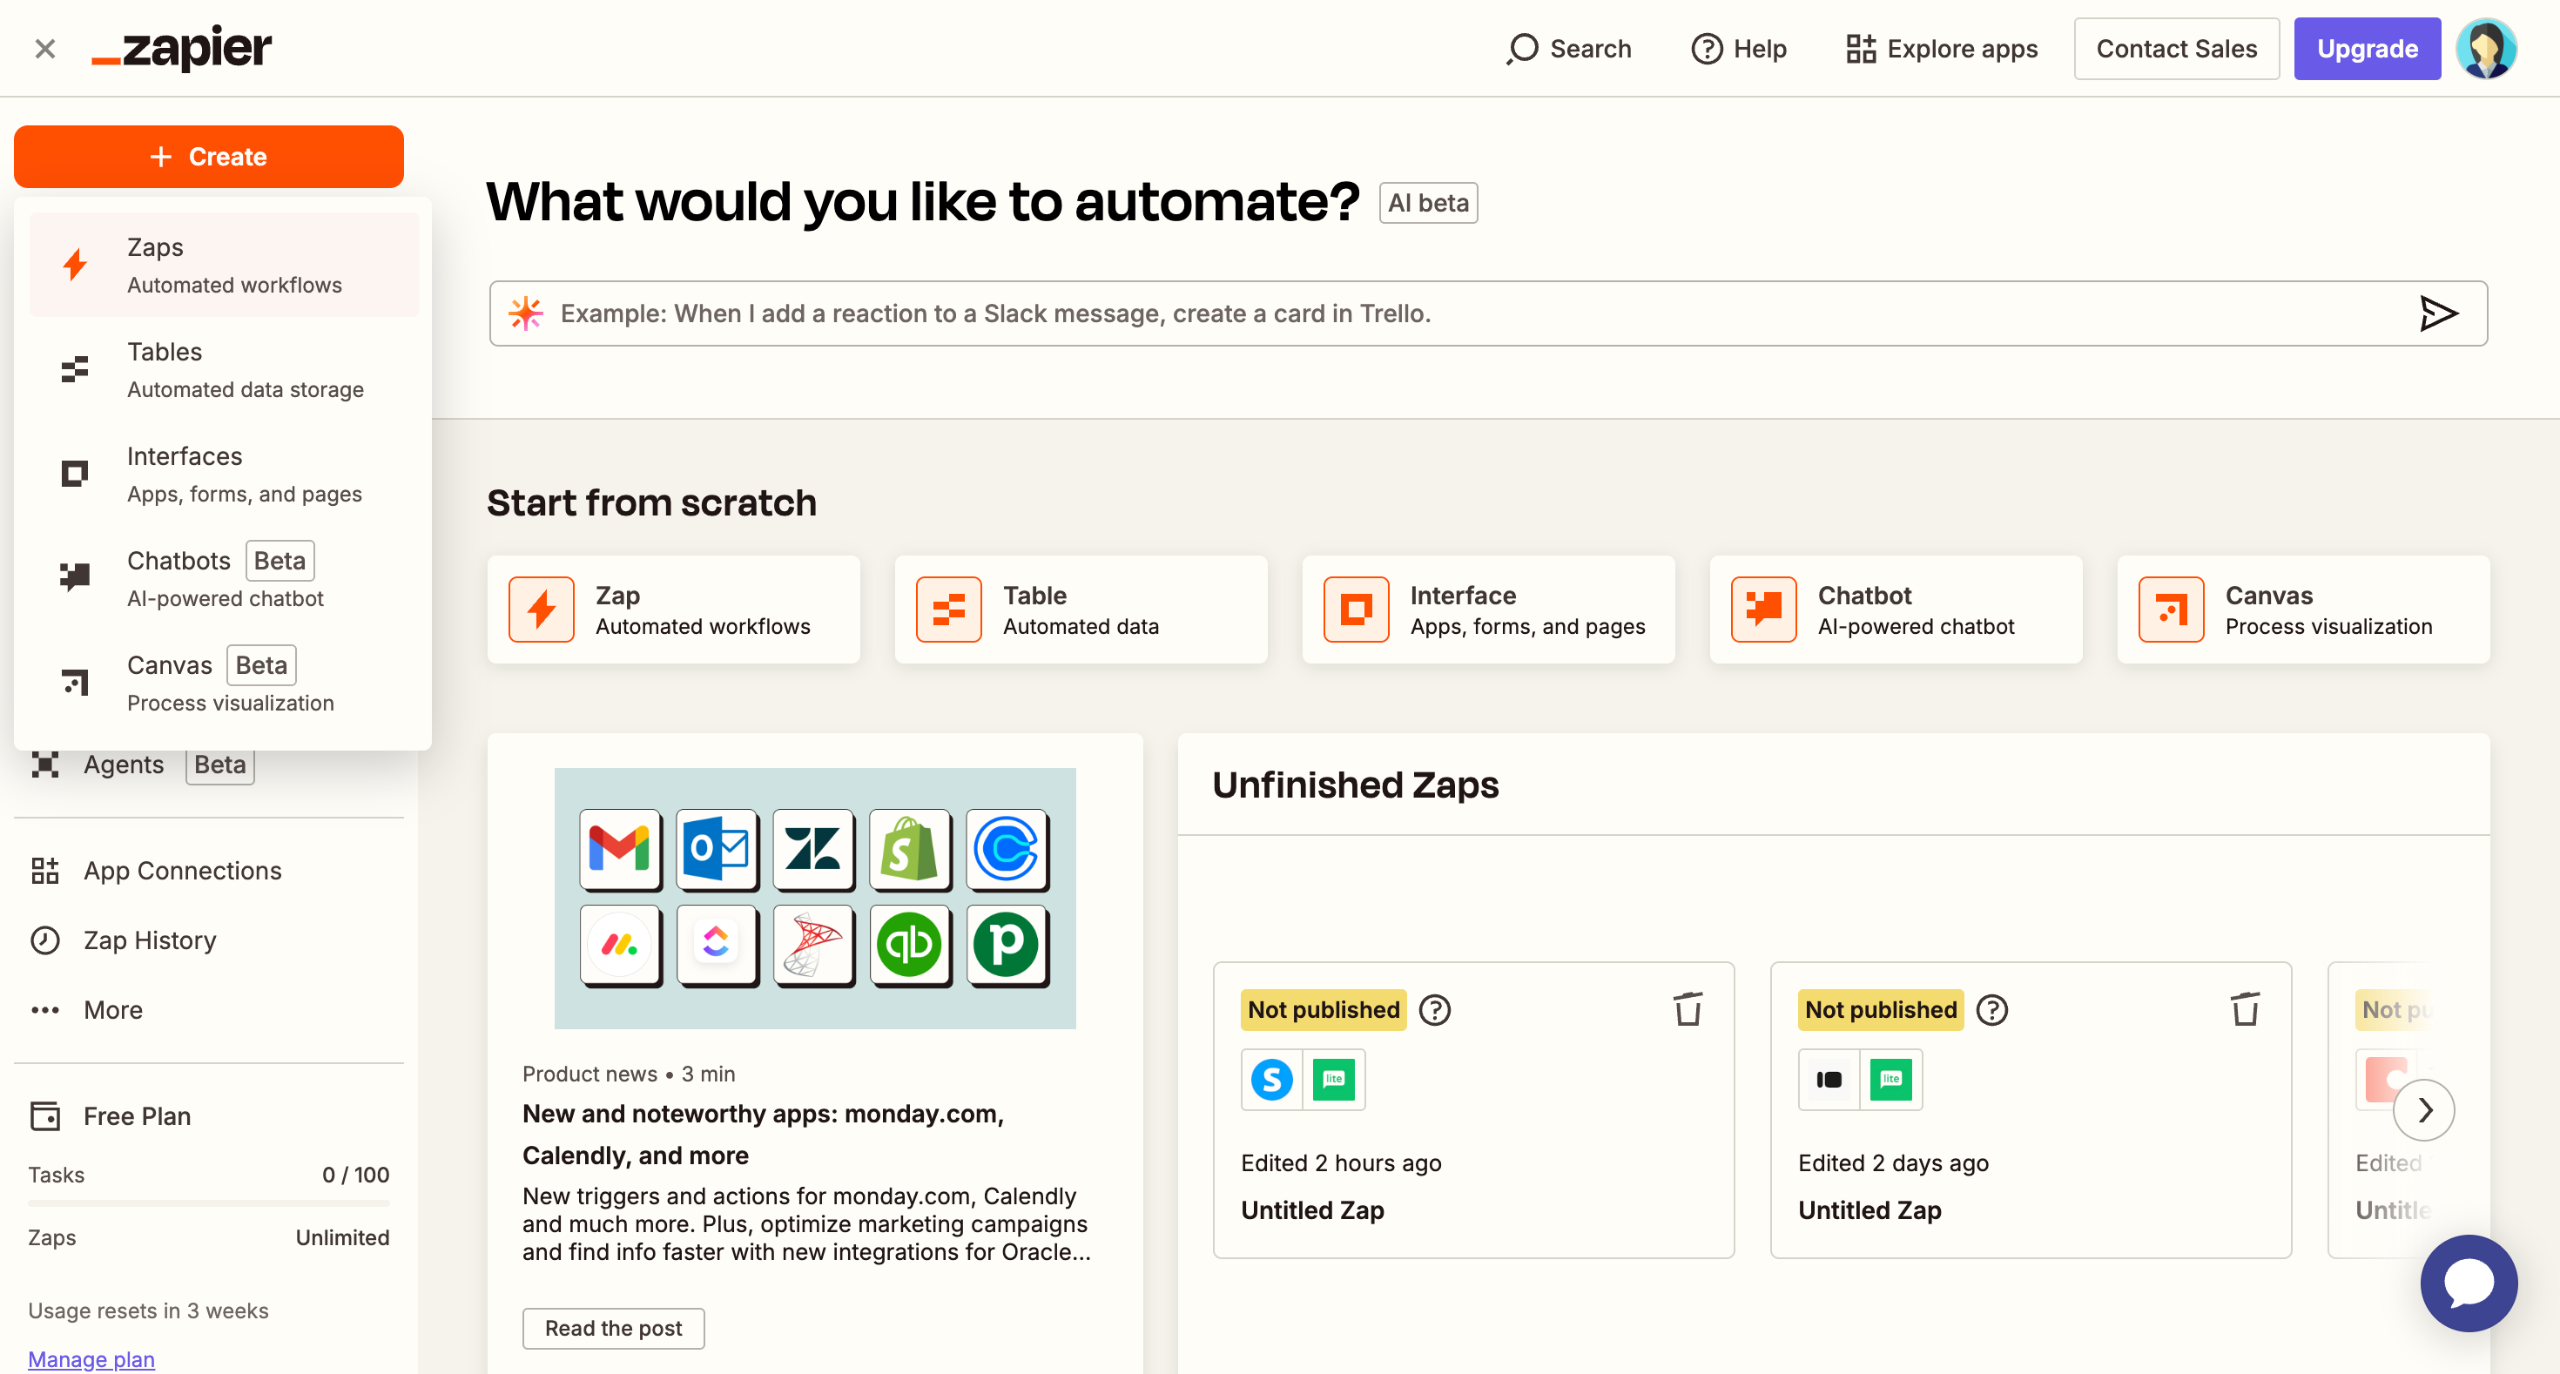
Start creating your blog post and enter a title for your blog post at the top.
Use the content editor by clicking the add icon to write your post. You can add text, images, videos, and other media by clicking the + icon.
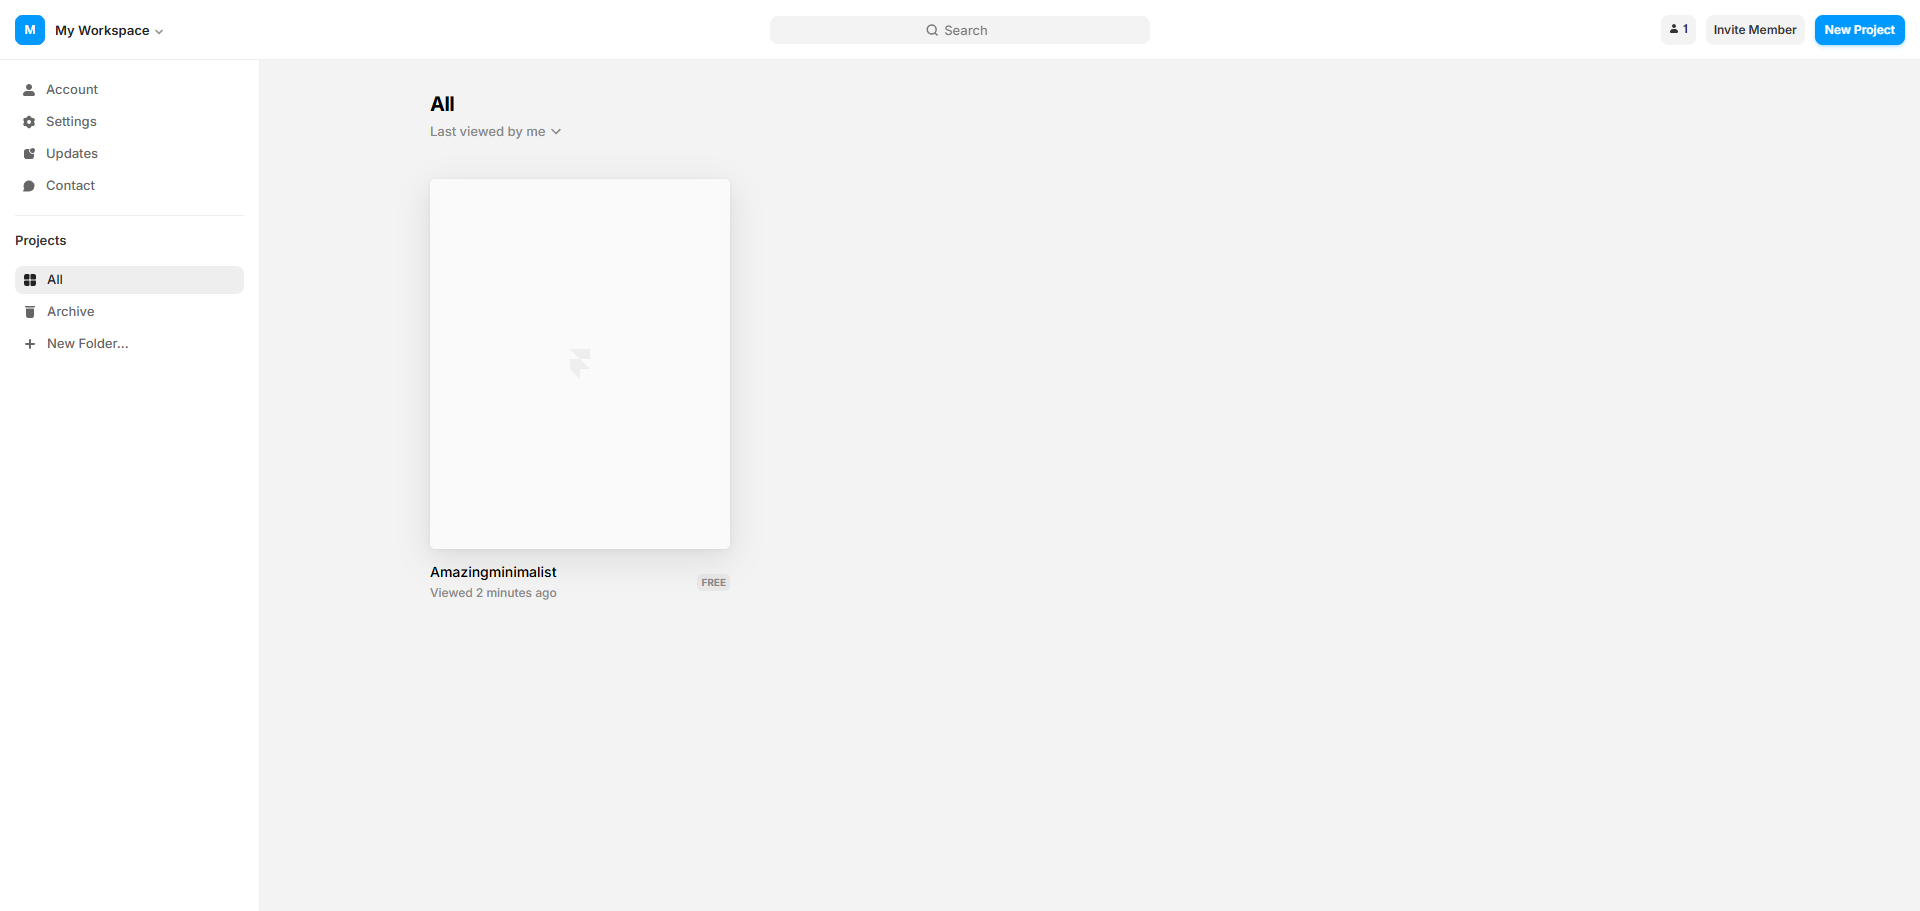
Assign a category for your post on the right-hand side under 'Categories'. You can also create a new category if necessary.
Add relevant tags to help organize and improve the searchability of your content.
Set a featured image under the 'Featured Image' section, which will represent your post on the blog homepage.
Click 'Insert'.
Click 'Preview' at the top to see how your post will look before publishing.
Once you're satisfied with the post, click 'Publish' to make it live. You can also schedule it for a future date if you prefer.
Create your first interactive demo in minutes
No credit card required • Start building today