How to Add a Custom Domain in SendGrid
- George Apostolov
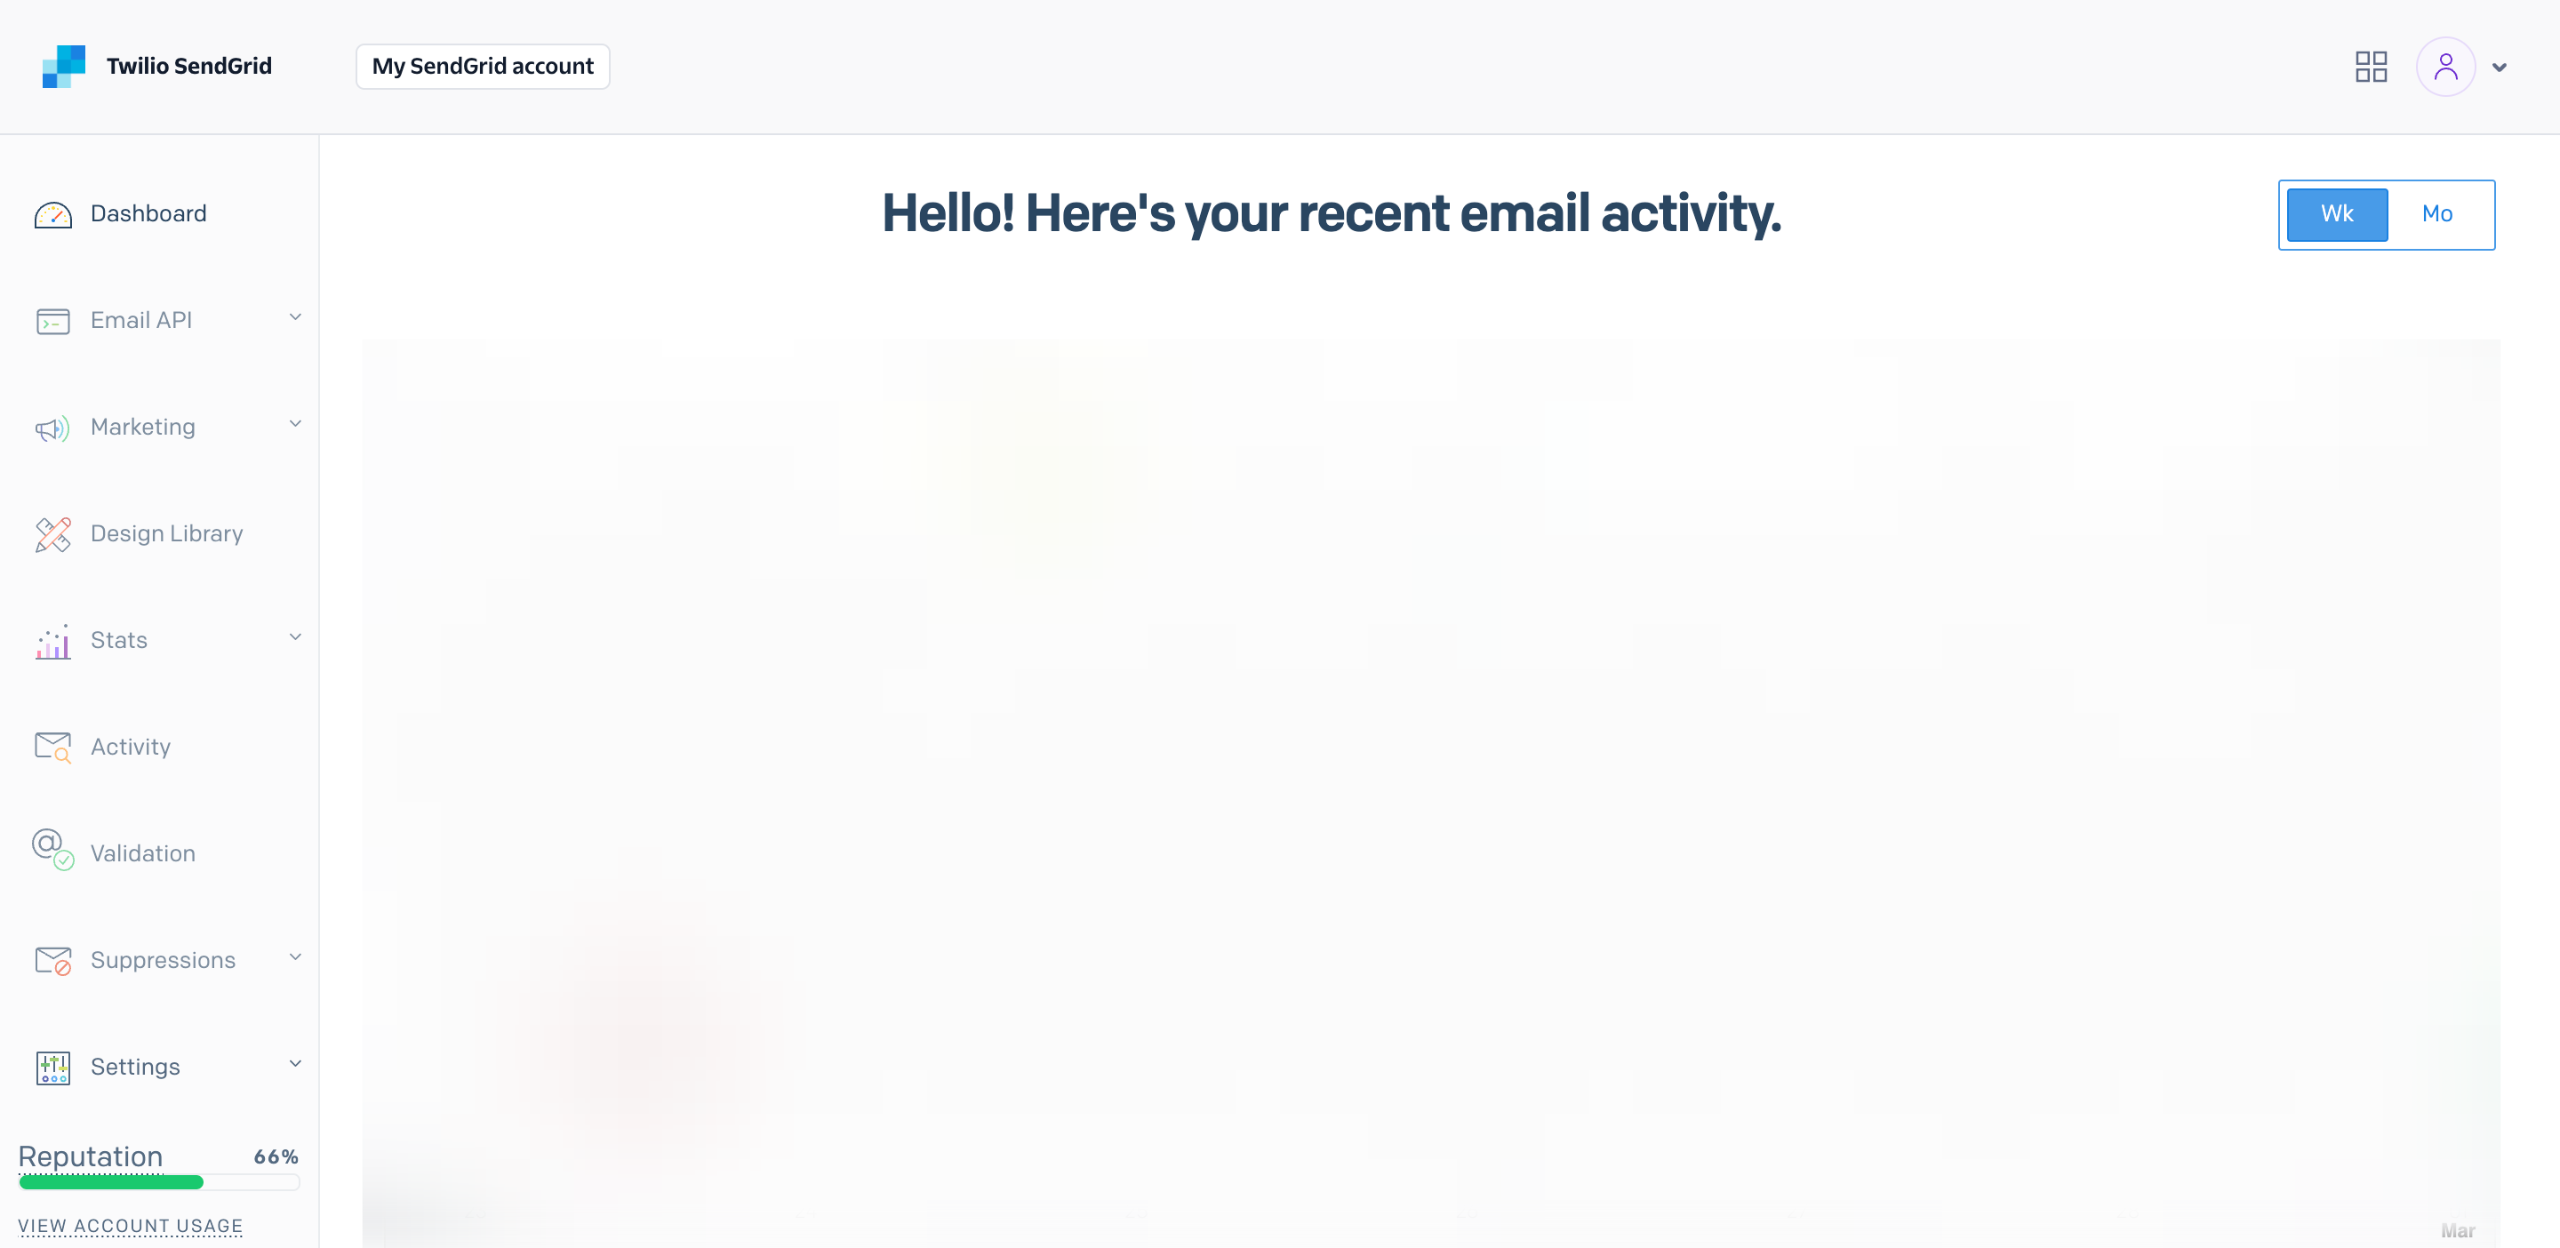
How to Add a Custom Domain in SendGrid: step-by-step guide
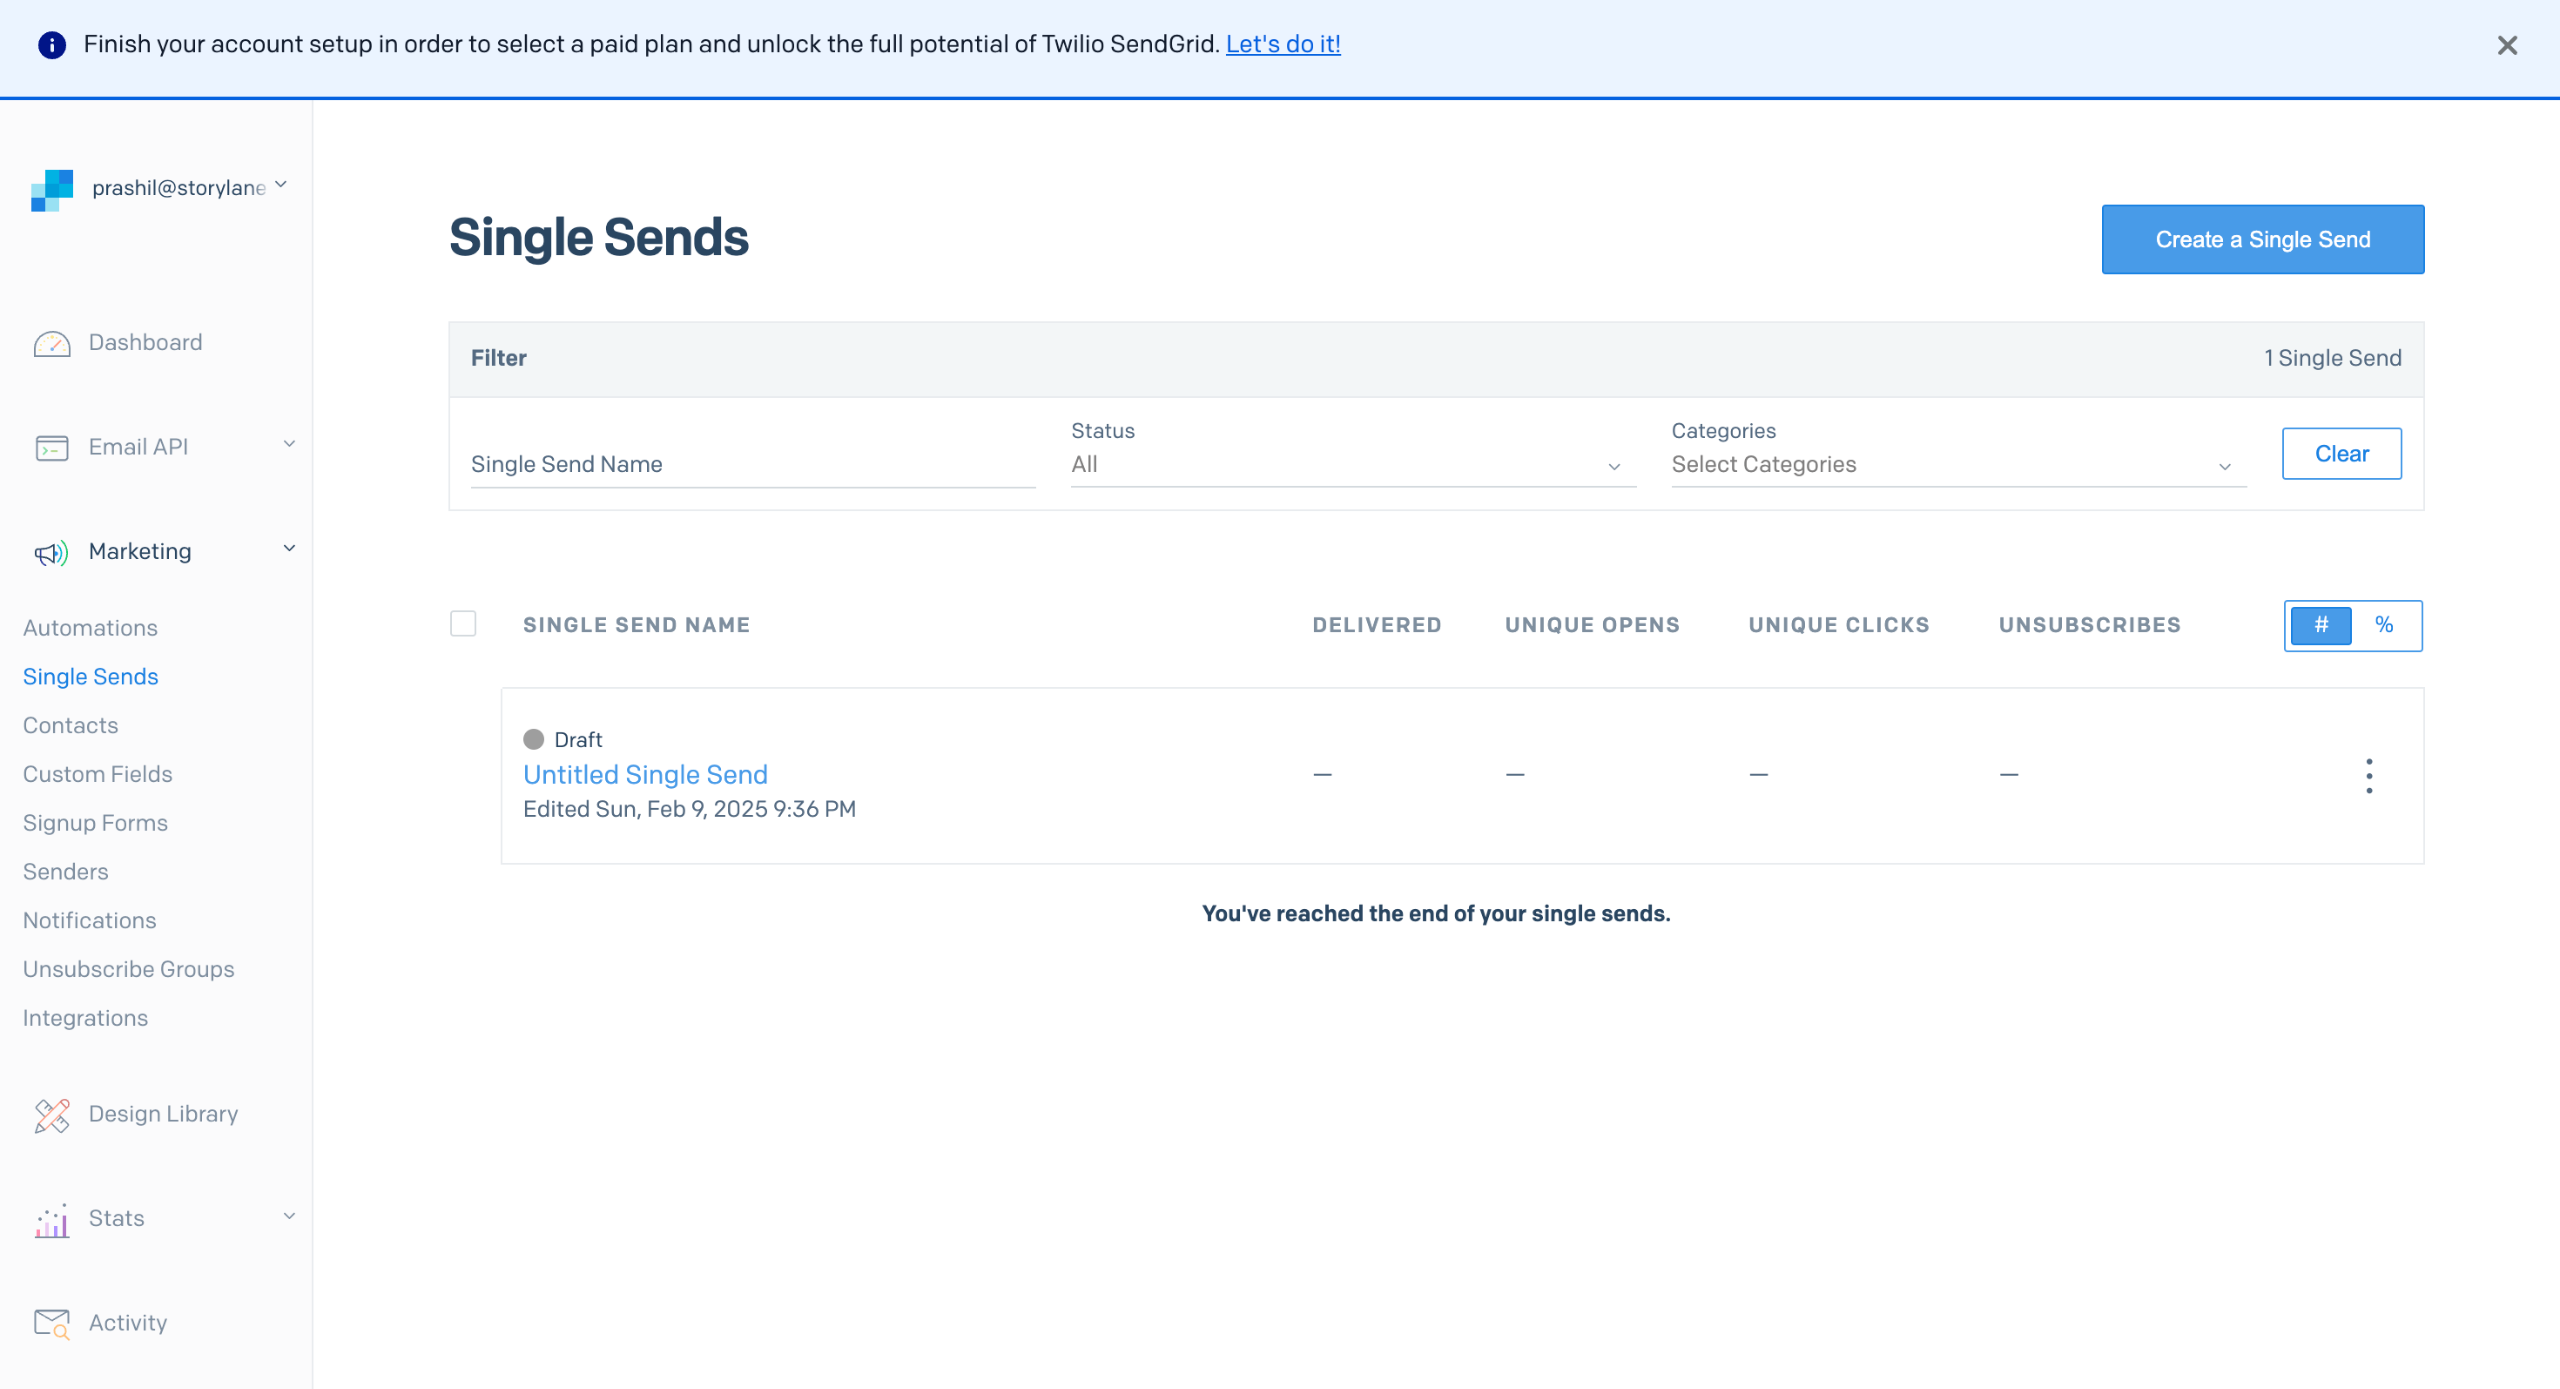
Go to the left-side panel, then click 'Settings'.
Choose 'Sender Authentication' from the list of options.
Following that, tap 'Authenticate Your Domain' to proceed.
Click the 'DNS Host' menu and choose your current host from the available choices.
Subsequently, confirm if you wish to brand the tracking links for the custom domain you're about to authenticate. Simply select the radio button next to the 'Yes' or 'No' option.
Once done, tap 'Next' to continue.
Enter your custom domain into the 'From Domain' input field, then click the 'Advanced Settings' menu afterwards to set several configurations based on your preferences.
Once done, click 'Next' to proceed.
One by one, copy the provided DNS records and paste them into the DNS section of your current active host.
Finally, confirm that all the required records have been successfully added to your host, and then tap 'Verify' to proceed. Once authenticated, your custom domain will be added and enabled instantly.
Quick answer: To add a custom domain in SendGrid, navigate to Settings and Sender Authentication, then click Authenticate Your Domain. Select your DNS host, configure tracking links, and click Next. Enter your domain, configure advanced settings, copy the DNS records to your host, and click Verify.
About this SendGrid tutorial
Authenticate your custom domain in SendGrid by updating your DNS settings and verifying the records to enable it instantly. This guide shows how to add a Custom Domain in SendGrid in 10 steps, starting with "Go to the left-side panel, then click 'Settings'" and finishing with "Finally, confirm that all the required records have been successfully added to your hos...". The interactive demo above is a click-through copy of the real SendGrid interface, so you can rehearse each step before doing it in your own account.
Frequently asked questions
How many steps does it take to add a Custom Domain in SendGrid?
10 steps. Each one is listed in order above, and the demo highlights exactly where to click.
Can I try it without changing my own account?
Yes. Clicking through the demo doesn't touch your SendGrid data or settings. Once you know the flow, repeat it in your own workspace.
This tutorial is filed under SendGrid. Related guides: How to Add a Logo to SendGrid Email Designs, How to Add a Reply-To Email Address in SendGrid and How to Add a SendGrid Subscription Form to a Website. Last reviewed 05 Oct 2026.

Create your first interactive demo in minutes
No credit card required • Start building today