How to Change Event Type in Calendly
- George Apostolov
How to Change Event Type in Calendly: step-by-step guide
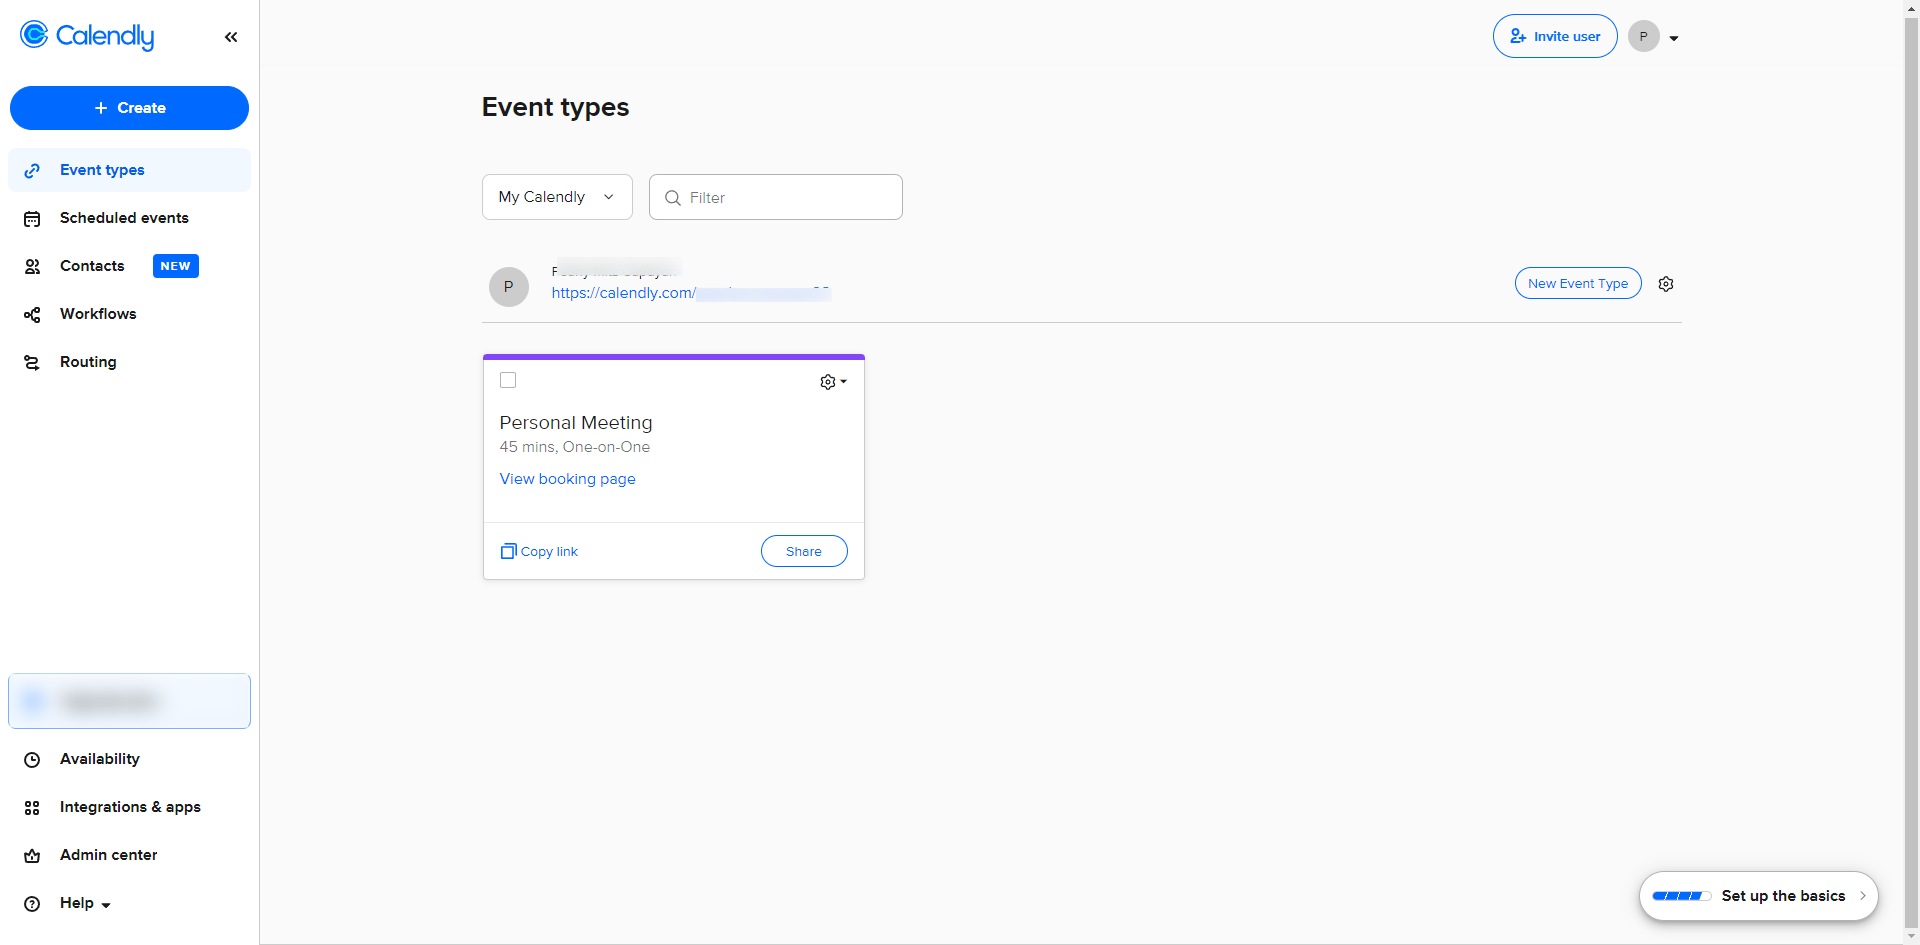
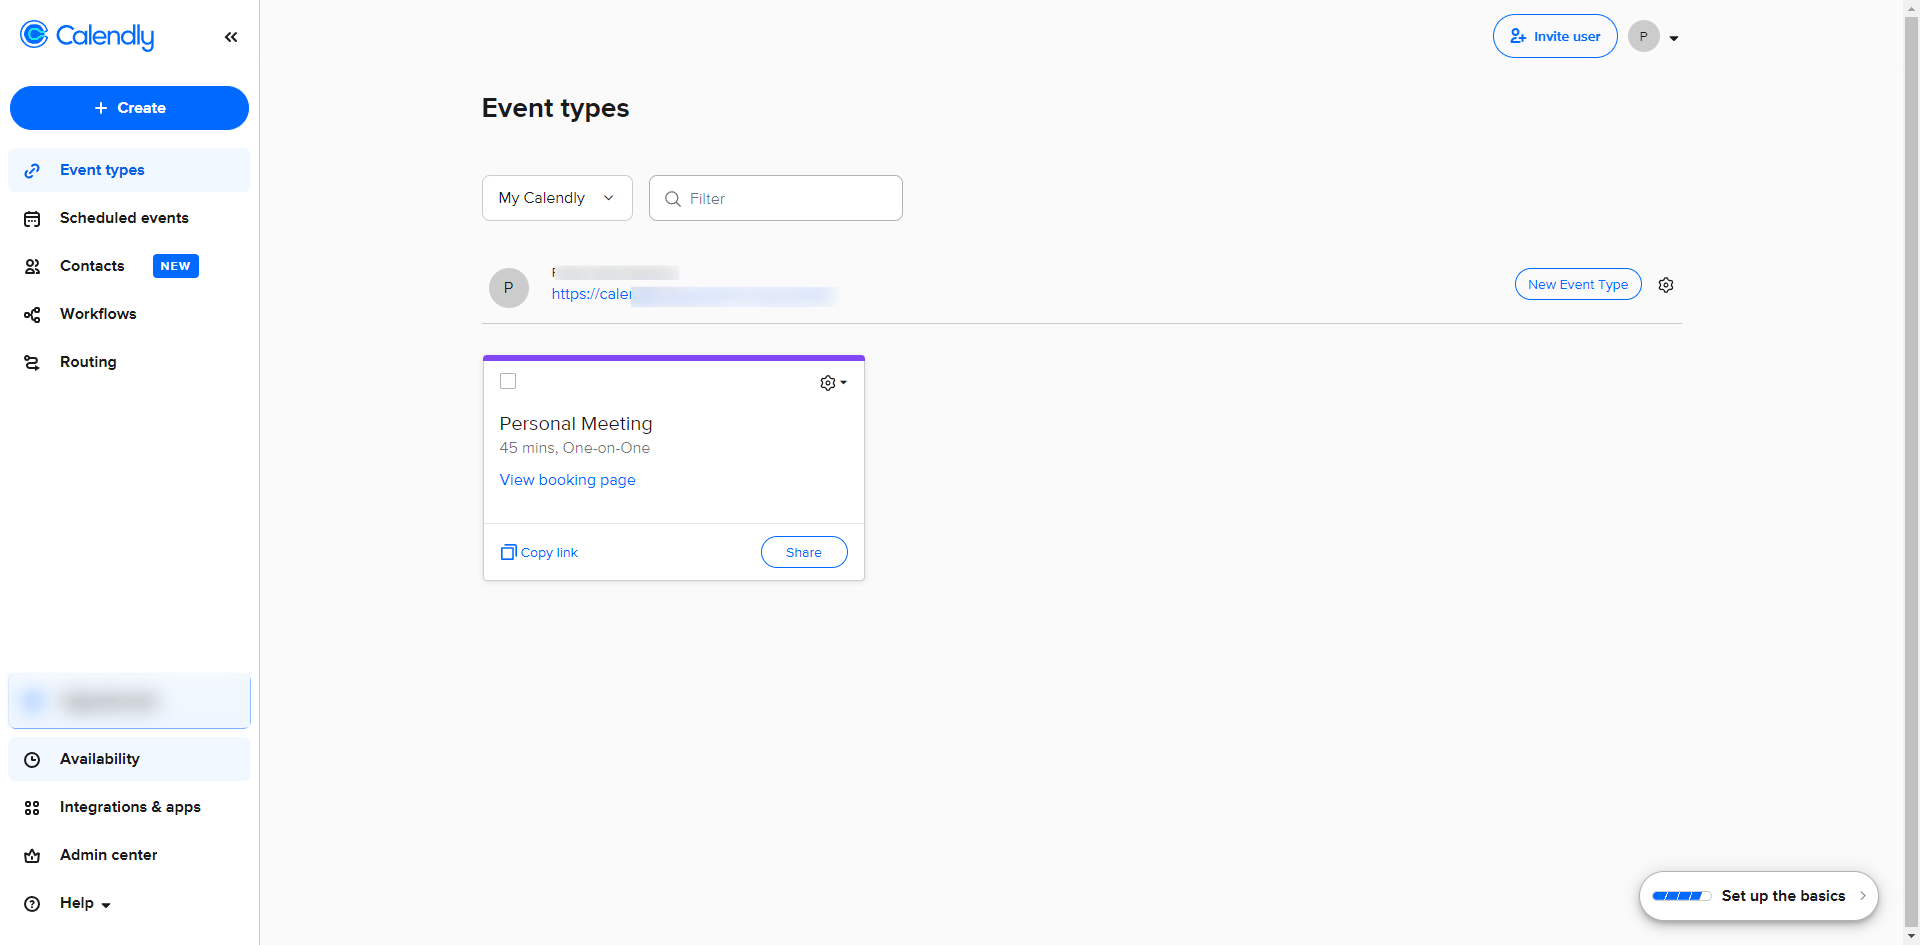
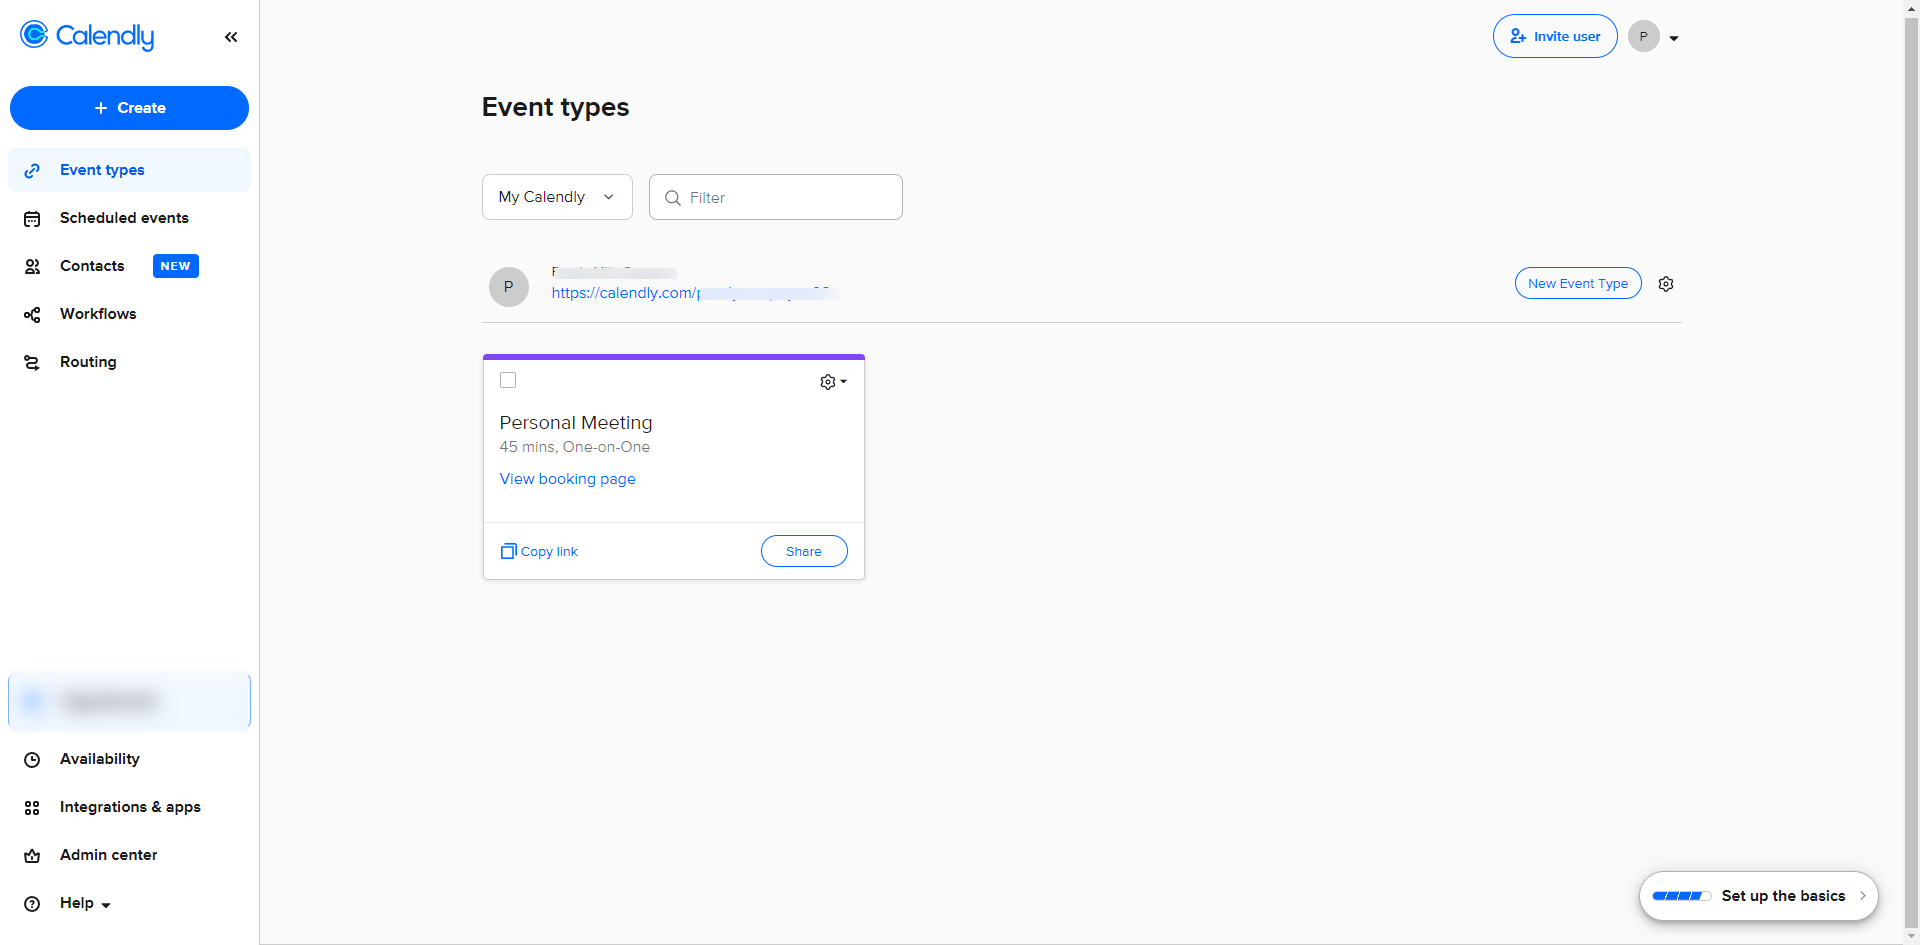
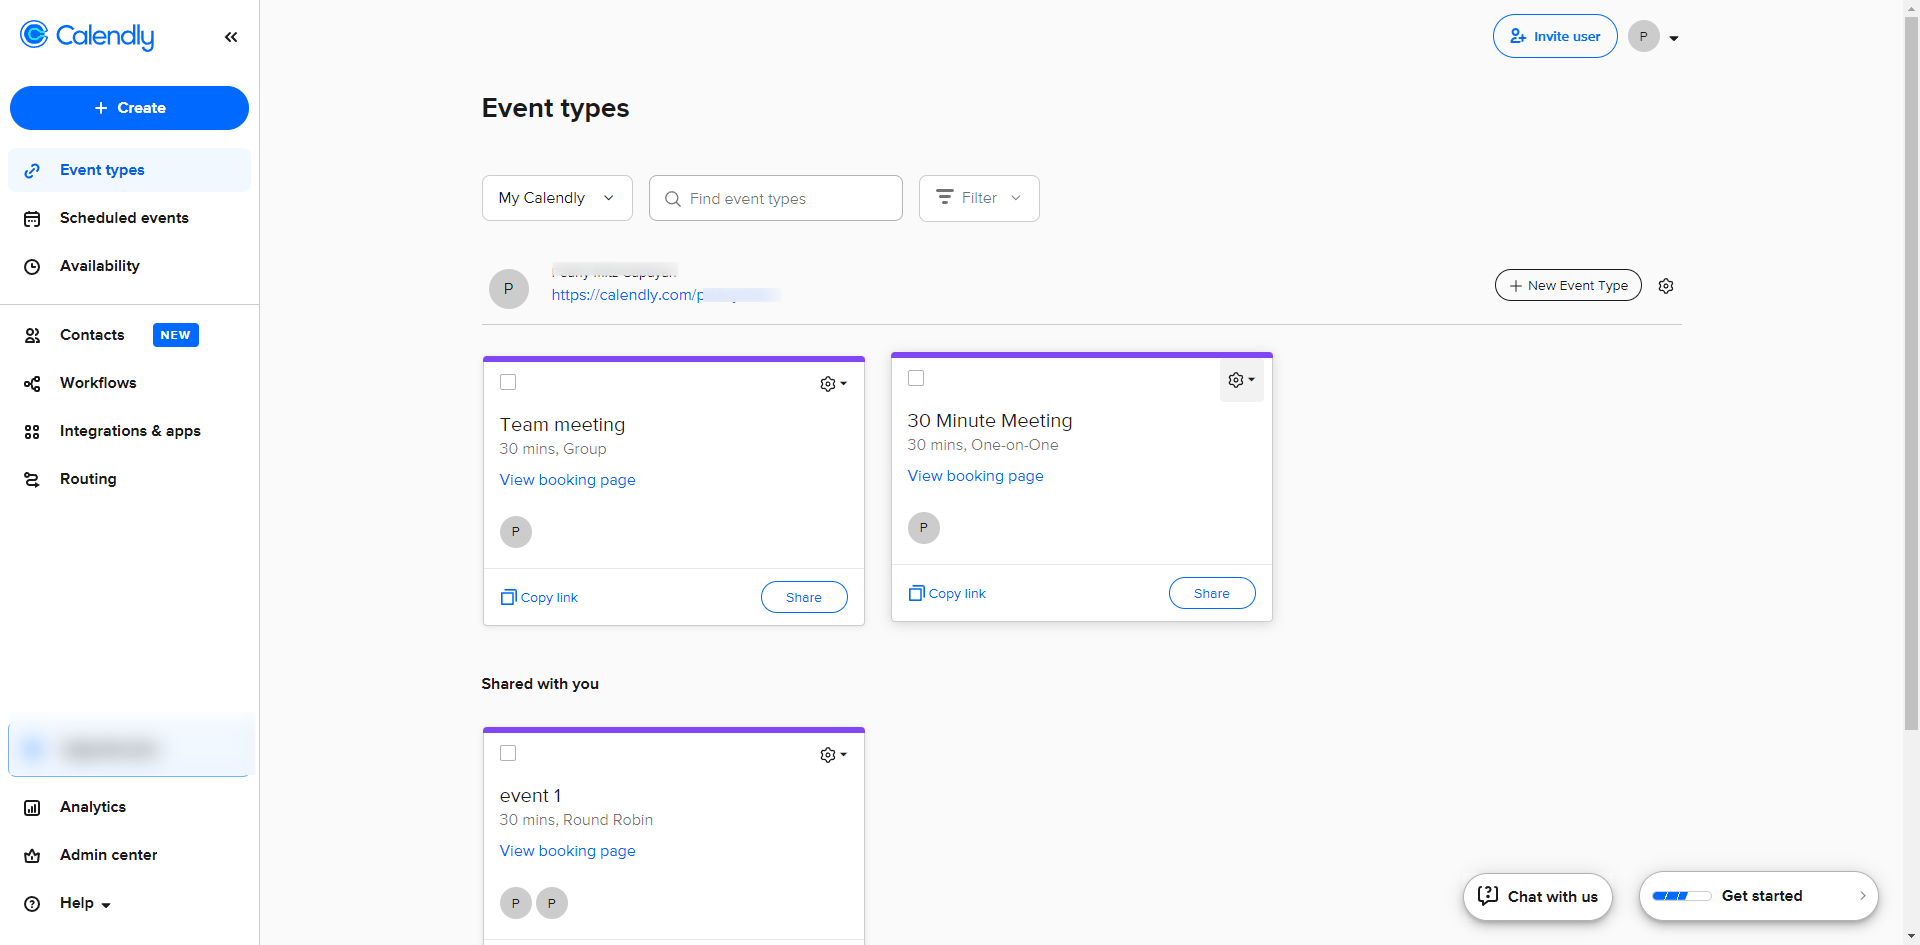
From your Calendly dashboard, navigate to the 'Event types' tab. Find the event type you want to change and click on it.
Click the gear icon above the event details.
If you wish to change your event language, you may do so by clicking the 'Change language' option.
Choose from the choices above and click 'Yes'.
If you want to add a note for your event type, click the 'Add internal note' option.
Write your notes on the box provided above and click 'Apply'.
If you would like to mark your event as secret you can do so by clicking the 'Make secret' option. Secret events are not visible on your landing page, but can still be booked using the scheduling link.
A notification appears once you have successfully changed the visibility of your event.
If you want to change your event type as public you can do so by clicking 'Make public'.
To edit permissions, select the 'Edit permissions' option.
Add people to view or edit the event.
To change access, click on the drop down menu.
You may choose between the options below either 'Can edit' or 'Can view'.
If you wish to remove permission, click 'Delete permission'.
Click the 'Yes, remove' to confirm the action.
If you wish to transfer ownership of the event, select 'Transfer ownership'.
Select 'Yes, transfer' to confirm the transfer of ownership of the event.
Click 'Apply' to save changes.
You can also clone your event type, if you want. Just click on the 'Clone' option found in the gear icon.
To view your cloned event type go to your dashboard and it will appear on your landing page.
If you want to delete a specific event, click 'Delete'.
Click 'Yes' to confirm.
Slide the toggle to turn your event type 'Off'. Once the status has been changed, your event type will no longer be visible.
That's it! By following these steps, you can easily change or create event types in Calendly to suit your scheduling needs.
Quick answer: To change an event type in Calendly, navigate to the Event types tab and click the gear icon to modify language, add internal notes, adjust visibility to secret or public, edit permissions, transfer ownership, clone, delete, or turn off the event.
About this Calendly tutorial
Manage your Calendly event settings by updating language, notes, visibility, permissions, ownership, or cloning and deleting events. This guide shows how to change Event Type in Calendly in 24 steps, starting with "From your Calendly dashboard, navigate to the 'Event types' tab. Find the event type yo..." and finishing with "That's it! By following these steps, you can easily change or create event types in Cal...". The interactive demo above is a click-through copy of the real Calendly interface, so you can rehearse each step before doing it in your own account.
Frequently asked questions
How many steps does it take to change Event Type in Calendly?
24 steps. Each one is listed in order above, and the demo highlights exactly where to click.
Can I try it without changing my own account?
Yes. Clicking through the demo doesn't touch your Calendly data or settings. Once you know the flow, repeat it in your own workspace.
This tutorial is filed under Calendly. Related guides: How to Change Time Zone in Calendly, How to Connect Calendly to Google Calendar and Calendly salesforce integration. Last reviewed 05 Oct 2026.

Create your first interactive demo in minutes
No credit card required • Start building today