How To Edit Rich Text Webflow
- George Apostolov
How To Edit Rich Text Webflow: step-by-step guide
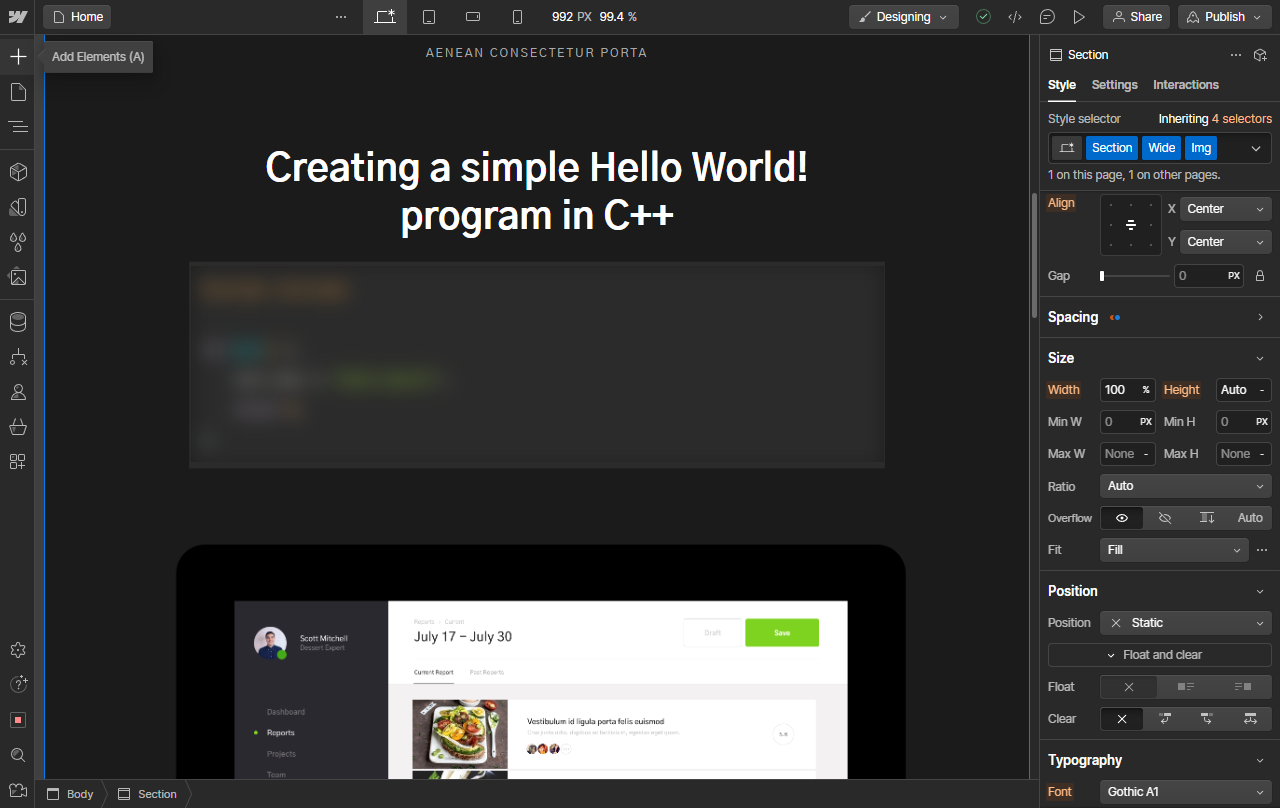
Go to the Add Elements section from the left sidebar menu.
You can either search for it or look under the Typography section to find the Rich Text block. Simply drag and drop.
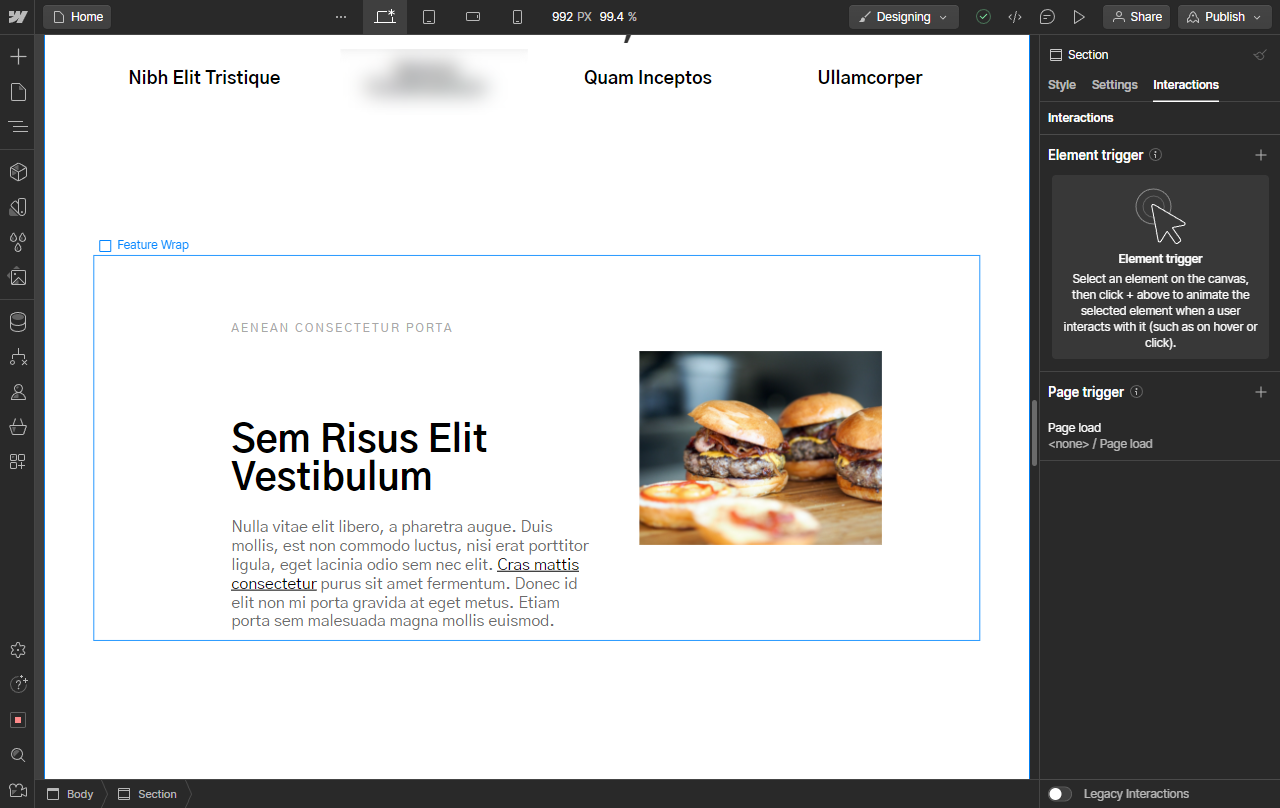
You now have the Rich Text element on your site. This element gives you an ideal space for long form content such as blogs with its extensive editing, formatting and insertion options.
It supports a variety of formats such as headings, texts, quotes, images, embeds, lists, etc.
You can select the entire block at once or select each individual element inside it for custom configuration and settings.
If you select any text you will have a pop-up menu of useful formatting options such as bold, headings, italics and so on.
You can use the right sidebar menu again for editing either each individual element or the whole block. Such as for setting specific text to a different color.
Creating a new line inside the Rich Text block will show you a (+) sign for insert options.
This lets you add images, videos, embeds and so on.
Each element inside the Rich Text block has its own customization and features, from the pop-up selection menus to the right sidebar Settings tab. Customize your space as you will.
Quick answer: To edit rich text in Webflow, drag the Rich Text block from the Add Elements sidebar onto your site. Select the whole block or individual elements to customize them, use the pop-up menu for text formatting, use the right sidebar for detailed settings, and click the plus sign on new lines to insert media.
About this Webflow tutorial
Master rich text editing in Webflow by adding blocks, formatting content, customizing elements, and inserting media using the sidebar and pop-up menus. This guide shows how to edit Rich Text Webflow in 10 steps, starting with "Go to the Add Elements section from the left sidebar menu" and finishing with "Each element inside the Rich Text block has its own customization and features, from th...". The interactive demo above is a click-through copy of the real Webflow interface, so you can rehearse each step before doing it in your own account.
Frequently asked questions
How many steps does it take to edit Rich Text Webflow?
10 steps. Each one is listed in order above, and the demo highlights exactly where to click.
Can I try it without changing my own account?
Yes. Clicking through the demo doesn't touch your Webflow data or settings. Once you know the flow, repeat it in your own workspace.
This tutorial is filed under Webflow. Related guides: How To Export Code From Webflow, How To Hide A Page In Webflow and How To Hide A Section In Webflow. Last reviewed 05 Oct 2026.

Create your first interactive demo in minutes
No credit card required • Start building today