How to Integrate Airtable with QuickBooks
- George Apostolov
- 05 Sep 2025
Guide
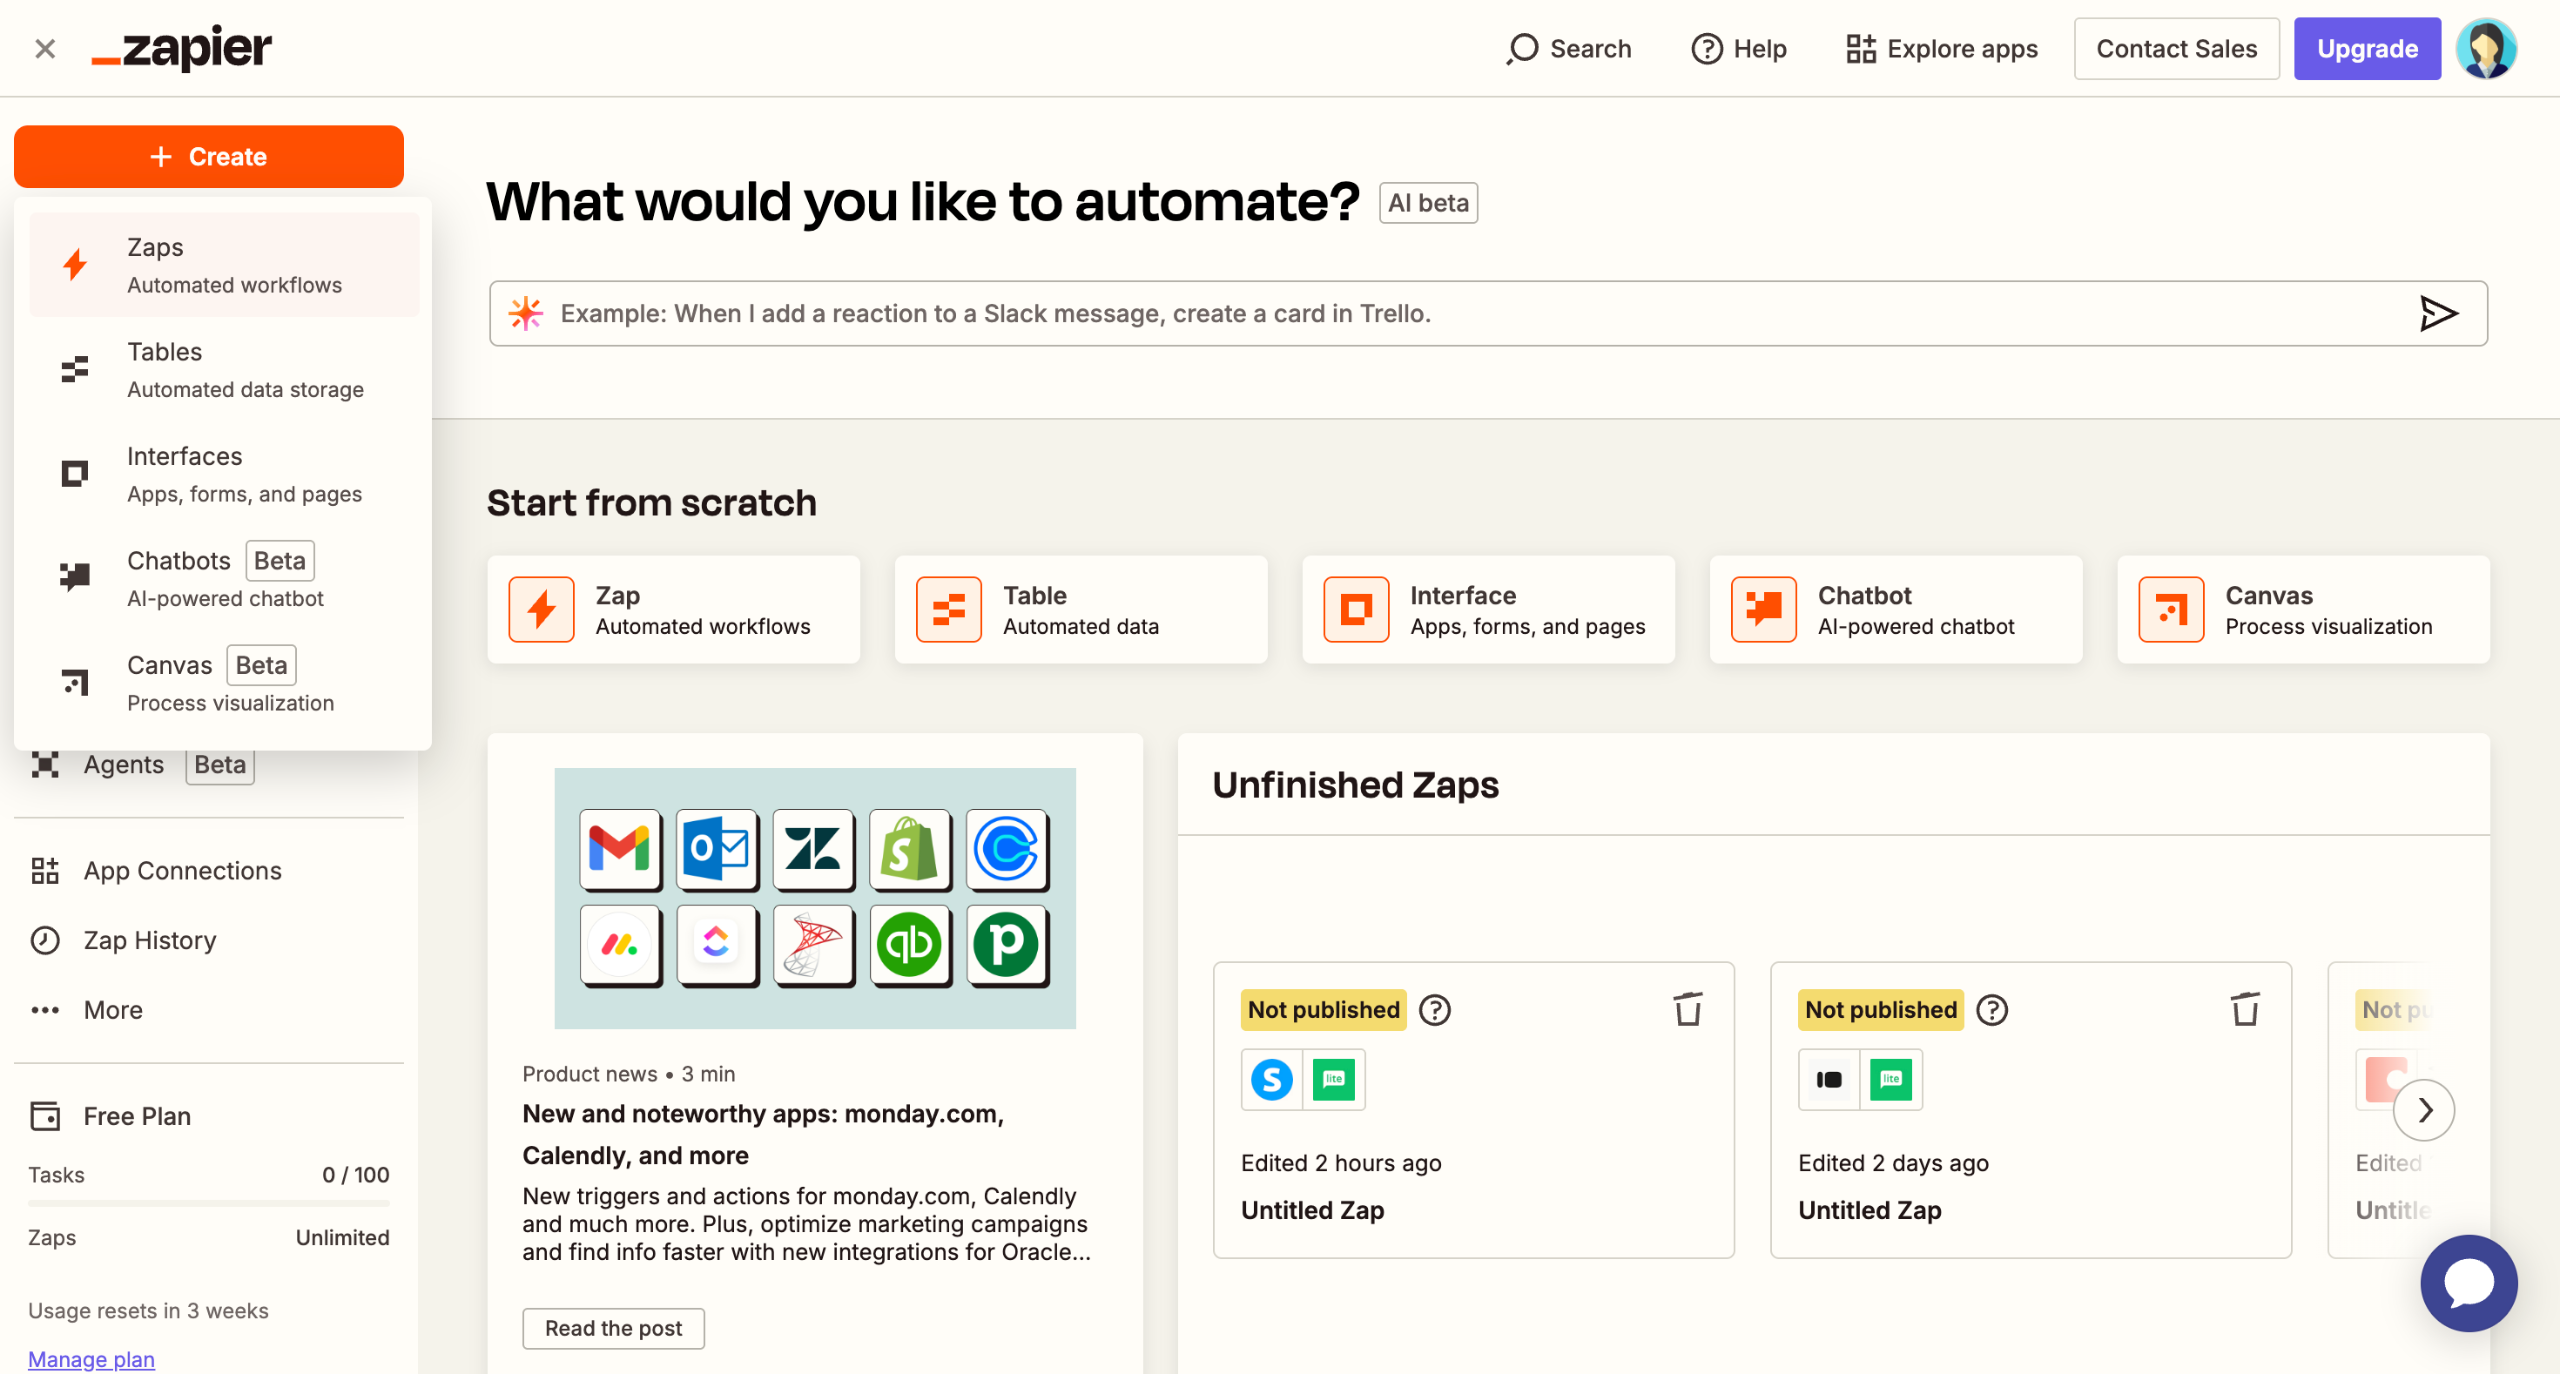
Hover your mouse cursor over the left-side panel, then click 'Create'.
Select 'Zaps' from the list of available options.
After that, tap 'Trigger' to start the integration process.
Search for 'Airtable' and then select it from the results.
Specify your desired 'Trigger Event' afterwards.
Tap 'Sign In' and then provide your Airtable user credentials to proceed.
Choose your preferred workspace and then click 'Grant Access'.
After that, provide all the required information to set up the trigger.
Click 'Test' to continue.
Once done, find and select 'QuickBooks Online' as the Action App.
Tap the drop-down menu, then select your preferred 'Action Event'.
Click 'Sign In' and provide your QuickBooks user information.
Subsequently, click 'Yes, Continue to QuickBooks Online' to grant necessary access and permission.
Fill out the input fields with the necessary information.
Finally, tap 'Test' afterwards to authorize and publish the integration.
After completing these steps, your Airtable account will be integrated immediately with QuickBooks.

Create your first interactive demo in minutes
No credit card required • Start building today