How to Use ClickUp AI
- George Apostolov
How to Use ClickUp AI: step-by-step guide
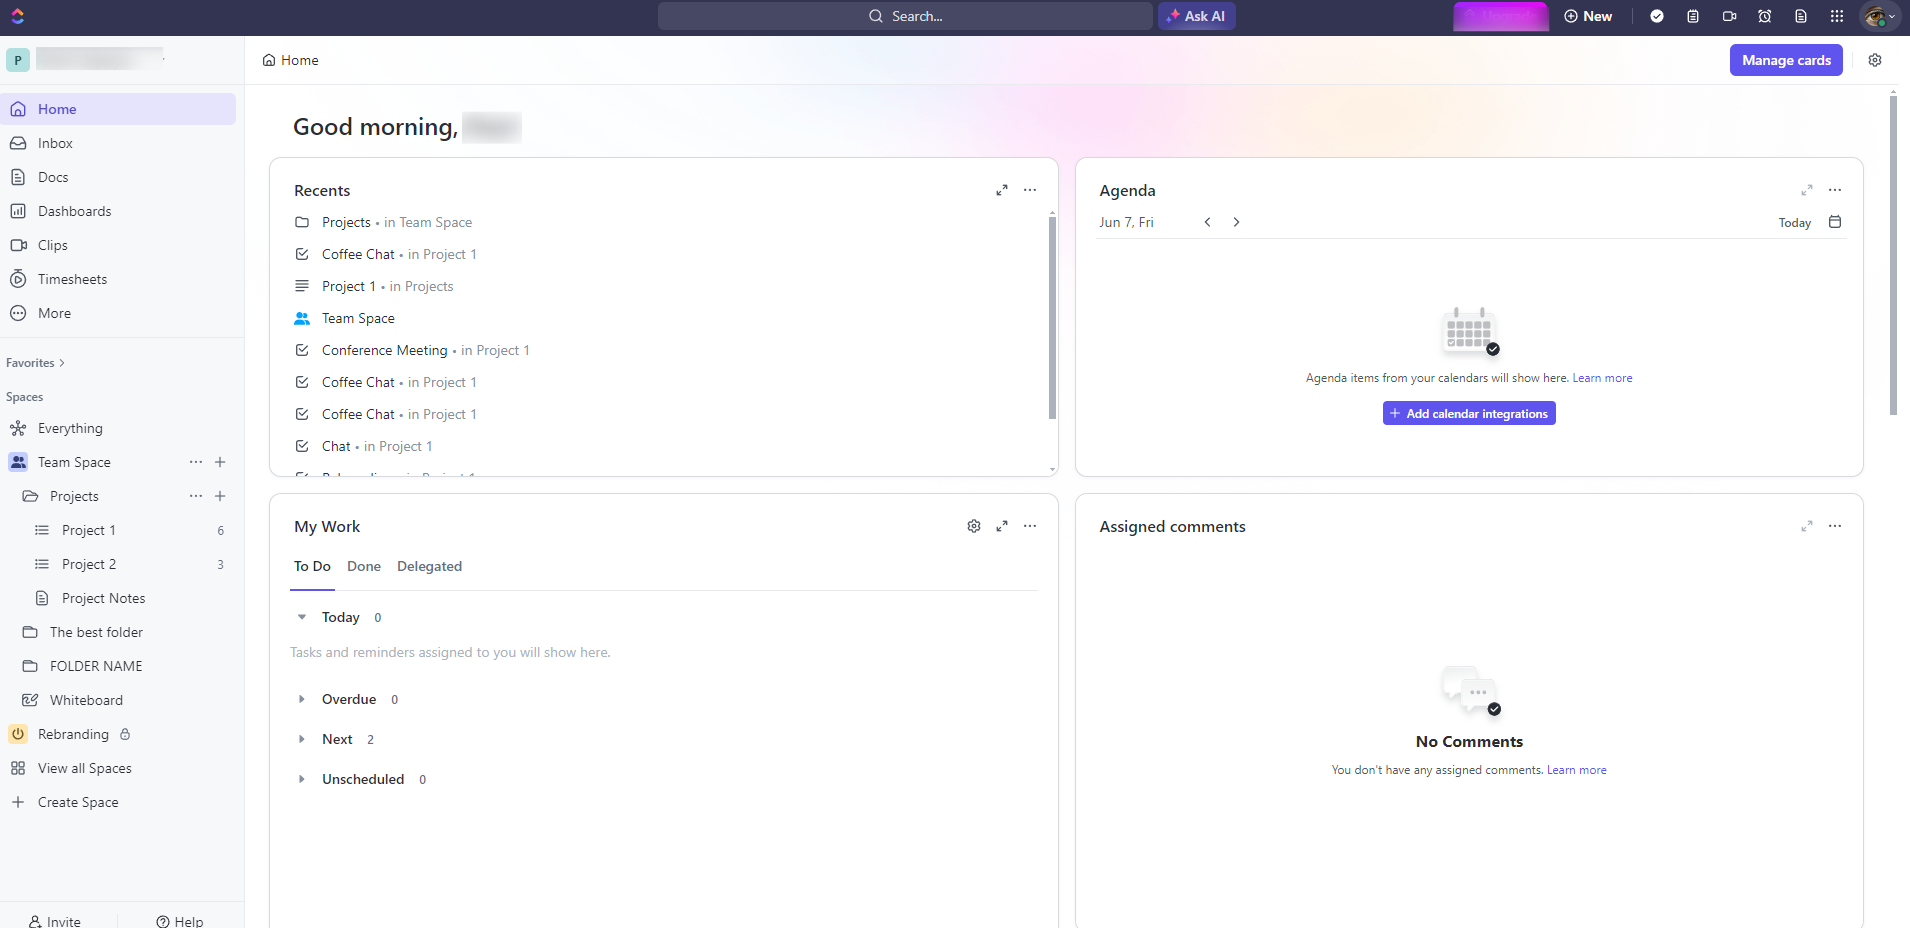
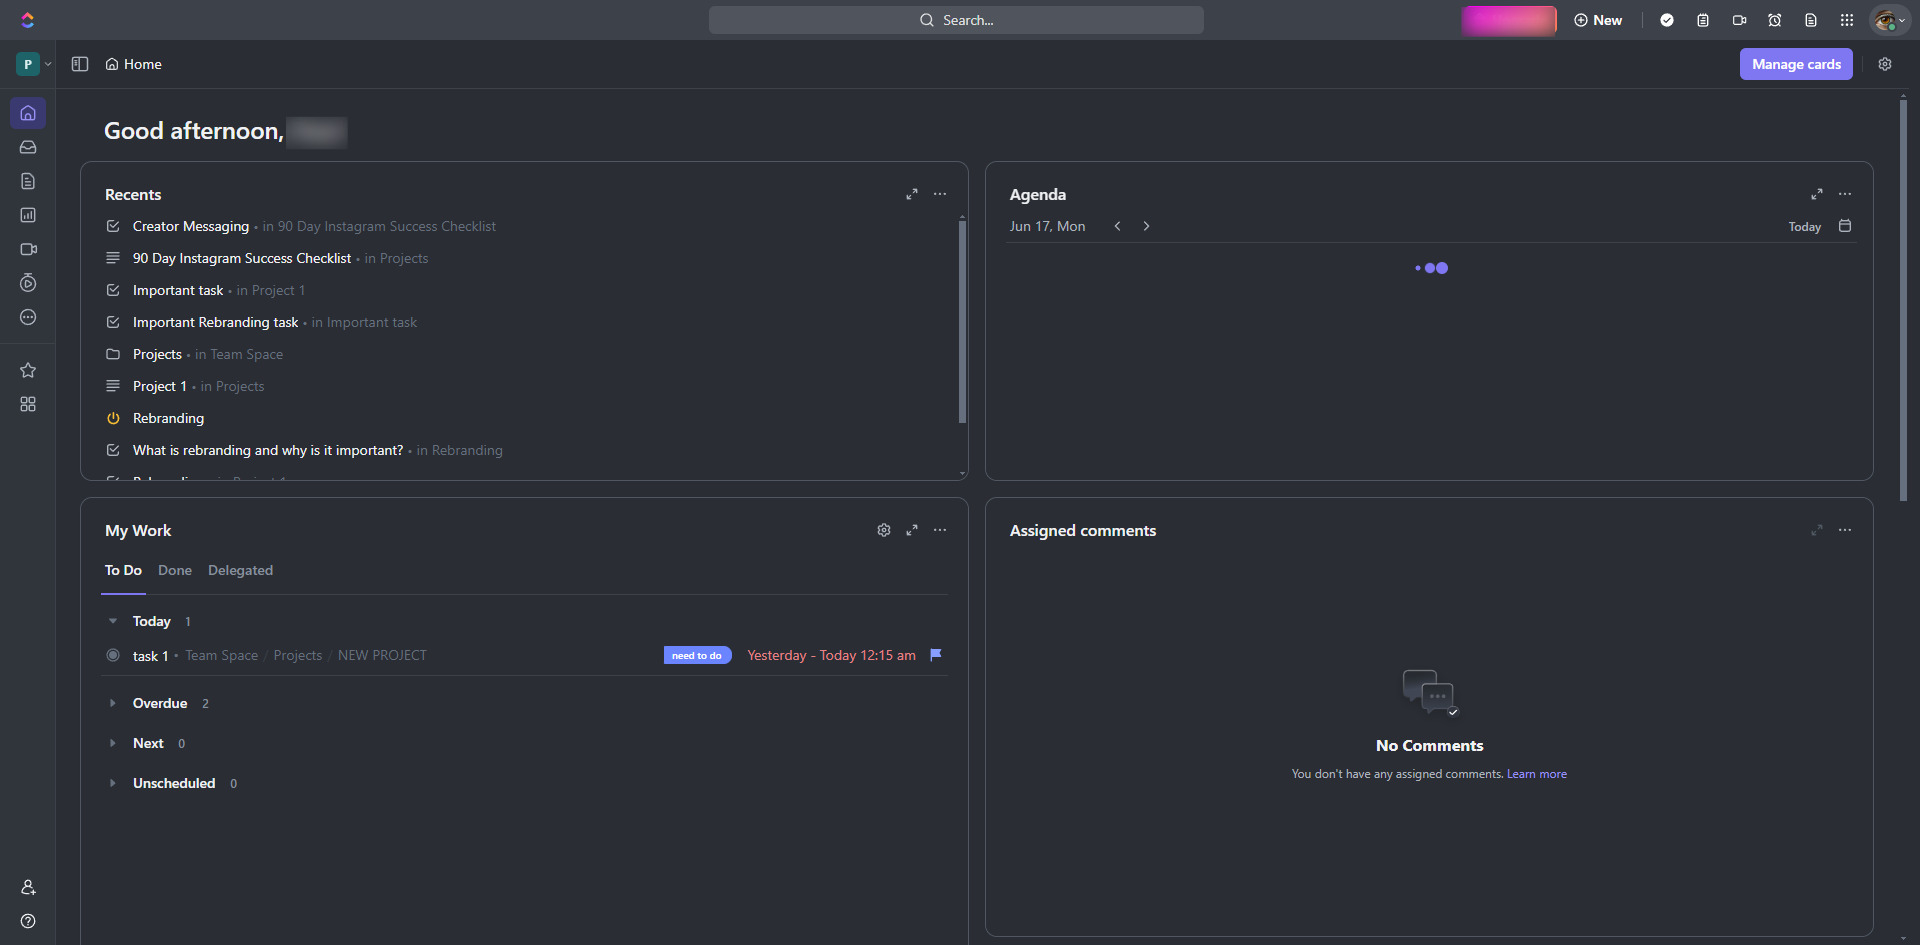
If ClickUp AI is not enabled by default, you may need to enable it from the ClickApps settings. Click on your profile avatar in the bottom left corner.
Select 'Apps'.
Select 'ClickApps' from the menu.
Find 'ClickUp AI' in the list and toggle it on.
Open an existing task and go to the task 'Description'. The AI may be located in the task description area or as an additional menu option and click on it.
Select 'Continue writing'.
AI can continue writing descriptions and click 'Insert' to add it to your description.
On the subtasks, you can also use ClickUp AI to generate subtasks by clicking the 'Suggest subtasks'.
Once the subtasks have been generated, click 'Create 4 subtasks'.
You can also use the ClickUp AI to summarize the task for you by clicking 'Summarize'.
Once the ClickUp AI has provided you a summary about the task, click 'Insert'.
ClickUp also provides updates about the task by clicking 'Progress update'.
You can decide which progress to get an update for and click 'Generate'.
Click 'Send'.
You can also ask ClickUp AI about the task by clicking 'Ask AI'.
Type your question in the space provided and click the air plane icon to send.
Once the ClickUp AI has generated an answer you can choose to insert it, copy, or regenerate. By effectively using ClickUp AI, you can significantly enhance productivity and ensure high-quality output in your projects.
Quick answer: To use ClickUp AI, first enable it in the ClickApps settings by selecting your profile avatar, Apps, and ClickApps. Then, open a task description to use Continue writing and insert text, generate subtasks, summarize tasks, get progress updates, or ask the AI questions.
About this ClickUp tutorial
Enhance productivity with ClickUp AI by enabling the feature, generating subtasks, summarizing content, and creating progress updates effortlessly. This guide shows how to use ClickUp AI in 17 steps, starting with "If ClickUp AI is not enabled by default, you may need to enable it from the ClickApps s..." and finishing with "Once the ClickUp AI has generated an answer you can choose to insert it, copy, or regen...". The interactive demo above is a click-through copy of the real ClickUp interface, so you can rehearse each step before doing it in your own account.
Frequently asked questions
How many steps does it take to use ClickUp AI?
17 steps. Each one is listed in order above, and the demo highlights exactly where to click.
Can I try it without changing my own account?
Yes. Clicking through the demo doesn't touch your ClickUp data or settings. Once you know the flow, repeat it in your own workspace.
This tutorial is filed under ClickUp. Related guides: ClickUp AppSheet Integration, ClickUp Miro Integration and How Connect ClickUp Spaces to Slack for Team Collaboration using Zapier. Last reviewed 05 Oct 2026.

Create your first interactive demo in minutes
No credit card required • Start building today