How To Add Slider In Webflow
- George Apostolov
How To Add Slider In Webflow: step-by-step guide
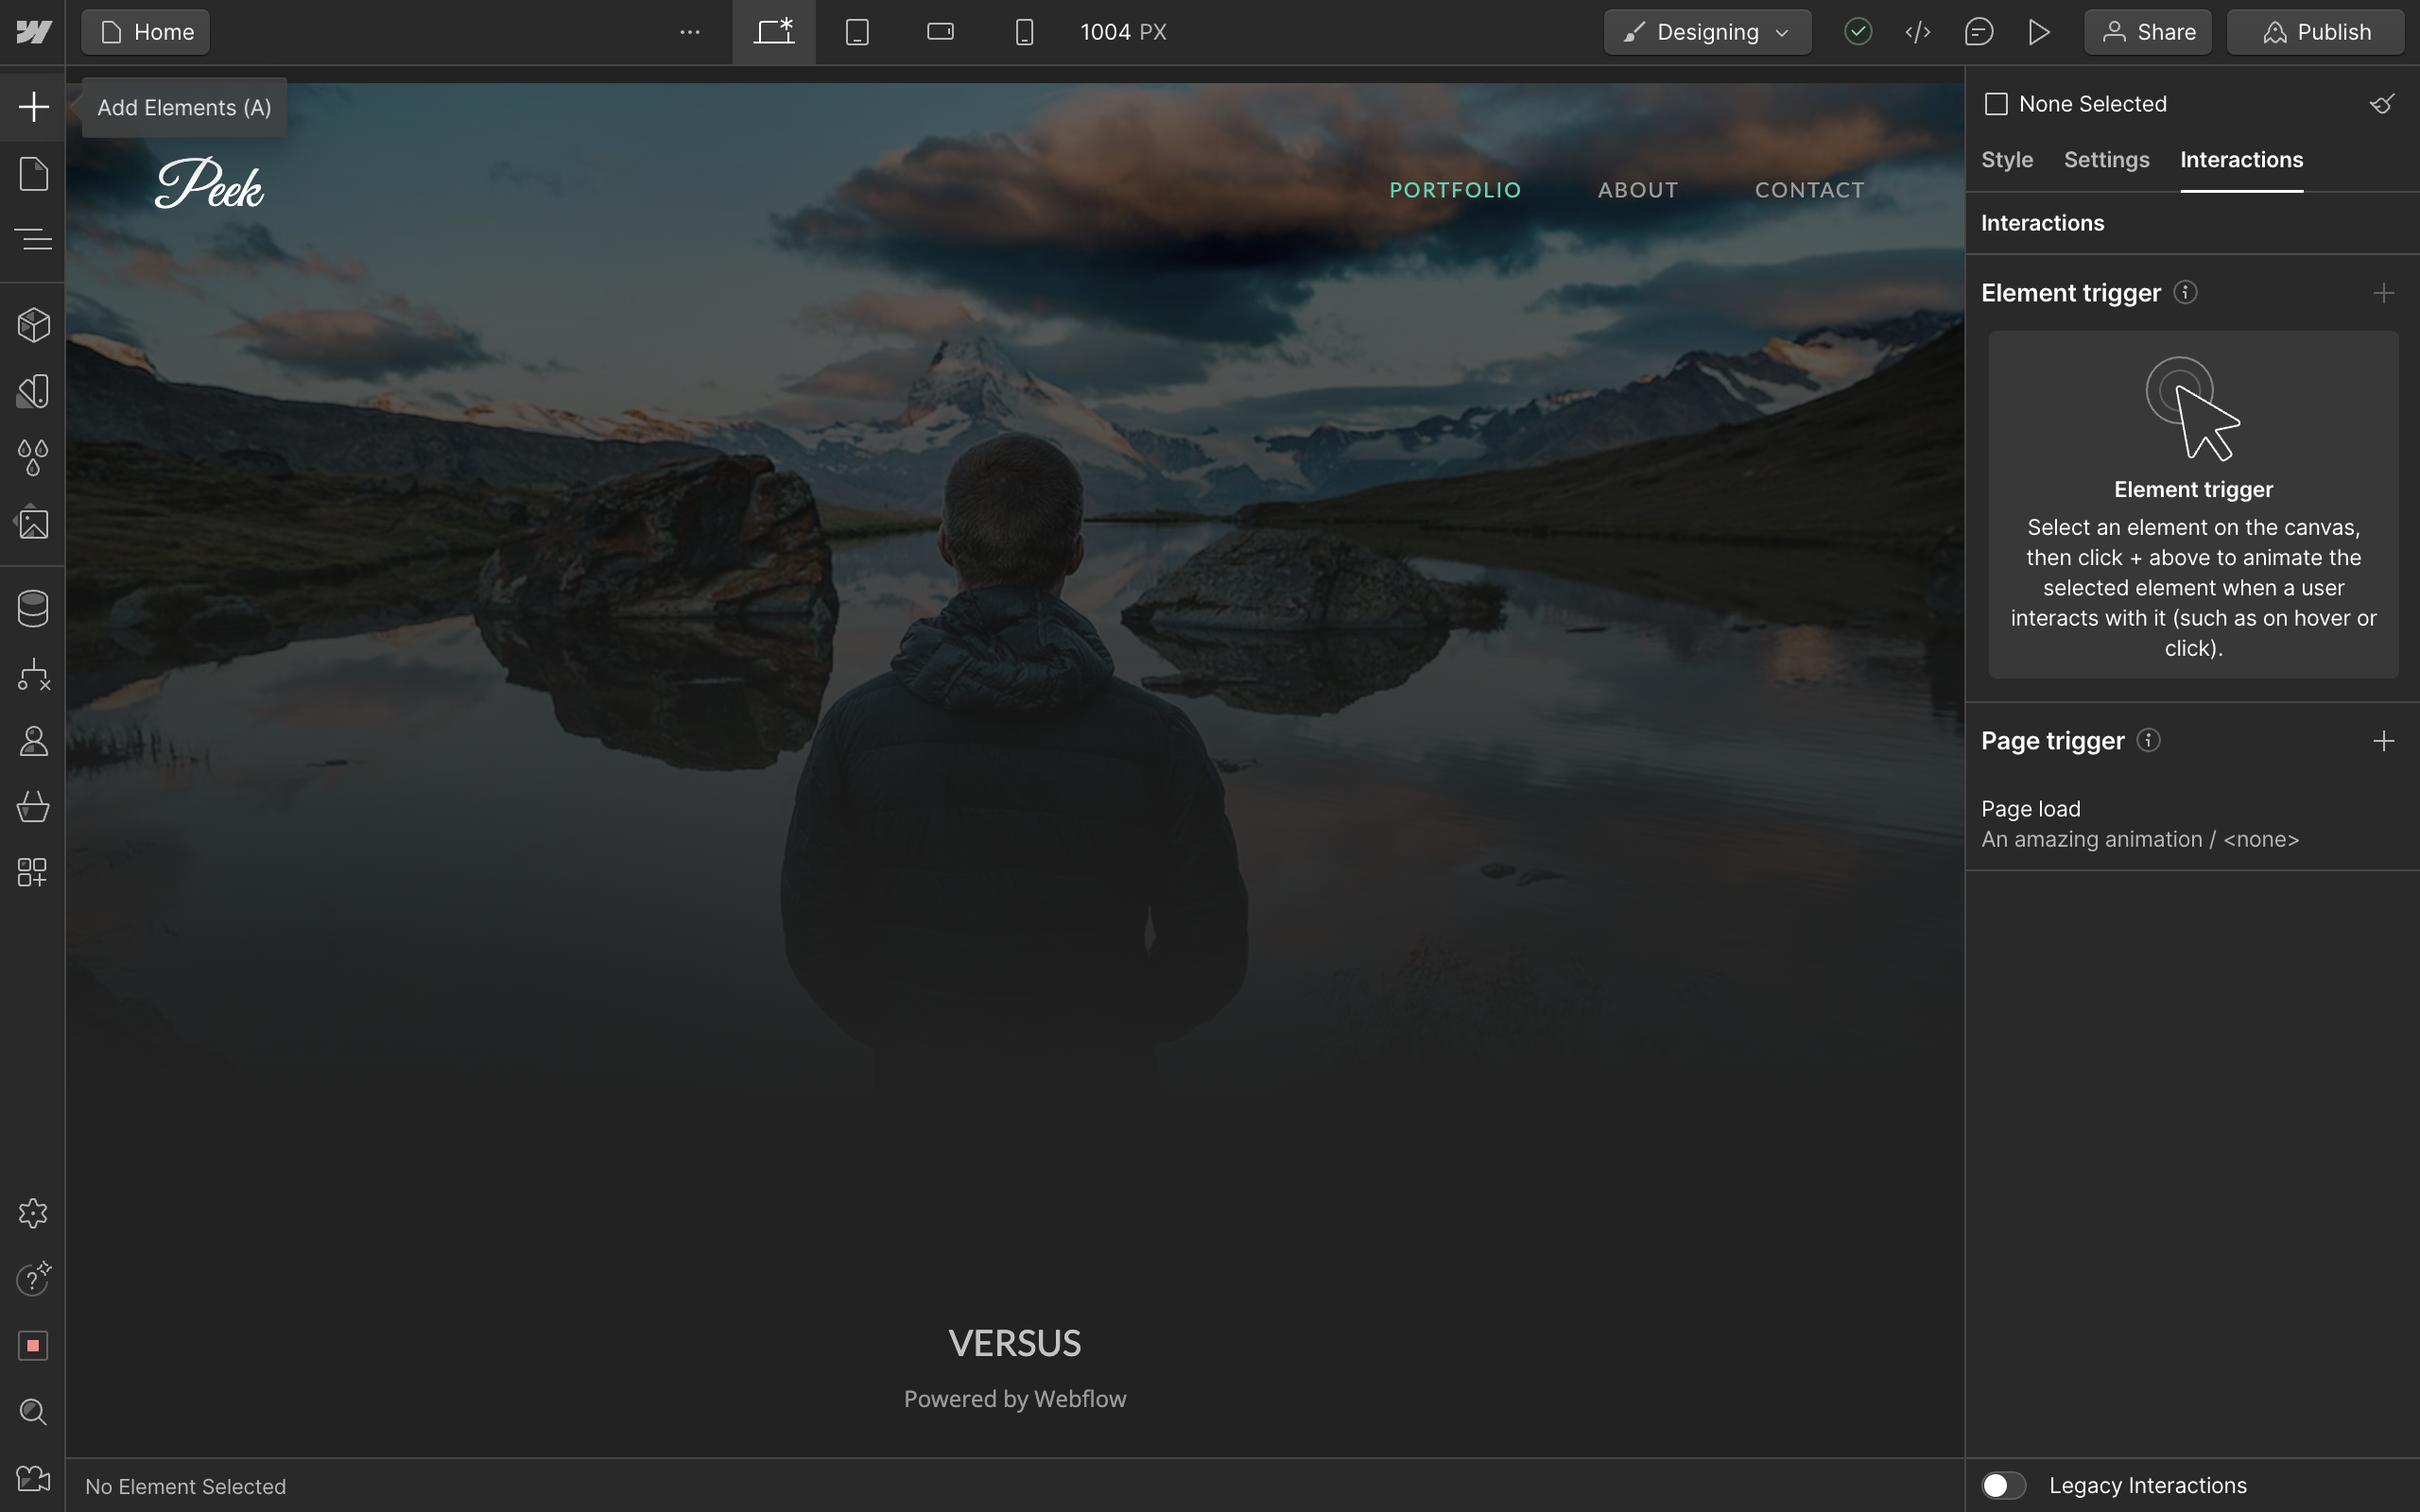
To begin, go to the Add Elements section on the left sidebar menu.
Locate or search for the Slider element.
Drag the slider out and drop where you wish to place it.
When your slider is inserted, it will open a pop-up menu for settings.
Some important settings include the Auto-play feature, duration and animations.
You can click on the Show All Settings button at the bottom to view more options.
This will simply take you to the Settings tab on the right sidebar menu.
Under the Slider settings section you can add more slides.
You can use the arrows to slide between your slides or use the list option to select a specific slide.
To insert any content inside a slide, simply navigate to the content such as Assets for Images.
Find a picture you like and drag it to the current slide.
This will insert the image onto the slide. You can also add images as a background for more control over its appearance.
Just like any other element, the image in the slider can be adjusted in size and dimensions via the Style tab on the right sidebar menu.
You can also use the numbered buttons to switch between slides from the designer.
Slides support all forms of content including text, videos, images, etc.
All elements are inserted in the same way, simply locate, drag and drop.
We now have a text heading on another slide. Continue exploring and customizing your slider to shape it however you wish!
Quick answer: To add a slider in Webflow, locate the Slider element in the left sidebar, drag and drop it onto your page, configure settings like Auto-play and duration in the pop-up or right sidebar, and populate your slides with content such as images and text by dragging and dropping elements.
About this Webflow tutorial
Insert and customize image or video sliders in Webflow by dragging elements, configuring settings, and styling your slides easily. This guide shows how to add Slider In Webflow in 17 steps, starting with "To begin, go to the Add Elements section on the left sidebar menu" and finishing with "We now have a text heading on another slide. Continue exploring and customizing your sl...". The interactive demo above is a click-through copy of the real Webflow interface, so you can rehearse each step before doing it in your own account.
Frequently asked questions
How many steps does it take to add Slider In Webflow?
17 steps. Each one is listed in order above, and the demo highlights exactly where to click.
Can I try it without changing my own account?
Yes. Clicking through the demo doesn't touch your Webflow data or settings. Once you know the flow, repeat it in your own workspace.
This tutorial is filed under Webflow. Related guides: How To Add Text In Webflow, How To Animate In Webflow and How to Automate Webflow Backups to Dropbox Through Zapier. Last reviewed 05 Oct 2026.

Create your first interactive demo in minutes
No credit card required • Start building today