How To Animate In Webflow
- George Apostolov
How To Animate In Webflow: step-by-step guide
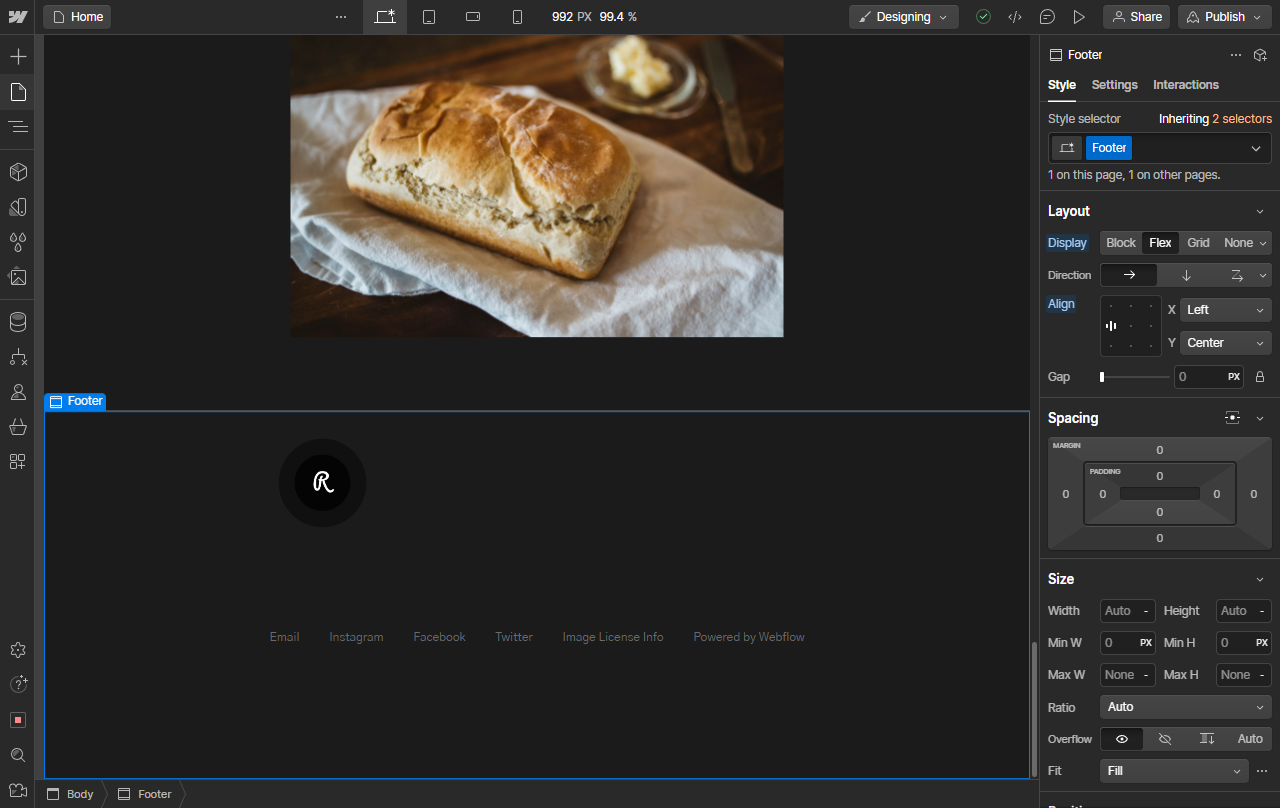
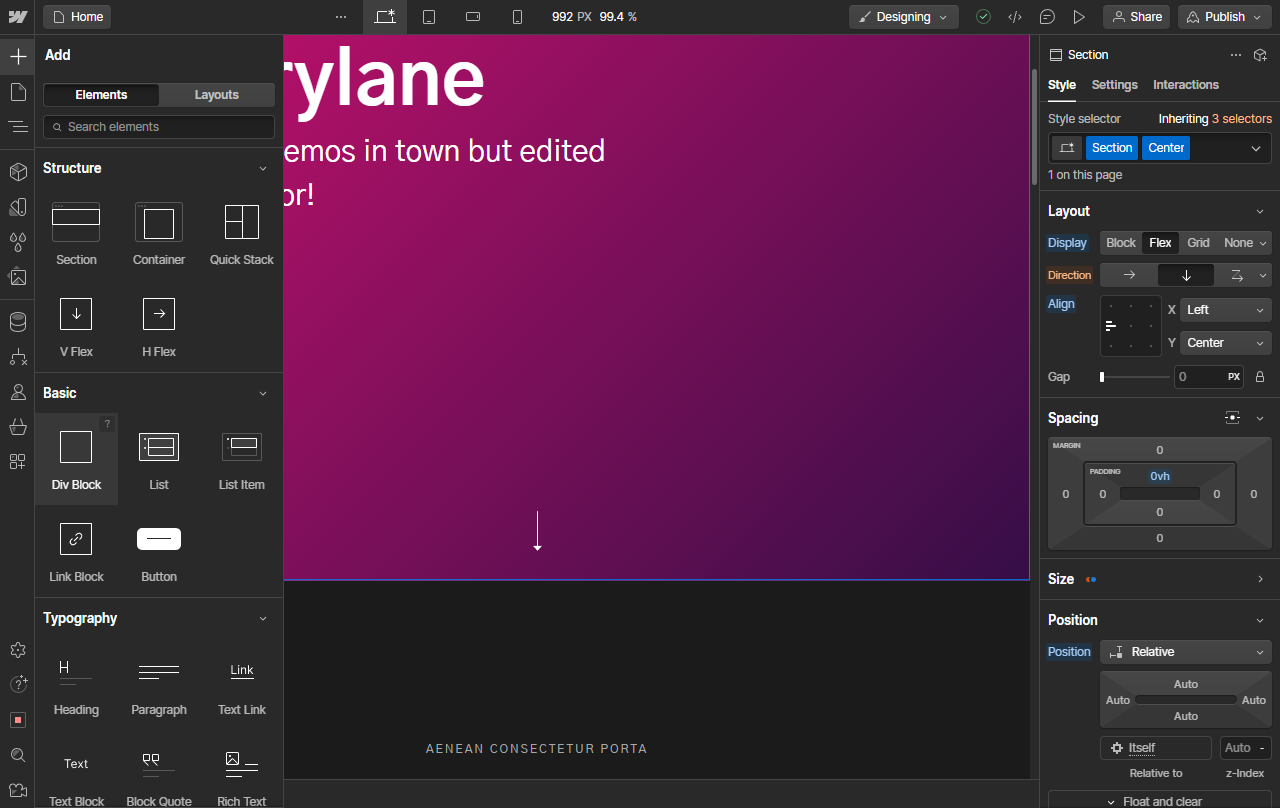
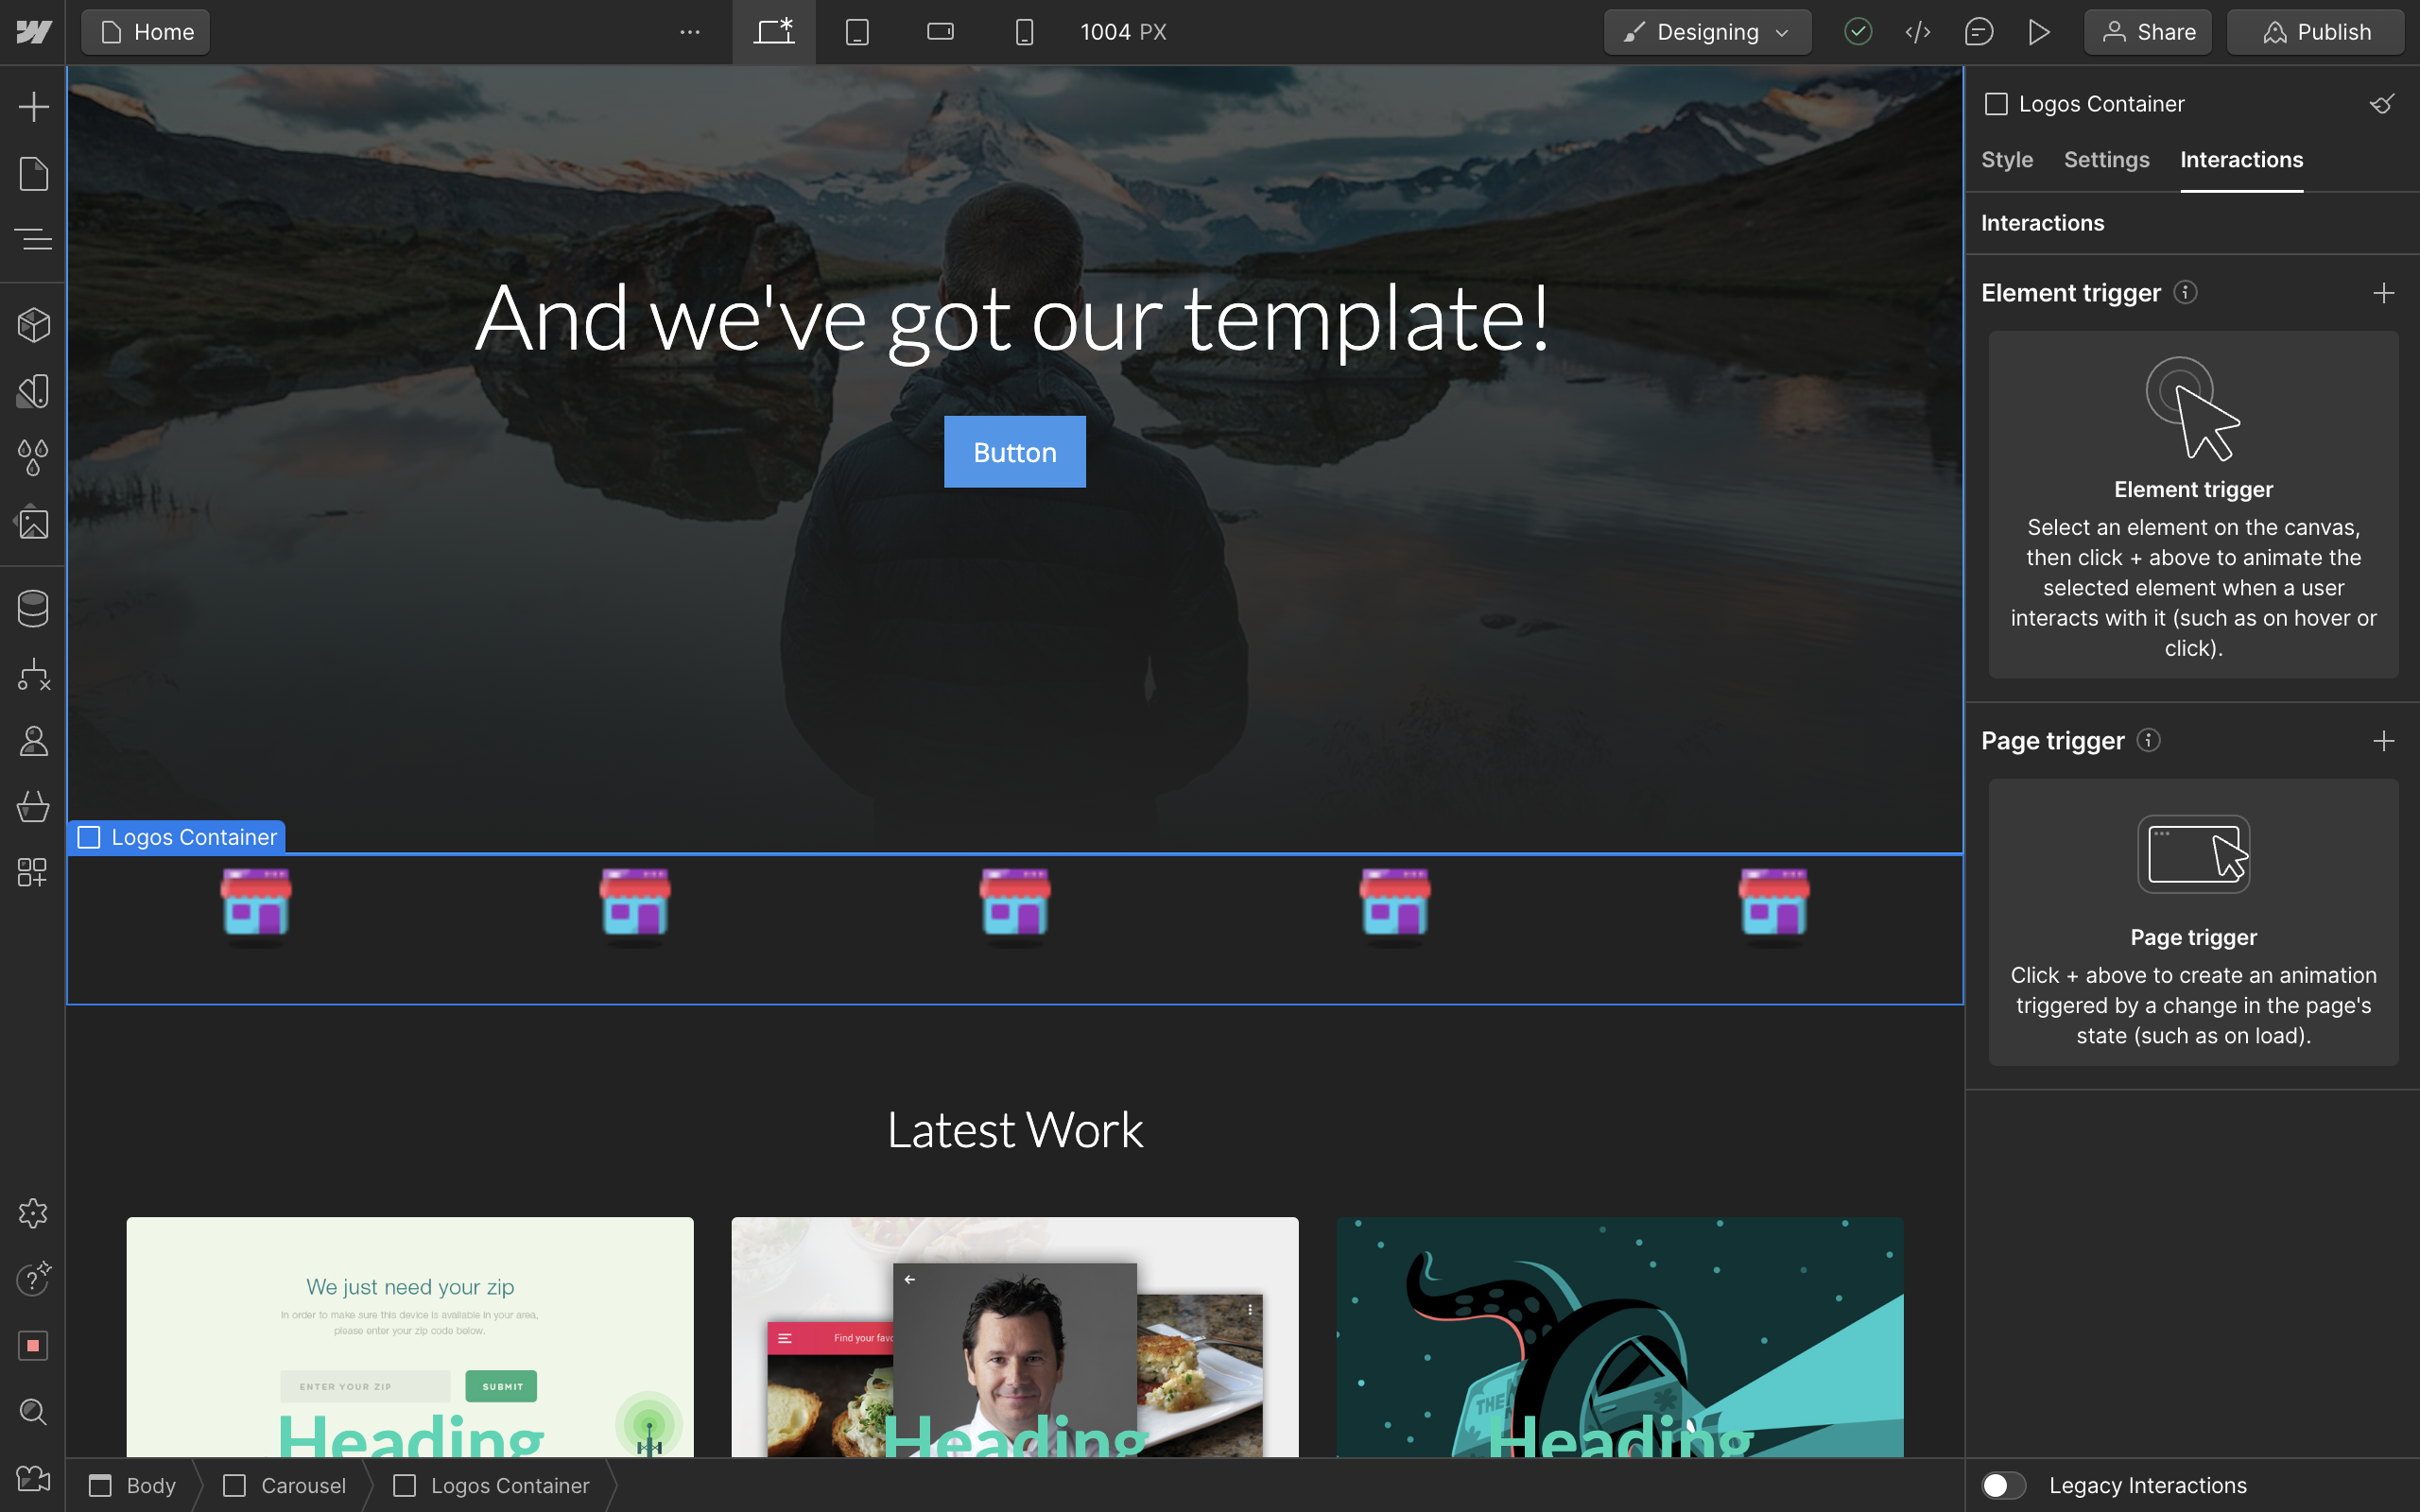
Select the element you wish to add an animation to.
Go to the Interactions tab from the right sidebar menu.
Choose a trigger method for your animation using the (+) icon next to it.
Select the type such as on Page load.
Choose an Action based on when you want it to trigger.
To create your own animation, select Start an animation.
To create a new one not already in the list, click on the Add an animation (+) icon next to Timed Animations.
Enter a name for your animation.
Now, select the specific element you wish to add an animation to.
With your element selected, click on the (+) icon next to Actions.
Select the Type of action such as Rotate.
Ensure you have the correct element or class selected.
For our rotate example, control the axis on which you wish to rotate such as Z to rotate in-plane.
You can view a preview on your animation on your canvas.
Since we want our element to rotate and then also return to the original position, we can continue adding multiple animations together. To start, we simply duplicate the first animation using the right click menu.
We set all axes back to default position at 0 deg.
Now we have a custom animation with two steps on page load. It first will rotate to 90 deg and then return back to 0 deg. Save to continue.
Use the Preview button to see your animation in action!
Quick answer: To animate in Webflow, select the element, open the Interactions tab, and choose a trigger and action. Create a timed animation by adding a new one, naming it, selecting the element, and configuring action types like rotate. Duplicate and adjust actions to combine steps, save, and preview your animation.
About this Webflow tutorial
Animate elements in Webflow by setting up interaction triggers, creating timed animations, and previewing custom multi-step effects. This guide shows how to animate In Webflow in 18 steps, starting with "Select the element you wish to add an animation to" and finishing with "Use the Preview button to see your animation in action!". The interactive demo above is a click-through copy of the real Webflow interface, so you can rehearse each step before doing it in your own account.
Frequently asked questions
How many steps does it take to animate In Webflow?
18 steps. Each one is listed in order above, and the demo highlights exactly where to click.
Can I try it without changing my own account?
Yes. Clicking through the demo doesn't touch your Webflow data or settings. Once you know the flow, repeat it in your own workspace.
This tutorial is filed under Webflow. Related guides: How to Automate Webflow Backups to Dropbox Through Zapier, How to Automate Webflow Collections from Airtable with Zapier and How To Center A Button In Webflow. Last reviewed 05 Oct 2026.

Create your first interactive demo in minutes
No credit card required • Start building today