How to Create Advanced Roadmap in Jira
- George Apostolov
How to Create Advanced Roadmap in Jira: step-by-step guide
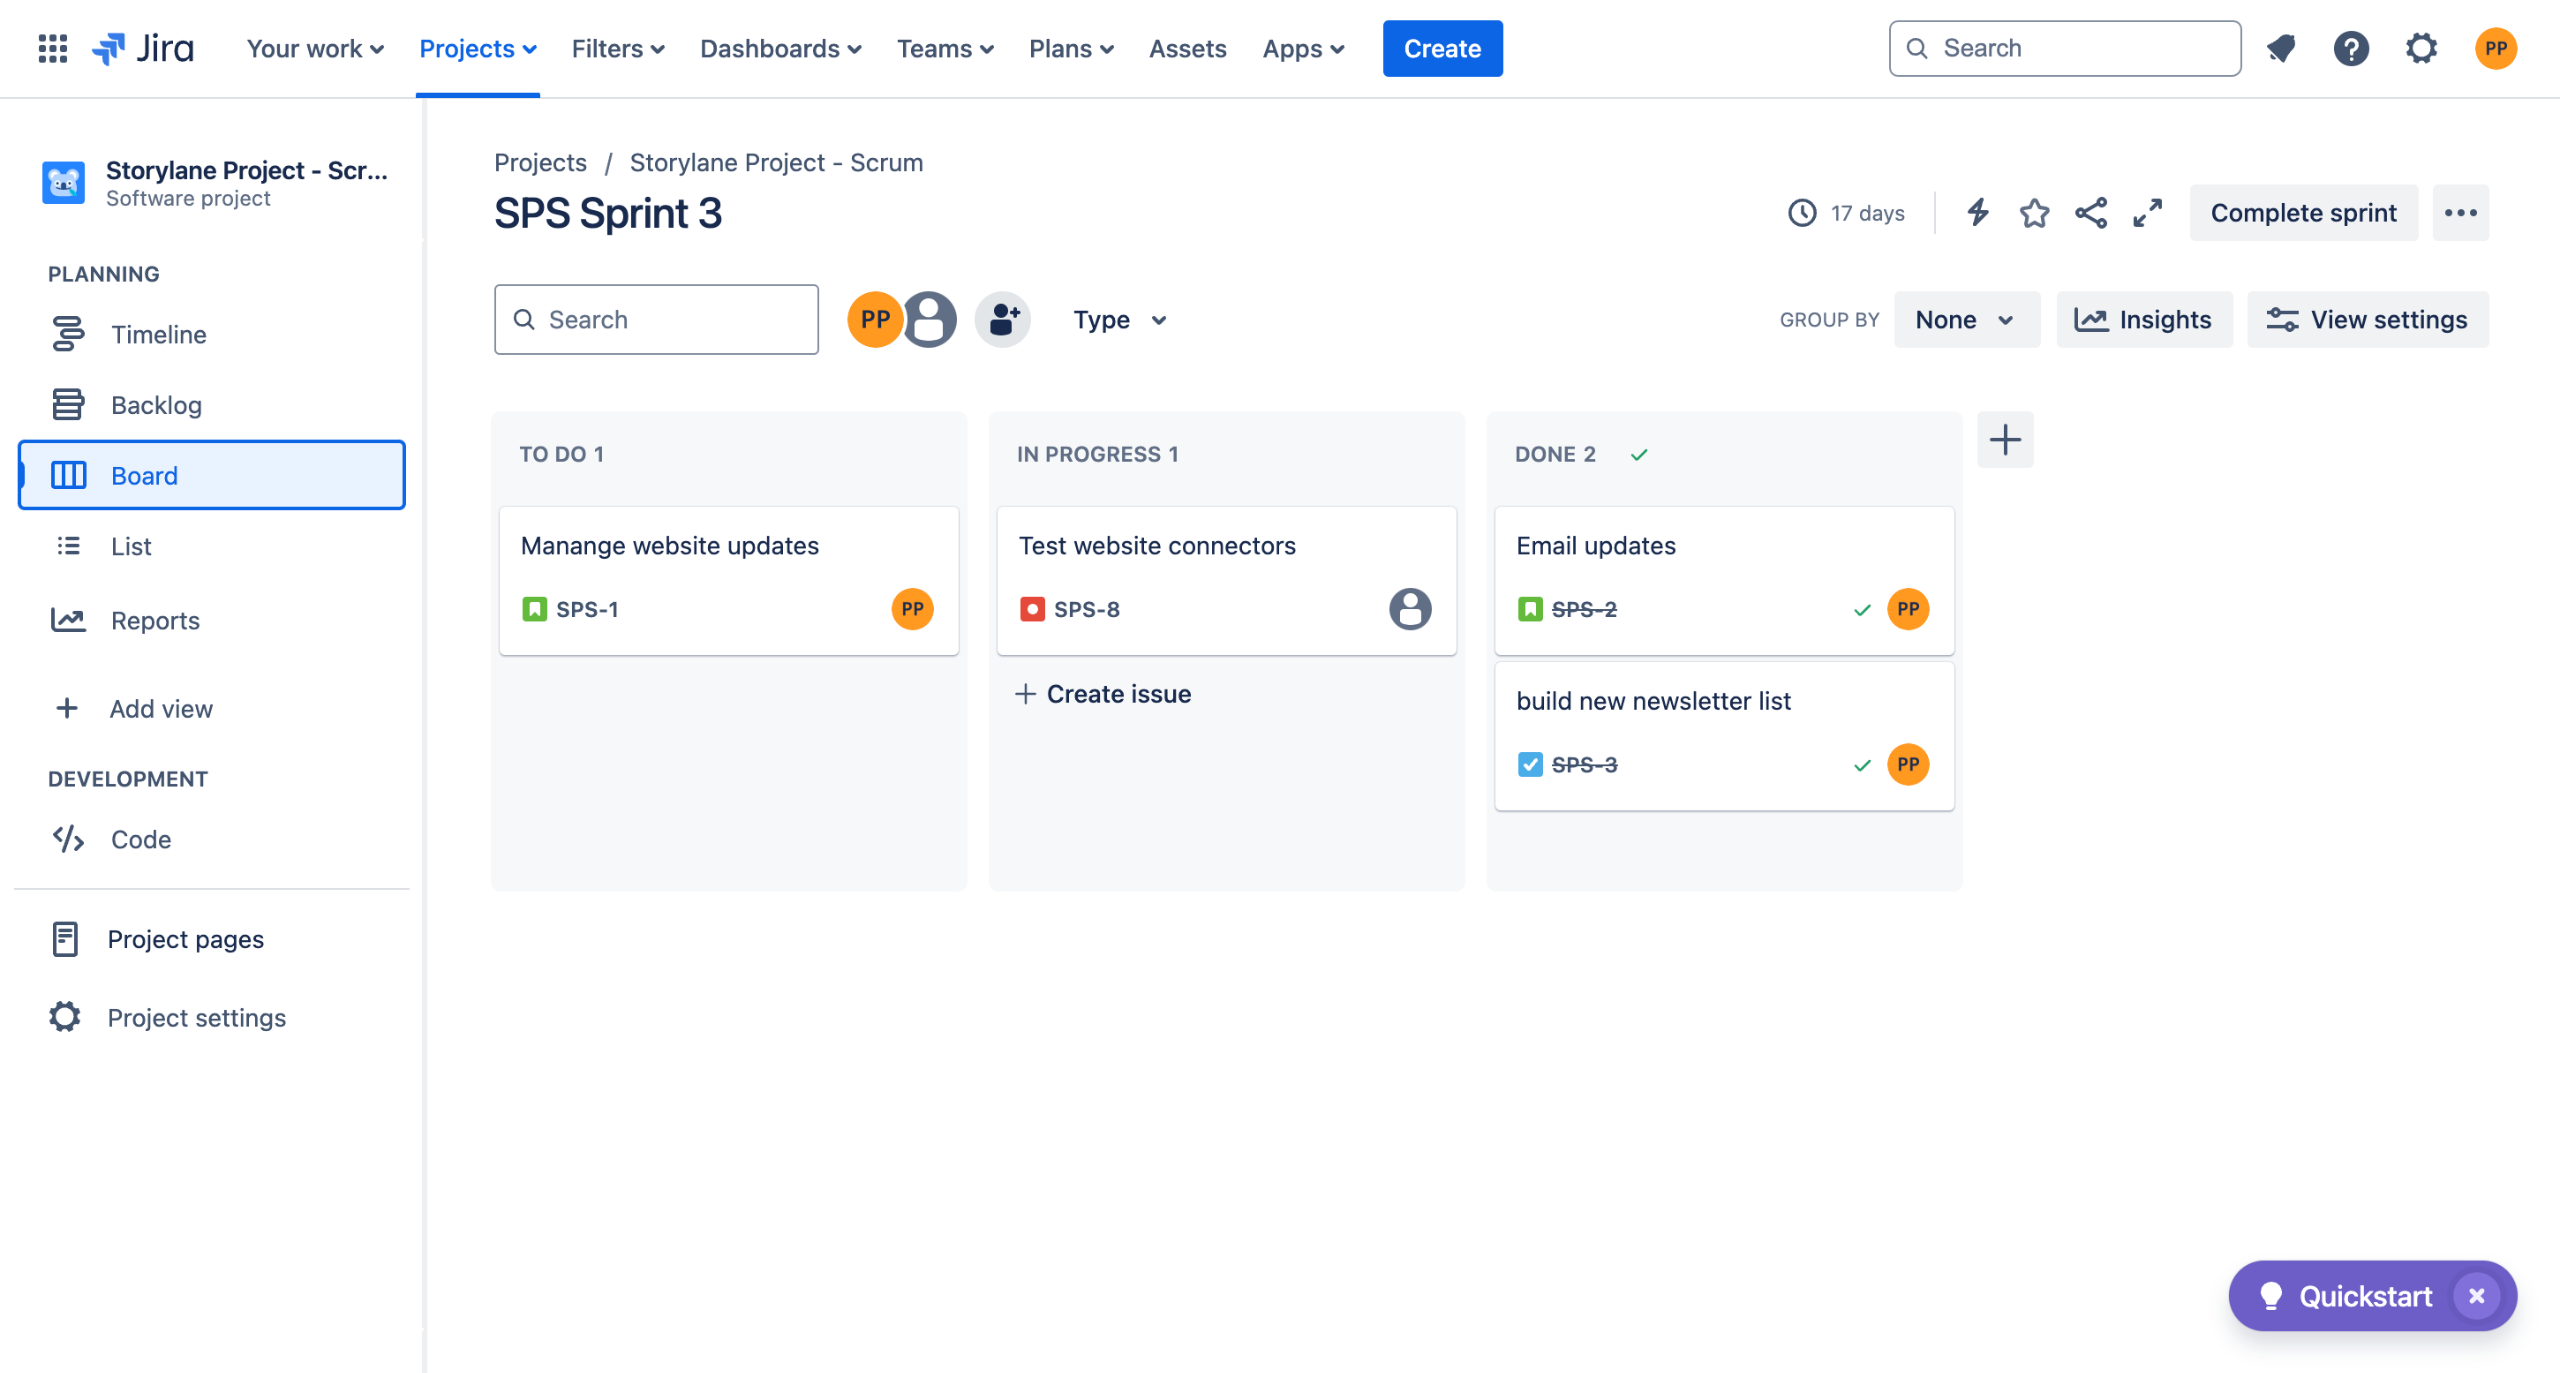
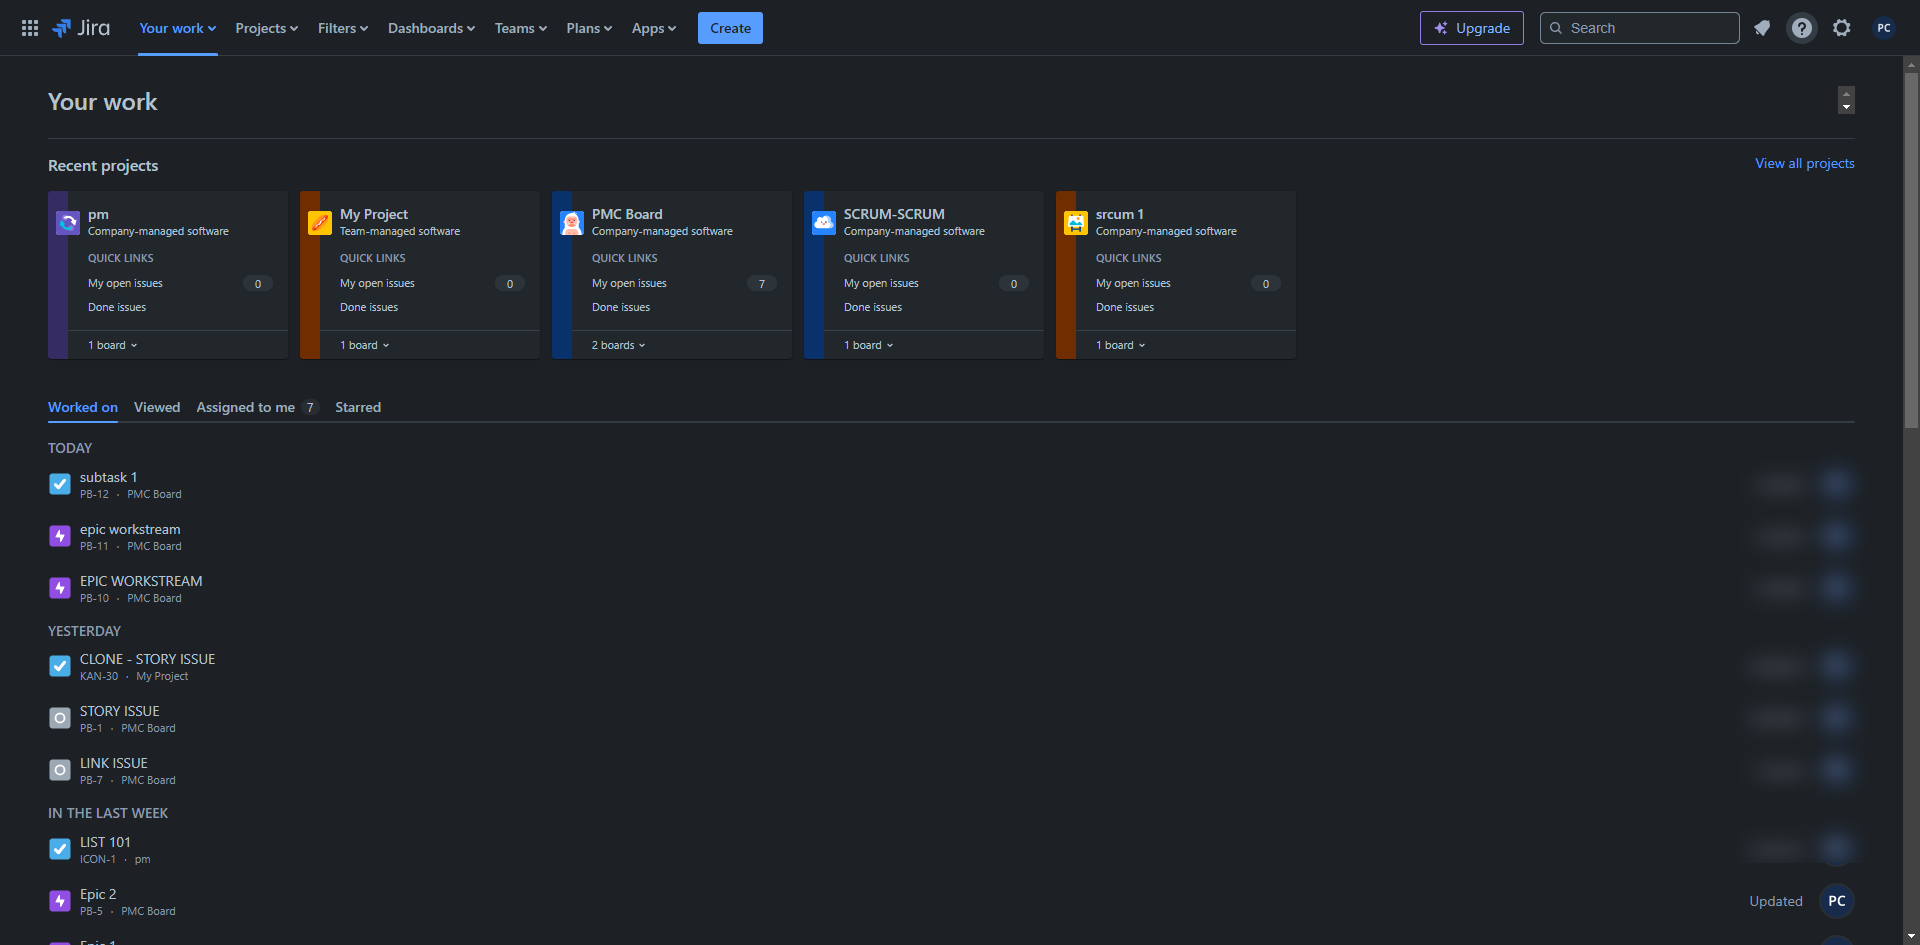
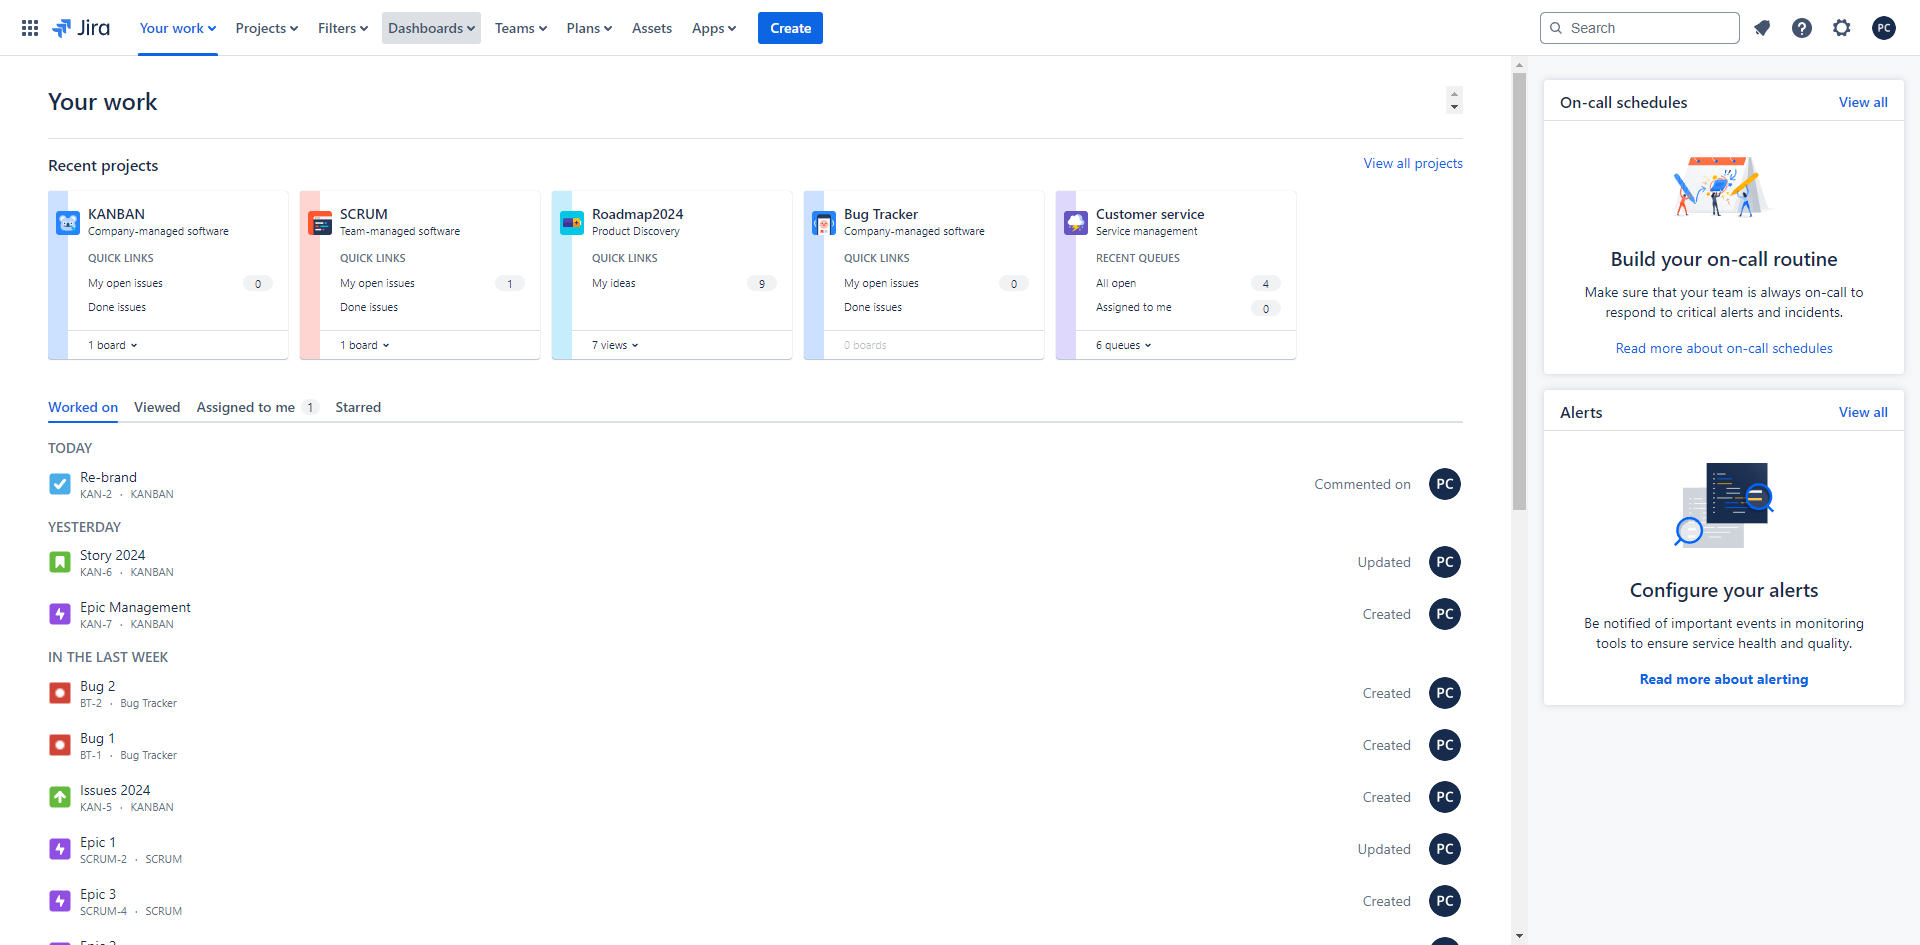
On the Jira dashboard, click the 'Plans' dropdown in the top navigation bar.
Select 'Create plan' from the dropdown.
Provide a meaningful name for your roadmap that reflects the project, team, or initiative it will track.
If your teams are using Agile boards (Scrum/Kanban), you can select them as issue sources.
Select the projects you want to include in the roadmap.
Click 'Create'.
Use Jira Query Language (JQL) filters to define which issues should appear in your roadmap.
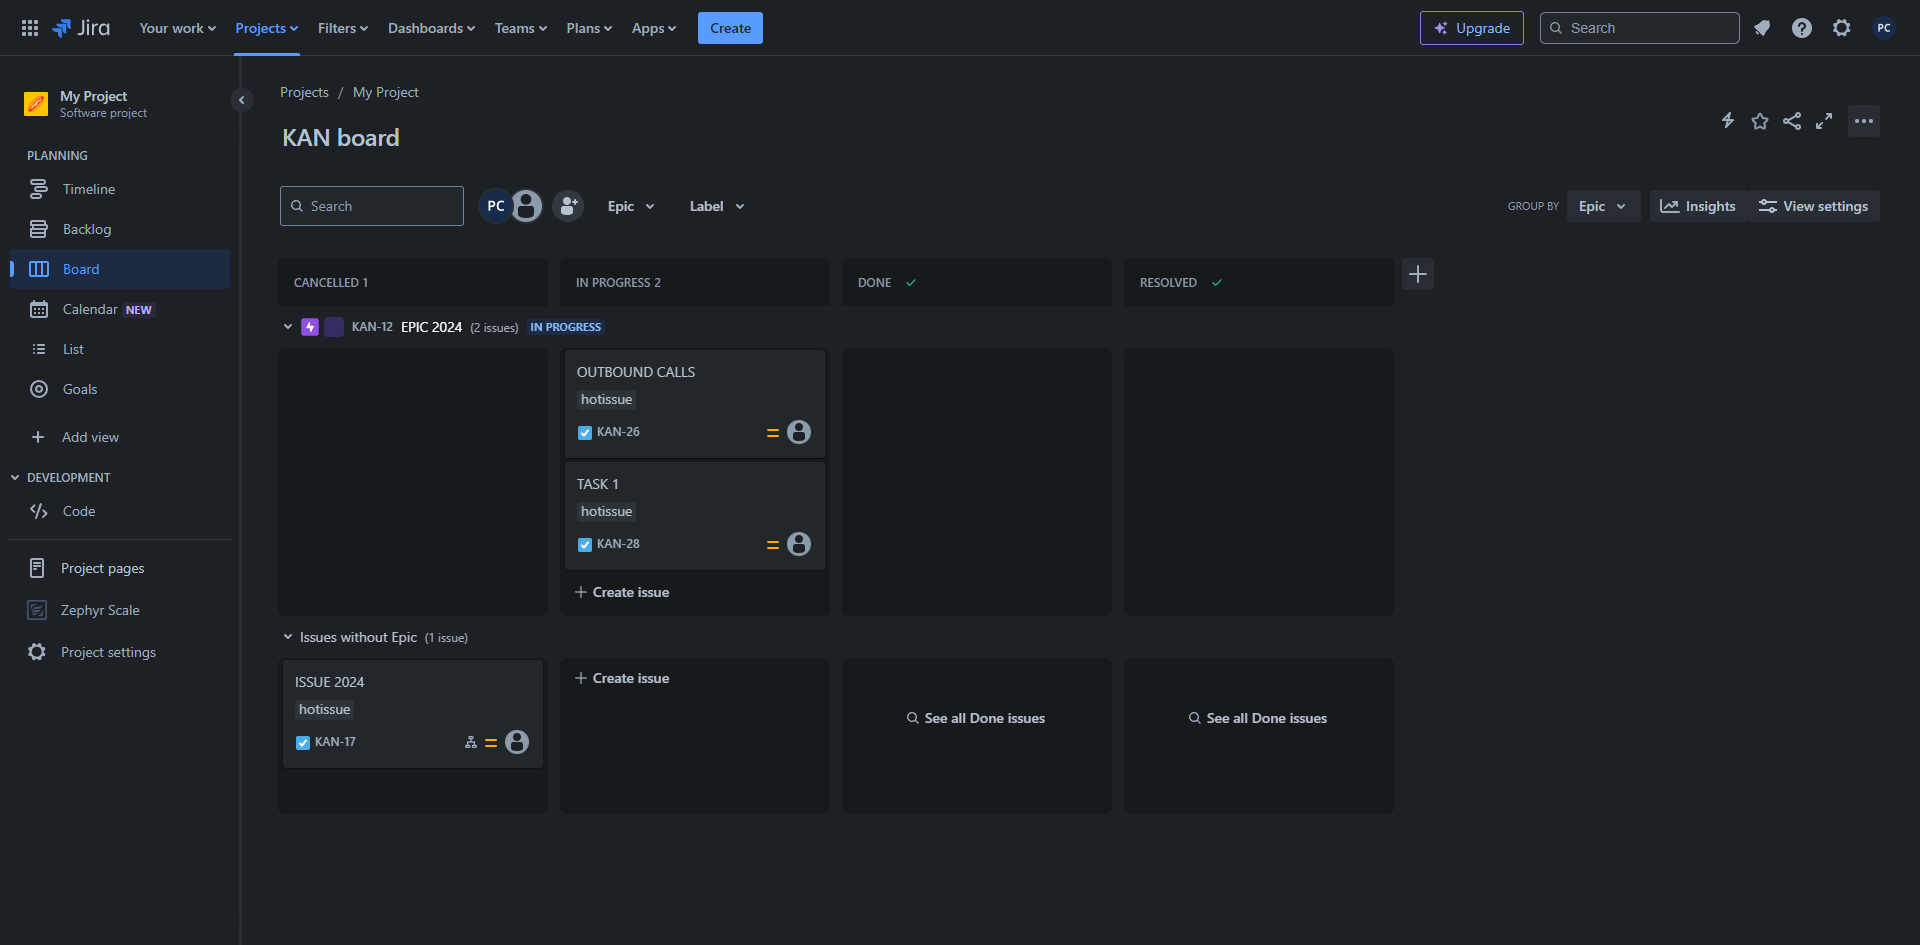
Click the 'Basic View' drop down to select from the views below.
Click 'TIMELINE' and the roadmap will be displayed on a timeline that shows start dates and end dates for epics, tasks, and other issues.
Click 'Calendar' to add important tasks or schedules.
If you want to create a 'Program' board click 'Program'.
In Advanced Roadmaps, you can define the teams that will work on the issues and track their capacity across sprints or timeframes.
Navigate to 'Releases' if you want to create a cross-project release.
To manage dependencies between tasks across different teams and projects, click 'Dependencies'.
You can also share the roadmap with team members or stakeholders by granting them view or edit permissions by clicking the 'Share' button.
Quick answer: To Create Advanced Roadmap in Jira, click the Plans dropdown, select Create plan, name it, choose issue sources and projects, and click Create. Then, use JQL filters, select views like Timeline, Calendar, or Program, define teams, manage releases and dependencies, and share permissions.
About this Jira tutorial
Build and manage complex project plans in Jira by setting up issue sources, timeline views, team capacities, and cross-project dependencies. This guide shows how to create Advanced Roadmap in Jira in 15 steps, starting with "On the Jira dashboard, click the 'Plans' dropdown in the top navigation bar" and finishing with "You can also share the roadmap with team members or stakeholders by granting them view...". The interactive demo above is a click-through copy of the real Jira interface, so you can rehearse each step before doing it in your own account.
Frequently asked questions
How many steps does it take to create Advanced Roadmap in Jira?
15 steps. Each one is listed in order above, and the demo highlights exactly where to click.
Can I try it without changing my own account?
Yes. Clicking through the demo doesn't touch your Jira data or settings. Once you know the flow, repeat it in your own workspace.
This tutorial is filed under Jira. Related guides: How to create an epic in jira, How to Create Automation Rules in Jira and How To Create Confluence Page From Jira Issue. Last reviewed 05 Oct 2026.

Create your first interactive demo in minutes
No credit card required • Start building today