How to Use Airtable for Project Management
- George Apostolov
This guide is an interactive LiveDemo. Create interactive demos of your own product: Interactive demo software · Interactive customer onboarding guides · Start free
How to Use Airtable for Project Management: step-by-step guide
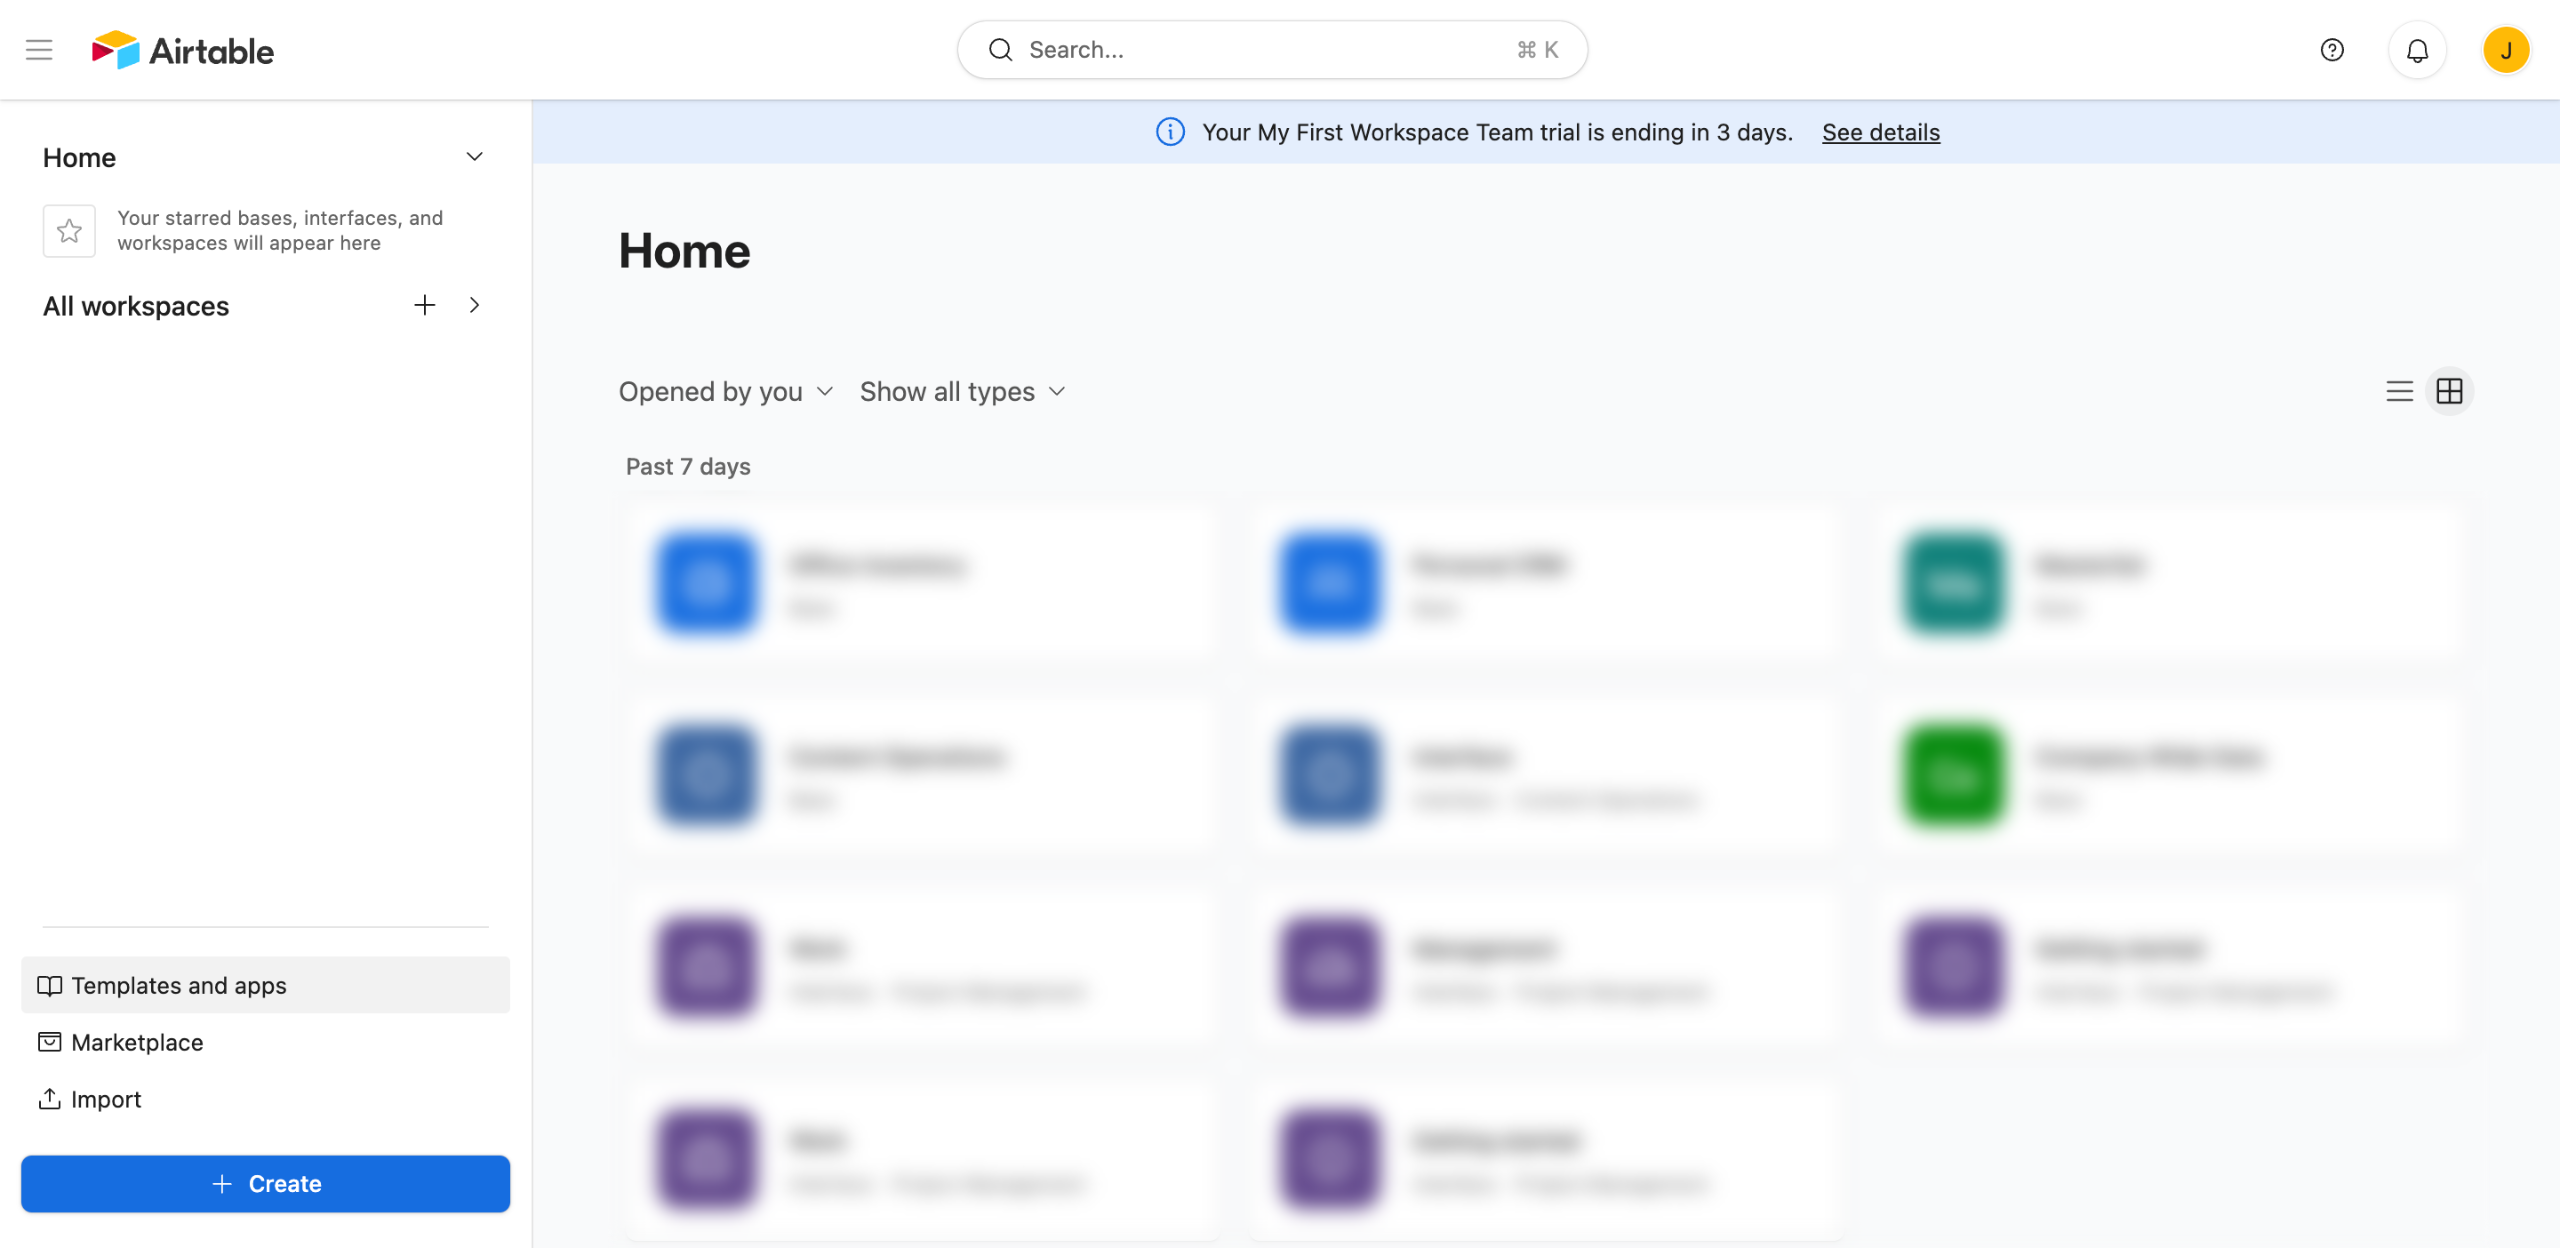
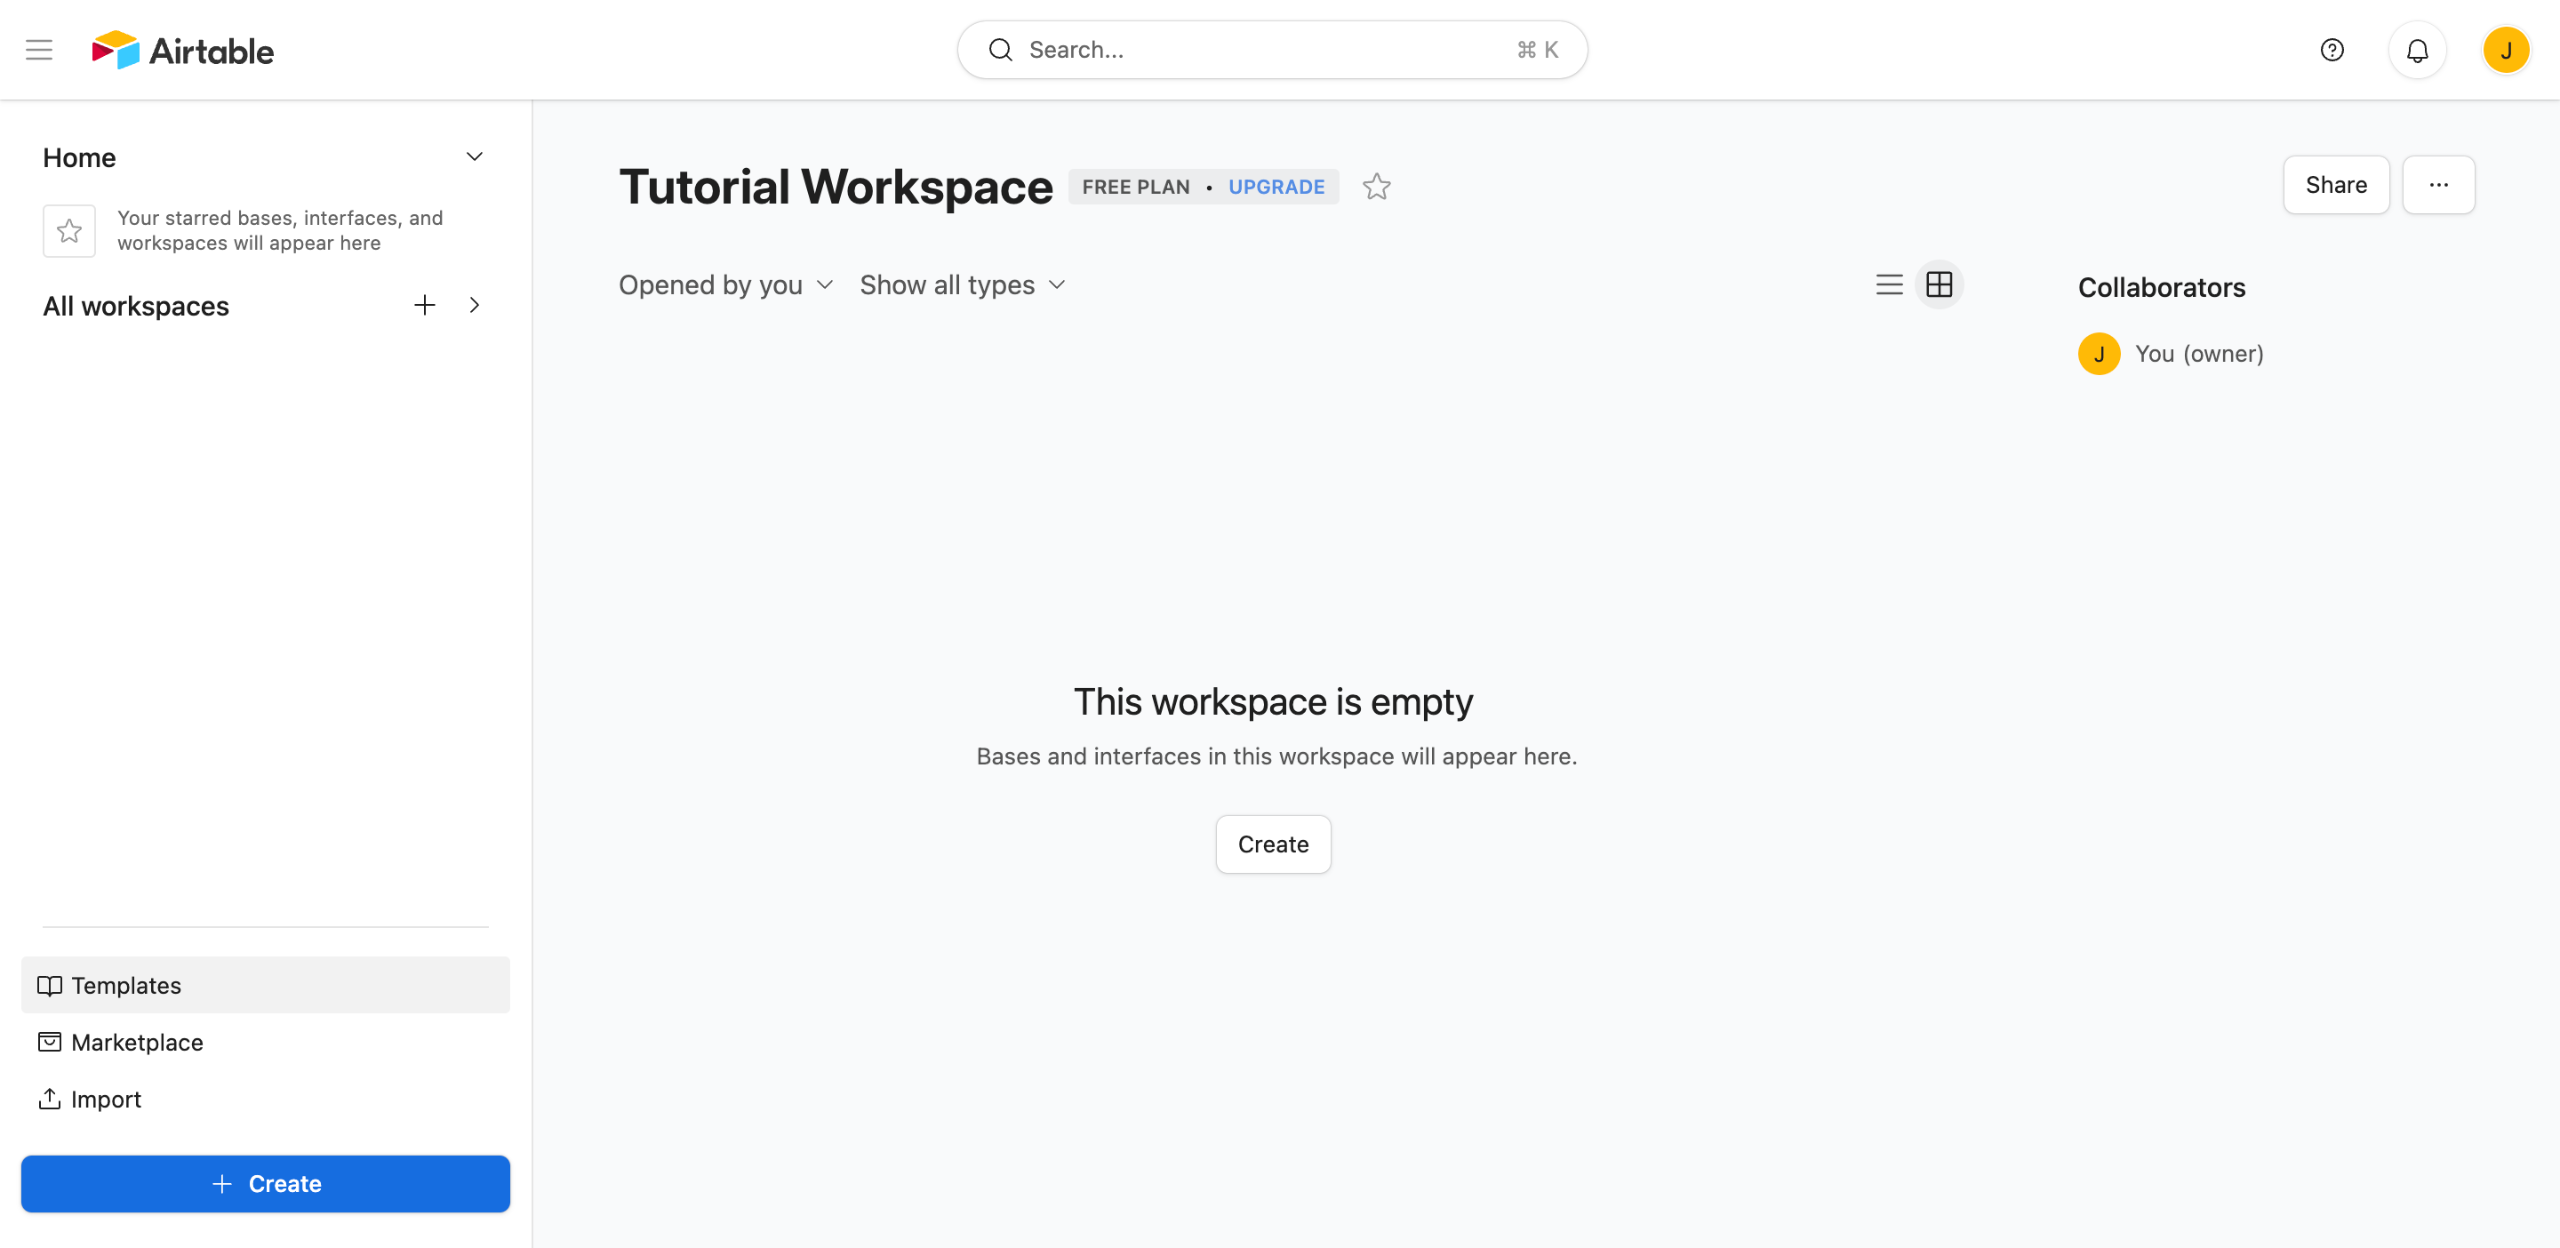
Navigate to the left-side panel, then tap 'Templates'.
Find and click 'Project Management' from the list of available categories.
After that, browse the library and choose your desired Project Management template.
Tap 'Try This Template' afterwards to continue.
Select the specific Airtable workplace you prefer to use, then click 'Create'.
Click 'App Directory' on the left-side panel to learn more about the tabs and tools provided by your selected template.
Under the Work section, click on 'My Tasks' to view the details and progress of the specific tasks assigned to you.
Meanwhile, tap 'Projects & Tasks' right below the My Tasks tab to add, revise, and remove activity details.
To create a new assignment for your project, head over to the top-right corner and then click 'Add Task'.
After that, assign the new task to your preferred project.
Enter a unique task name afterwards.
Provide the important details and instructions related to the task.
Following that, specify your preferred Start Date and Deadline.
Assign the task afterwards to your teammates.
Once done, tap 'Create' to save the new task.
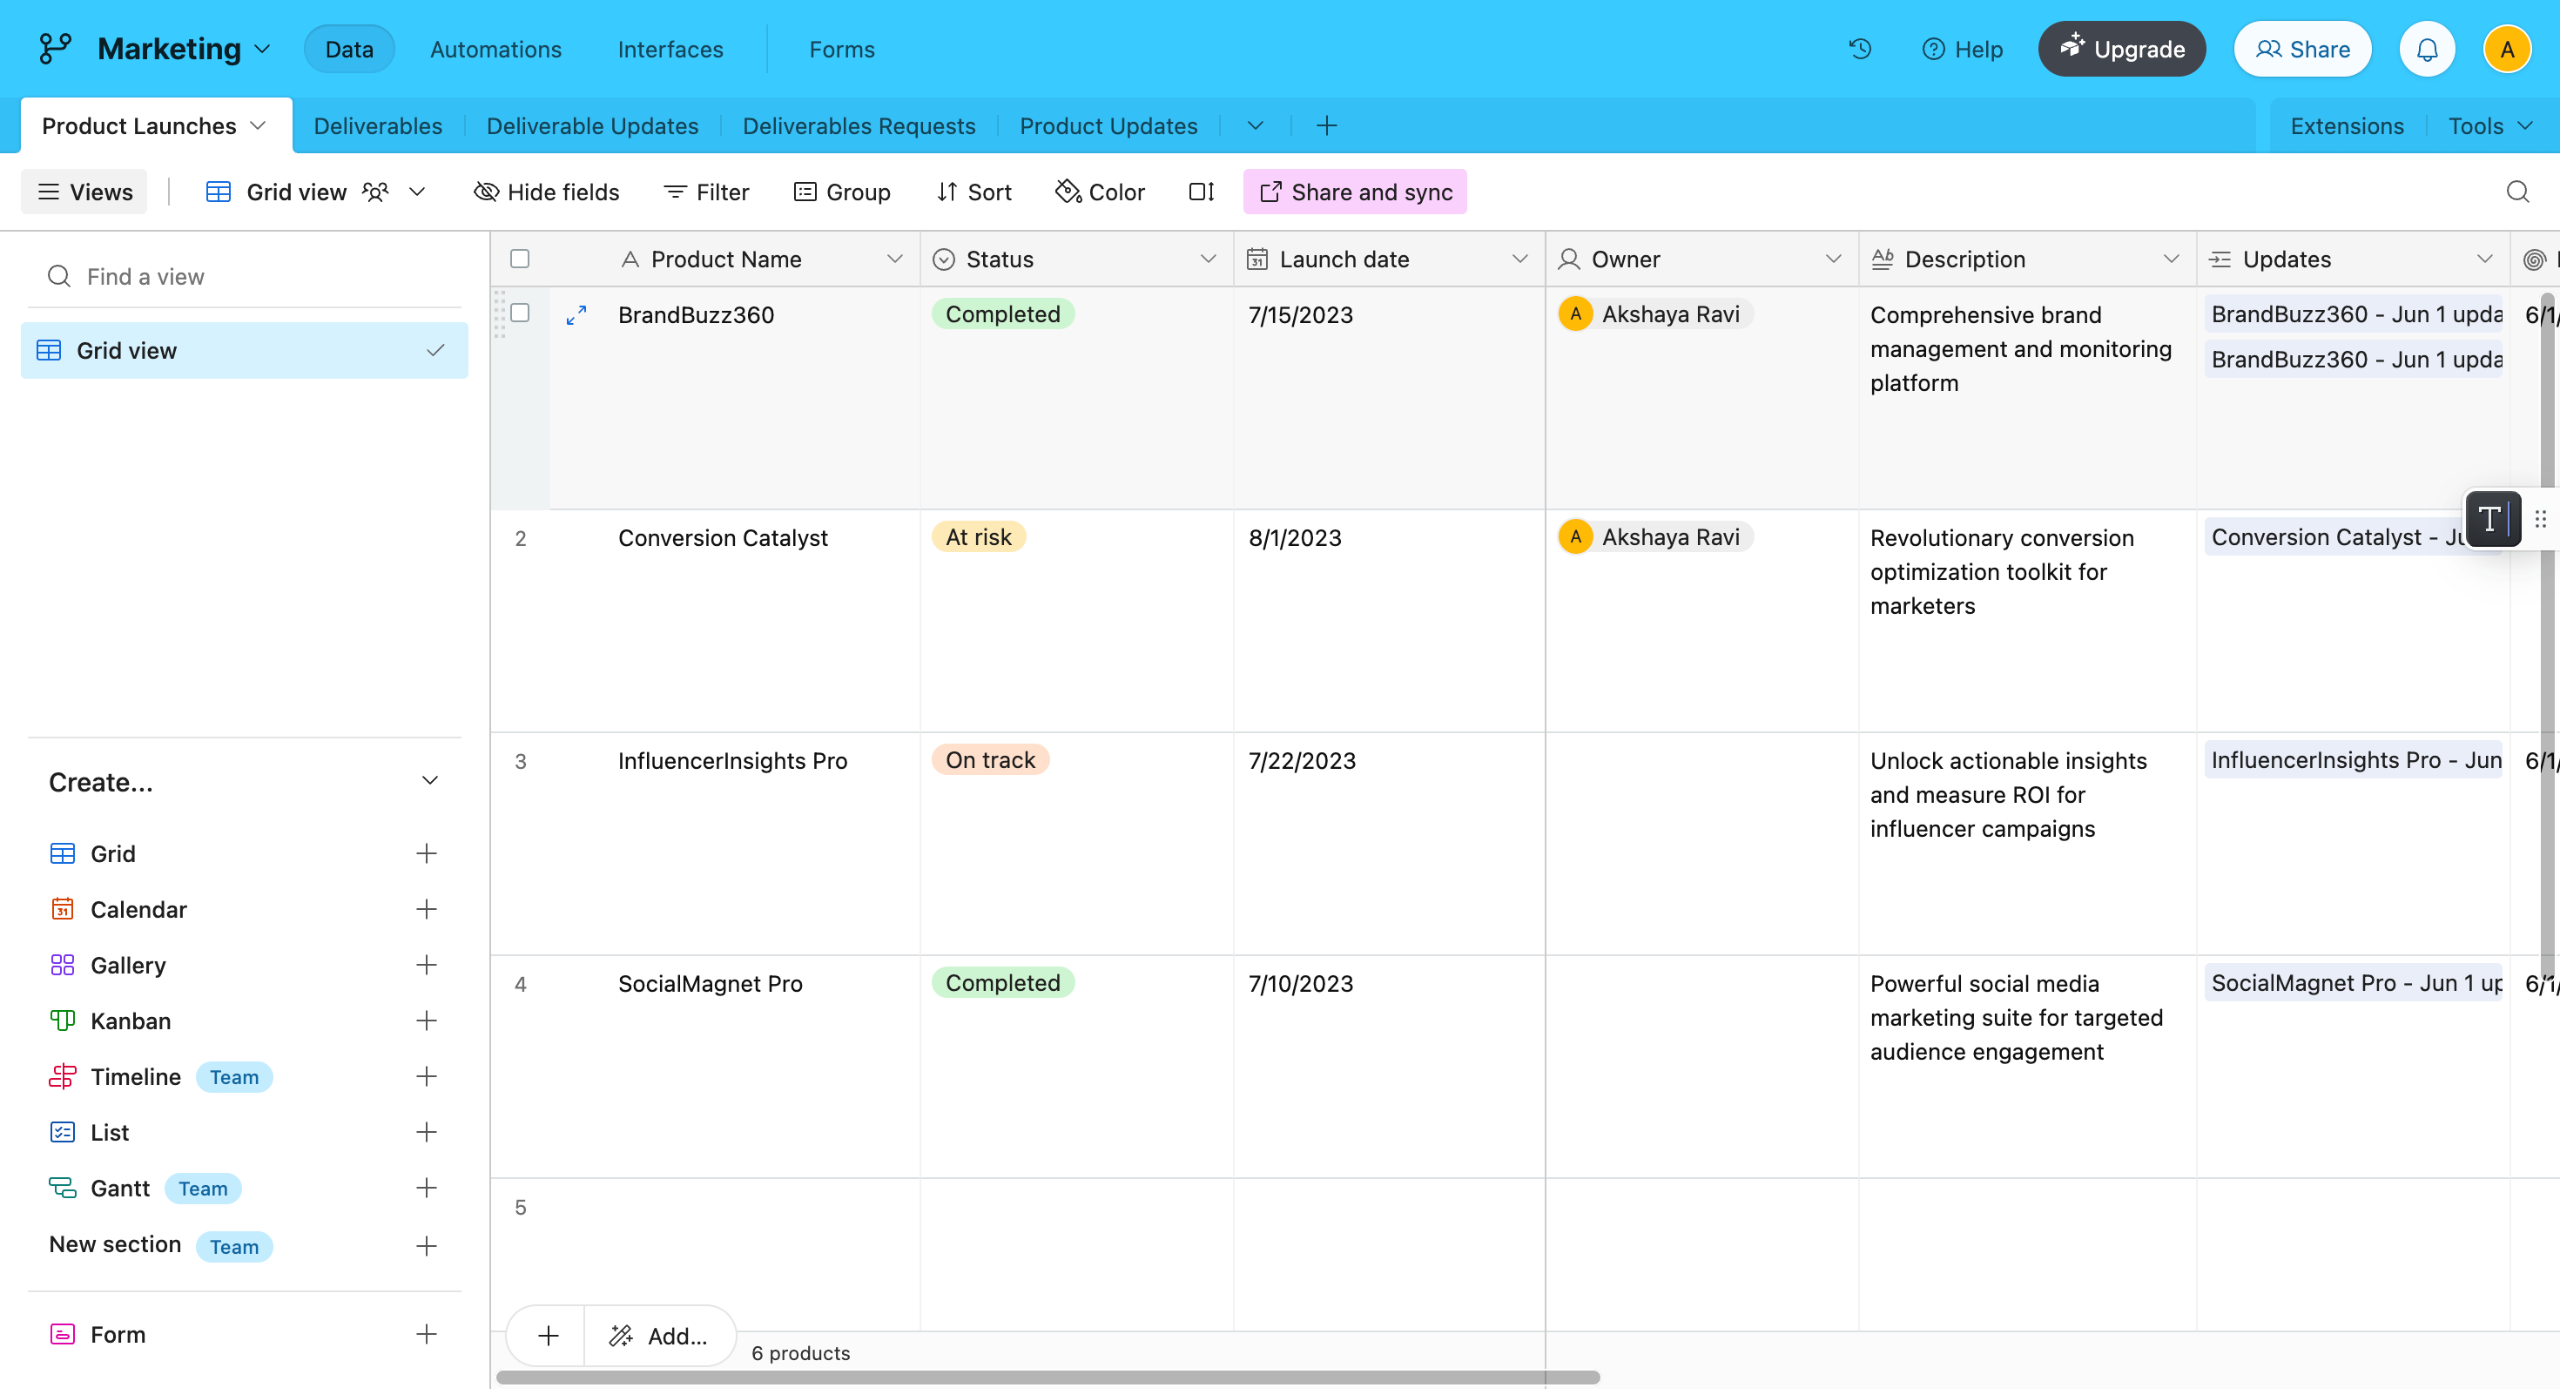
Click on 'Schedule', 'Kanban', or 'Roadmap' for a quick yet comprehensive overview of the entire project.
After finalizing the details of your project, navigate to the bottom section of the panel and click 'Share' to give specific team members access to the dashboard.
Quick answer: To manage projects using Airtable, select a Project Management template from the Templates menu and choose your workspace. Then, navigate the template to create and assign tasks with dates and details, view the project schedule using Kanban or Roadmap, and share the dashboard with your team.
About this Airtable tutorial
Set up project management workflows in Airtable by applying templates, organizing tasks, and sharing dashboards with your team. This guide shows how to use Airtable for Project Management in 17 steps, starting with "Navigate to the left-side panel, then tap 'Templates'" and finishing with "After finalizing the details of your project, navigate to the bottom section of the pan...". The interactive demo above is a click-through copy of the real Airtable interface, so you can rehearse each step before doing it in your own account.
Frequently asked questions
How many steps does it take to use Airtable for Project Management?
17 steps. Each one is listed in order above, and the demo highlights exactly where to click.
Can I try it without changing my own account?
Yes. Clicking through the demo doesn't touch your Airtable data or settings. Once you know the flow, repeat it in your own workspace.
This tutorial is filed under Airtable. Related guides: How to Use Airtable for Social Media Planning, How to Use Rollup in Airtable and How to Wrap Text in Airtable. Last reviewed 05 Oct 2026.

Create your first interactive demo in minutes
No credit card required • Start building today