How to Add a Countdown Timer in Klaviyo
- George Apostolov
How to Add a Countdown Timer in Klaviyo: step-by-step guide
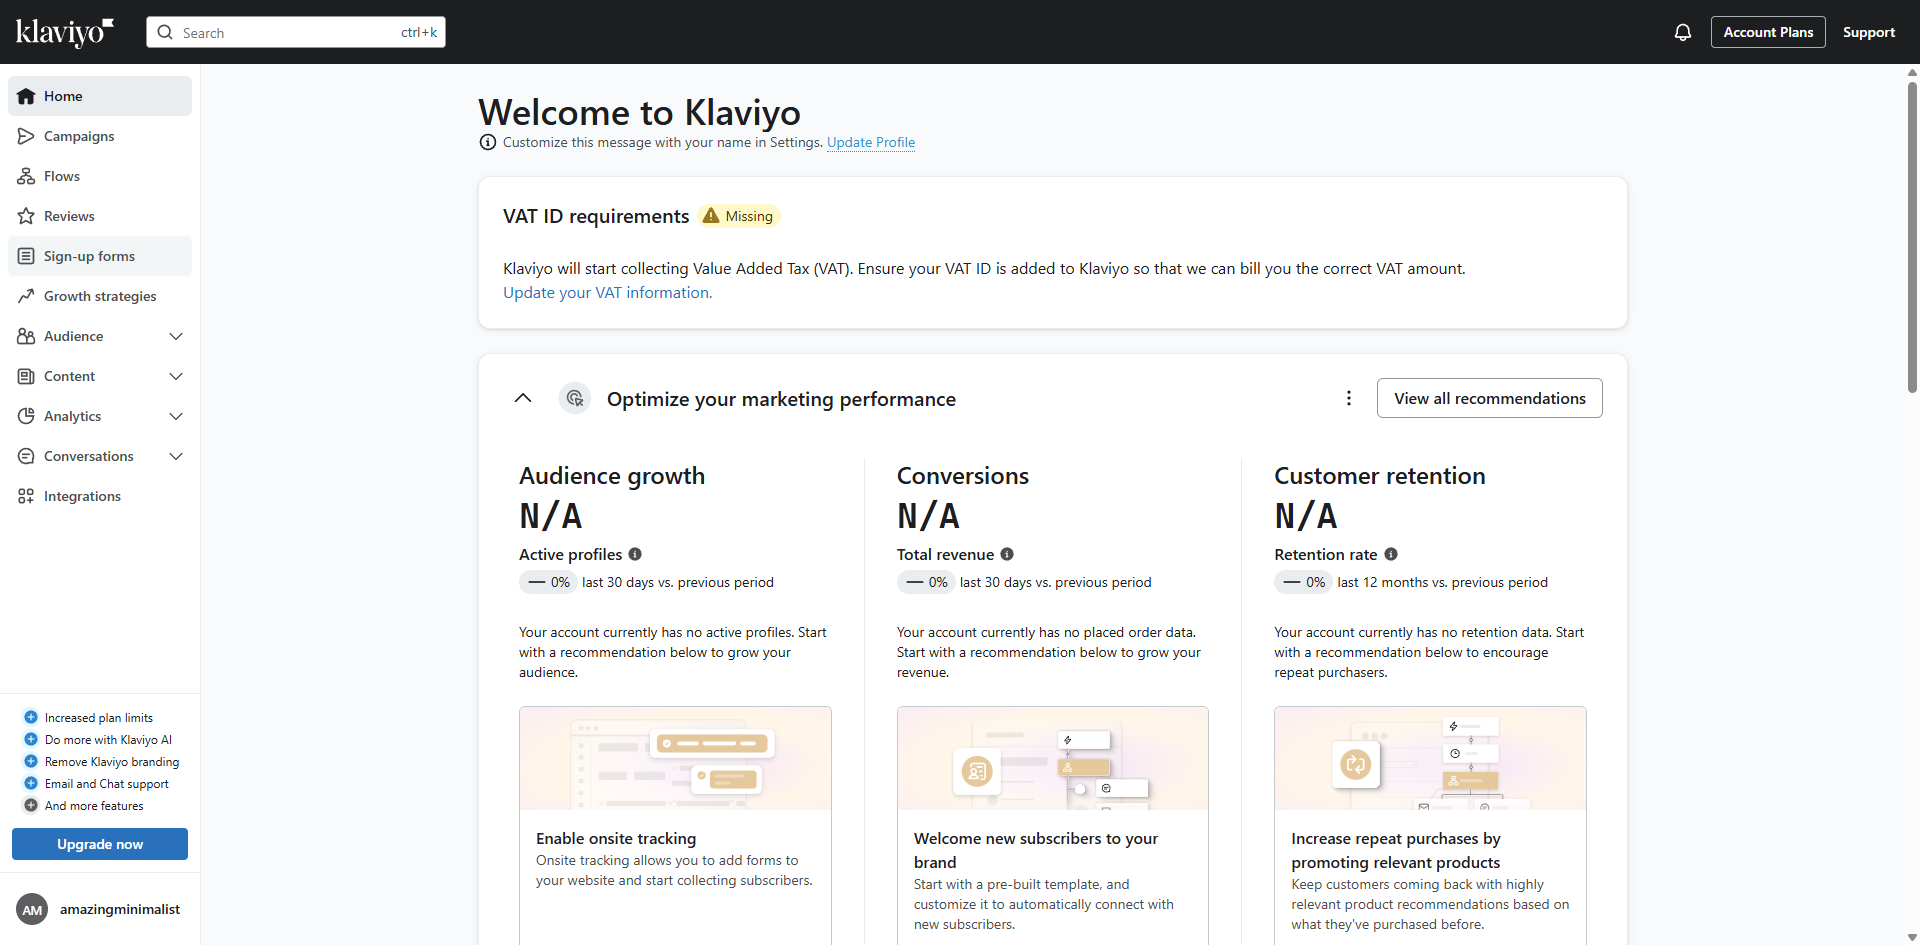
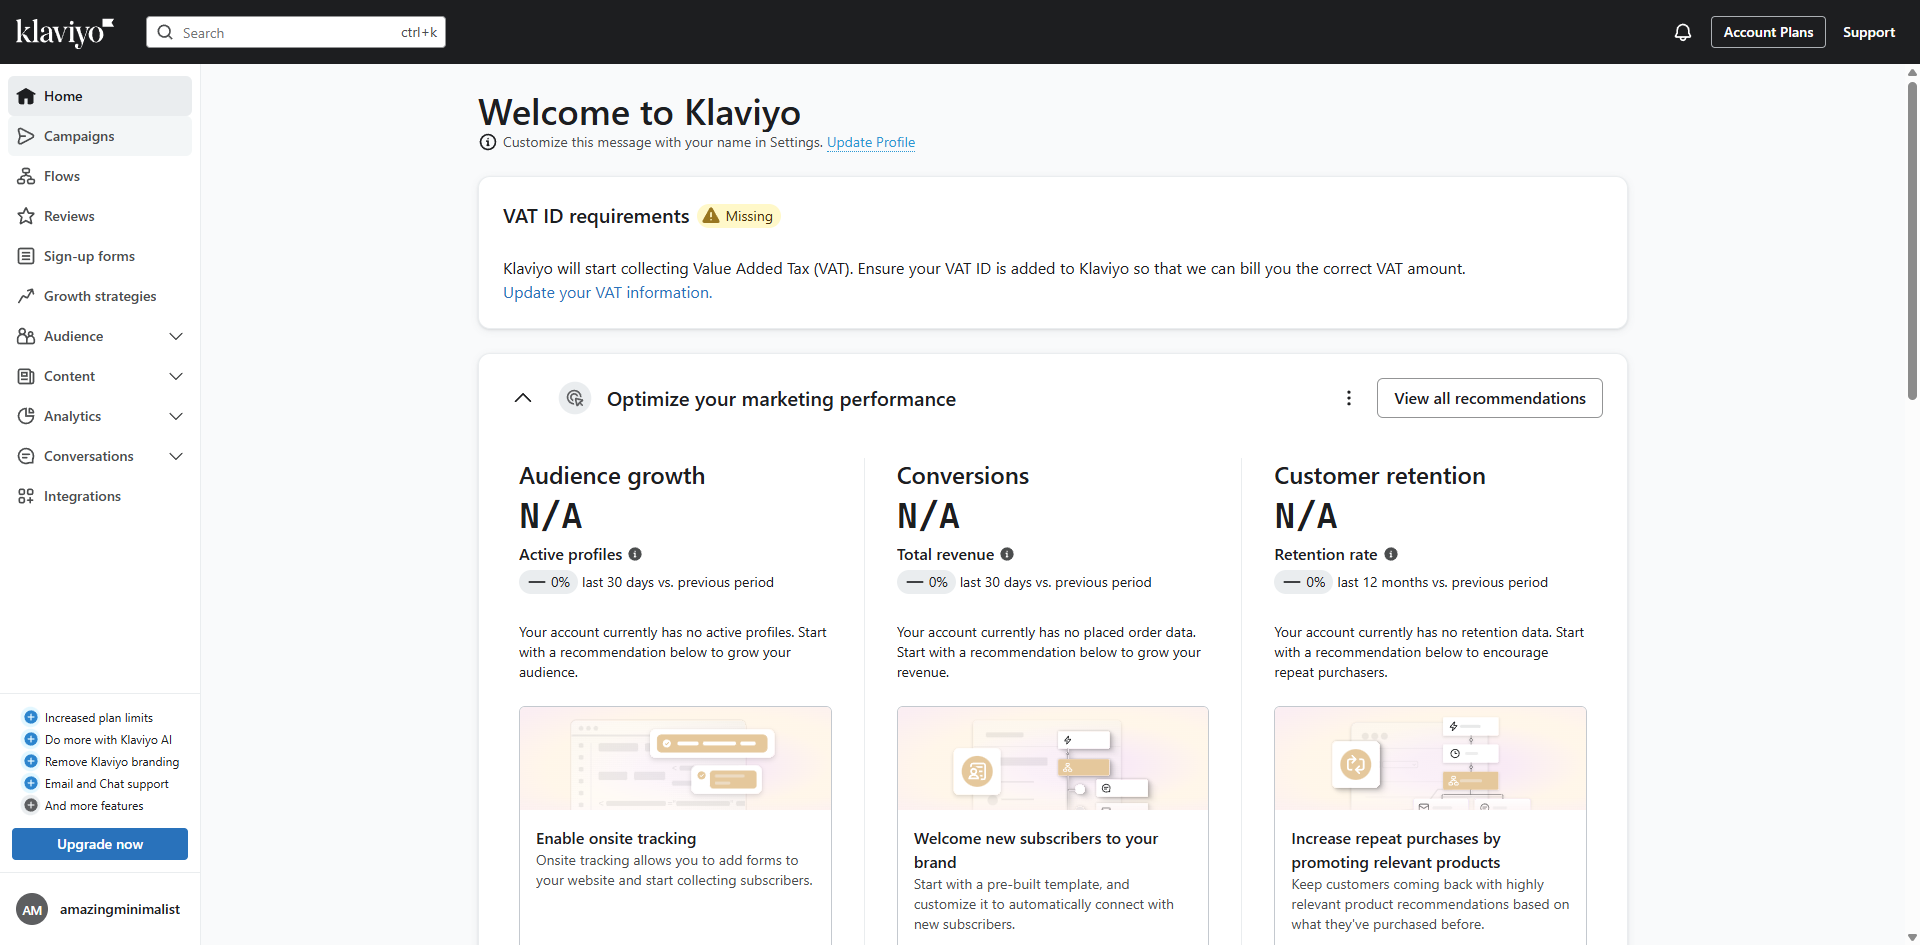
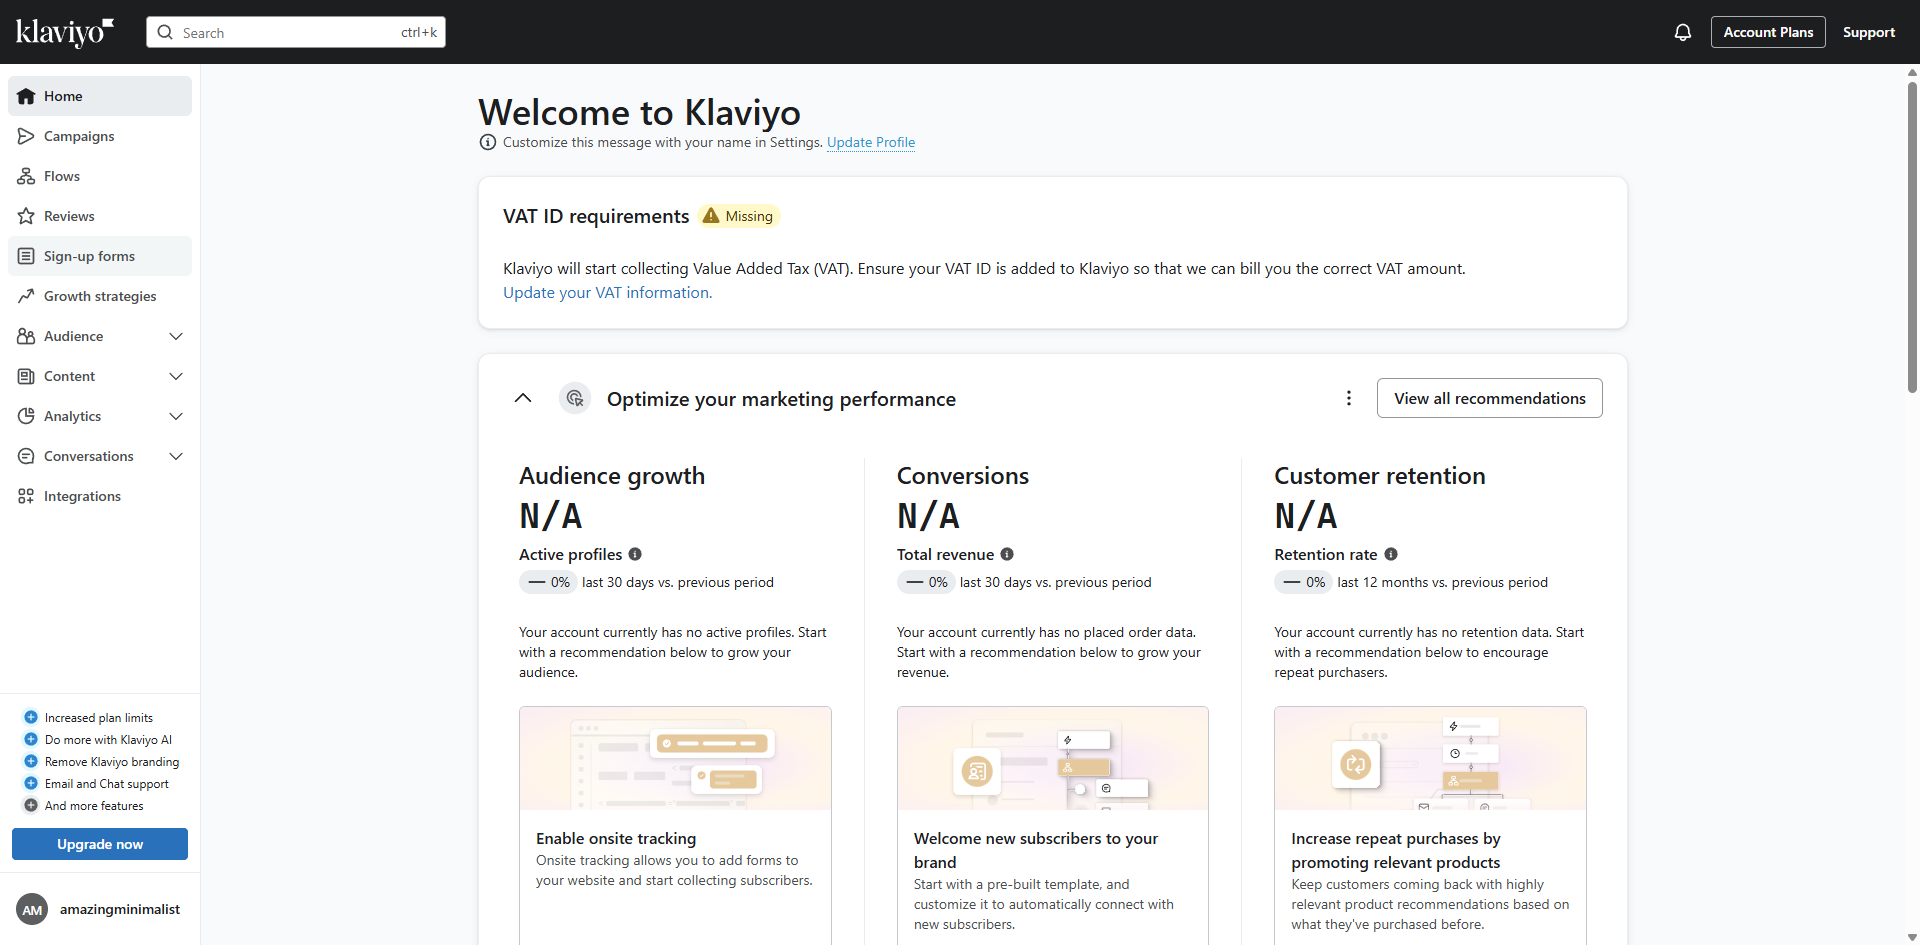
Head to 'Sign-up forms' in your Klaviyo dashboard to build your countdown timer.
Click on 'Poll' where we'll add our countdown timer element.
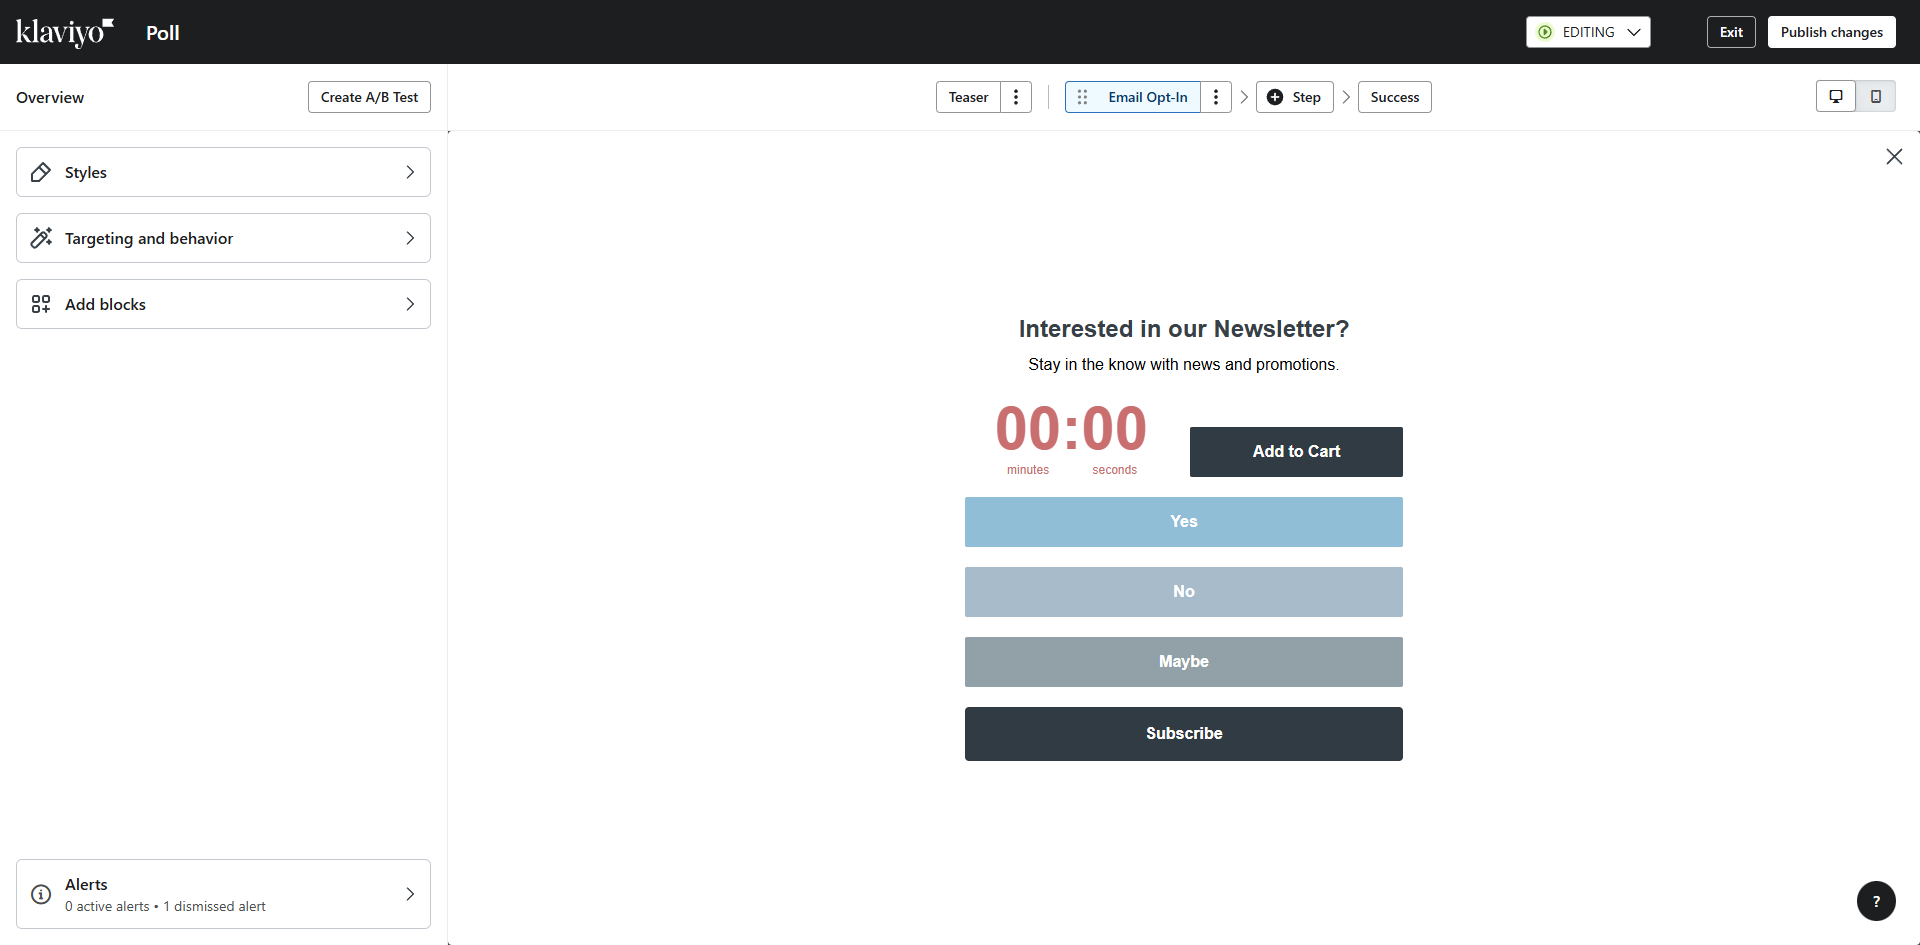
Select 'Edit Form' to open the customization interface for your poll.
Click 'Add blocks' to view the various elements you can add to your form.
Select the 'Countdown timer' element.
Specify the end date for your promotion, when the clock should hit zero.
Click to select a day as your offer's expiration date.
Now, let's set the exact hour when your timer will expire.
Choose a time zone to keep your countdown accurate for your target audience.
Choose an animation for your countdown timer.
Choose how your countdown numbers and text will display.
Make your countdown stand out by adjusting the text color and size.
Take a moment to preview your countdown timer and ensure it creates the right sense of urgency.
Click 'Publish' to make your countdown timer live and start creating urgency right away.
Quick answer: To add a countdown timer in Klaviyo, head to Sign-up forms, open your poll's edit form, and select the Countdown timer block. Next, specify the end date, exact expiration hour, time zone, animation, and display options. Finally, adjust text styling, preview the timer, and click Publish.
About this Klaviyo tutorial
Create urgency in your Klaviyo emails by adding a custom countdown timer. Set expiration dates, times, zones, and animations to launch your live timer. This guide shows how to add a Countdown Timer in Klaviyo in 14 steps, starting with "Head to 'Sign-up forms' in your Klaviyo dashboard to build your countdown timer" and finishing with "Click 'Publish' to make your countdown timer live and start creating urgency right away". The interactive demo above is a click-through copy of the real Klaviyo interface, so you can rehearse each step before doing it in your own account.
Frequently asked questions
How many steps does it take to add a Countdown Timer in Klaviyo?
14 steps. Each one is listed in order above, and the demo highlights exactly where to click.
Can I try it without changing my own account?
Yes. Clicking through the demo doesn't touch your Klaviyo data or settings. Once you know the flow, repeat it in your own workspace.
This tutorial is filed under Klaviyo. Related guides: How to Add Coupon Code to Klaviyo Email, How to Add a Dynamic Add to Cart Block in Klaviyo and How to Add a Gif to Klaviyo. Last reviewed 05 Oct 2026.

Create your first interactive demo in minutes
No credit card required • Start building today