HubSpot - How to Add HubSpot Chat to Website
- George Apostolov
HubSpot - How to Add HubSpot Chat to Website: step-by-step guide
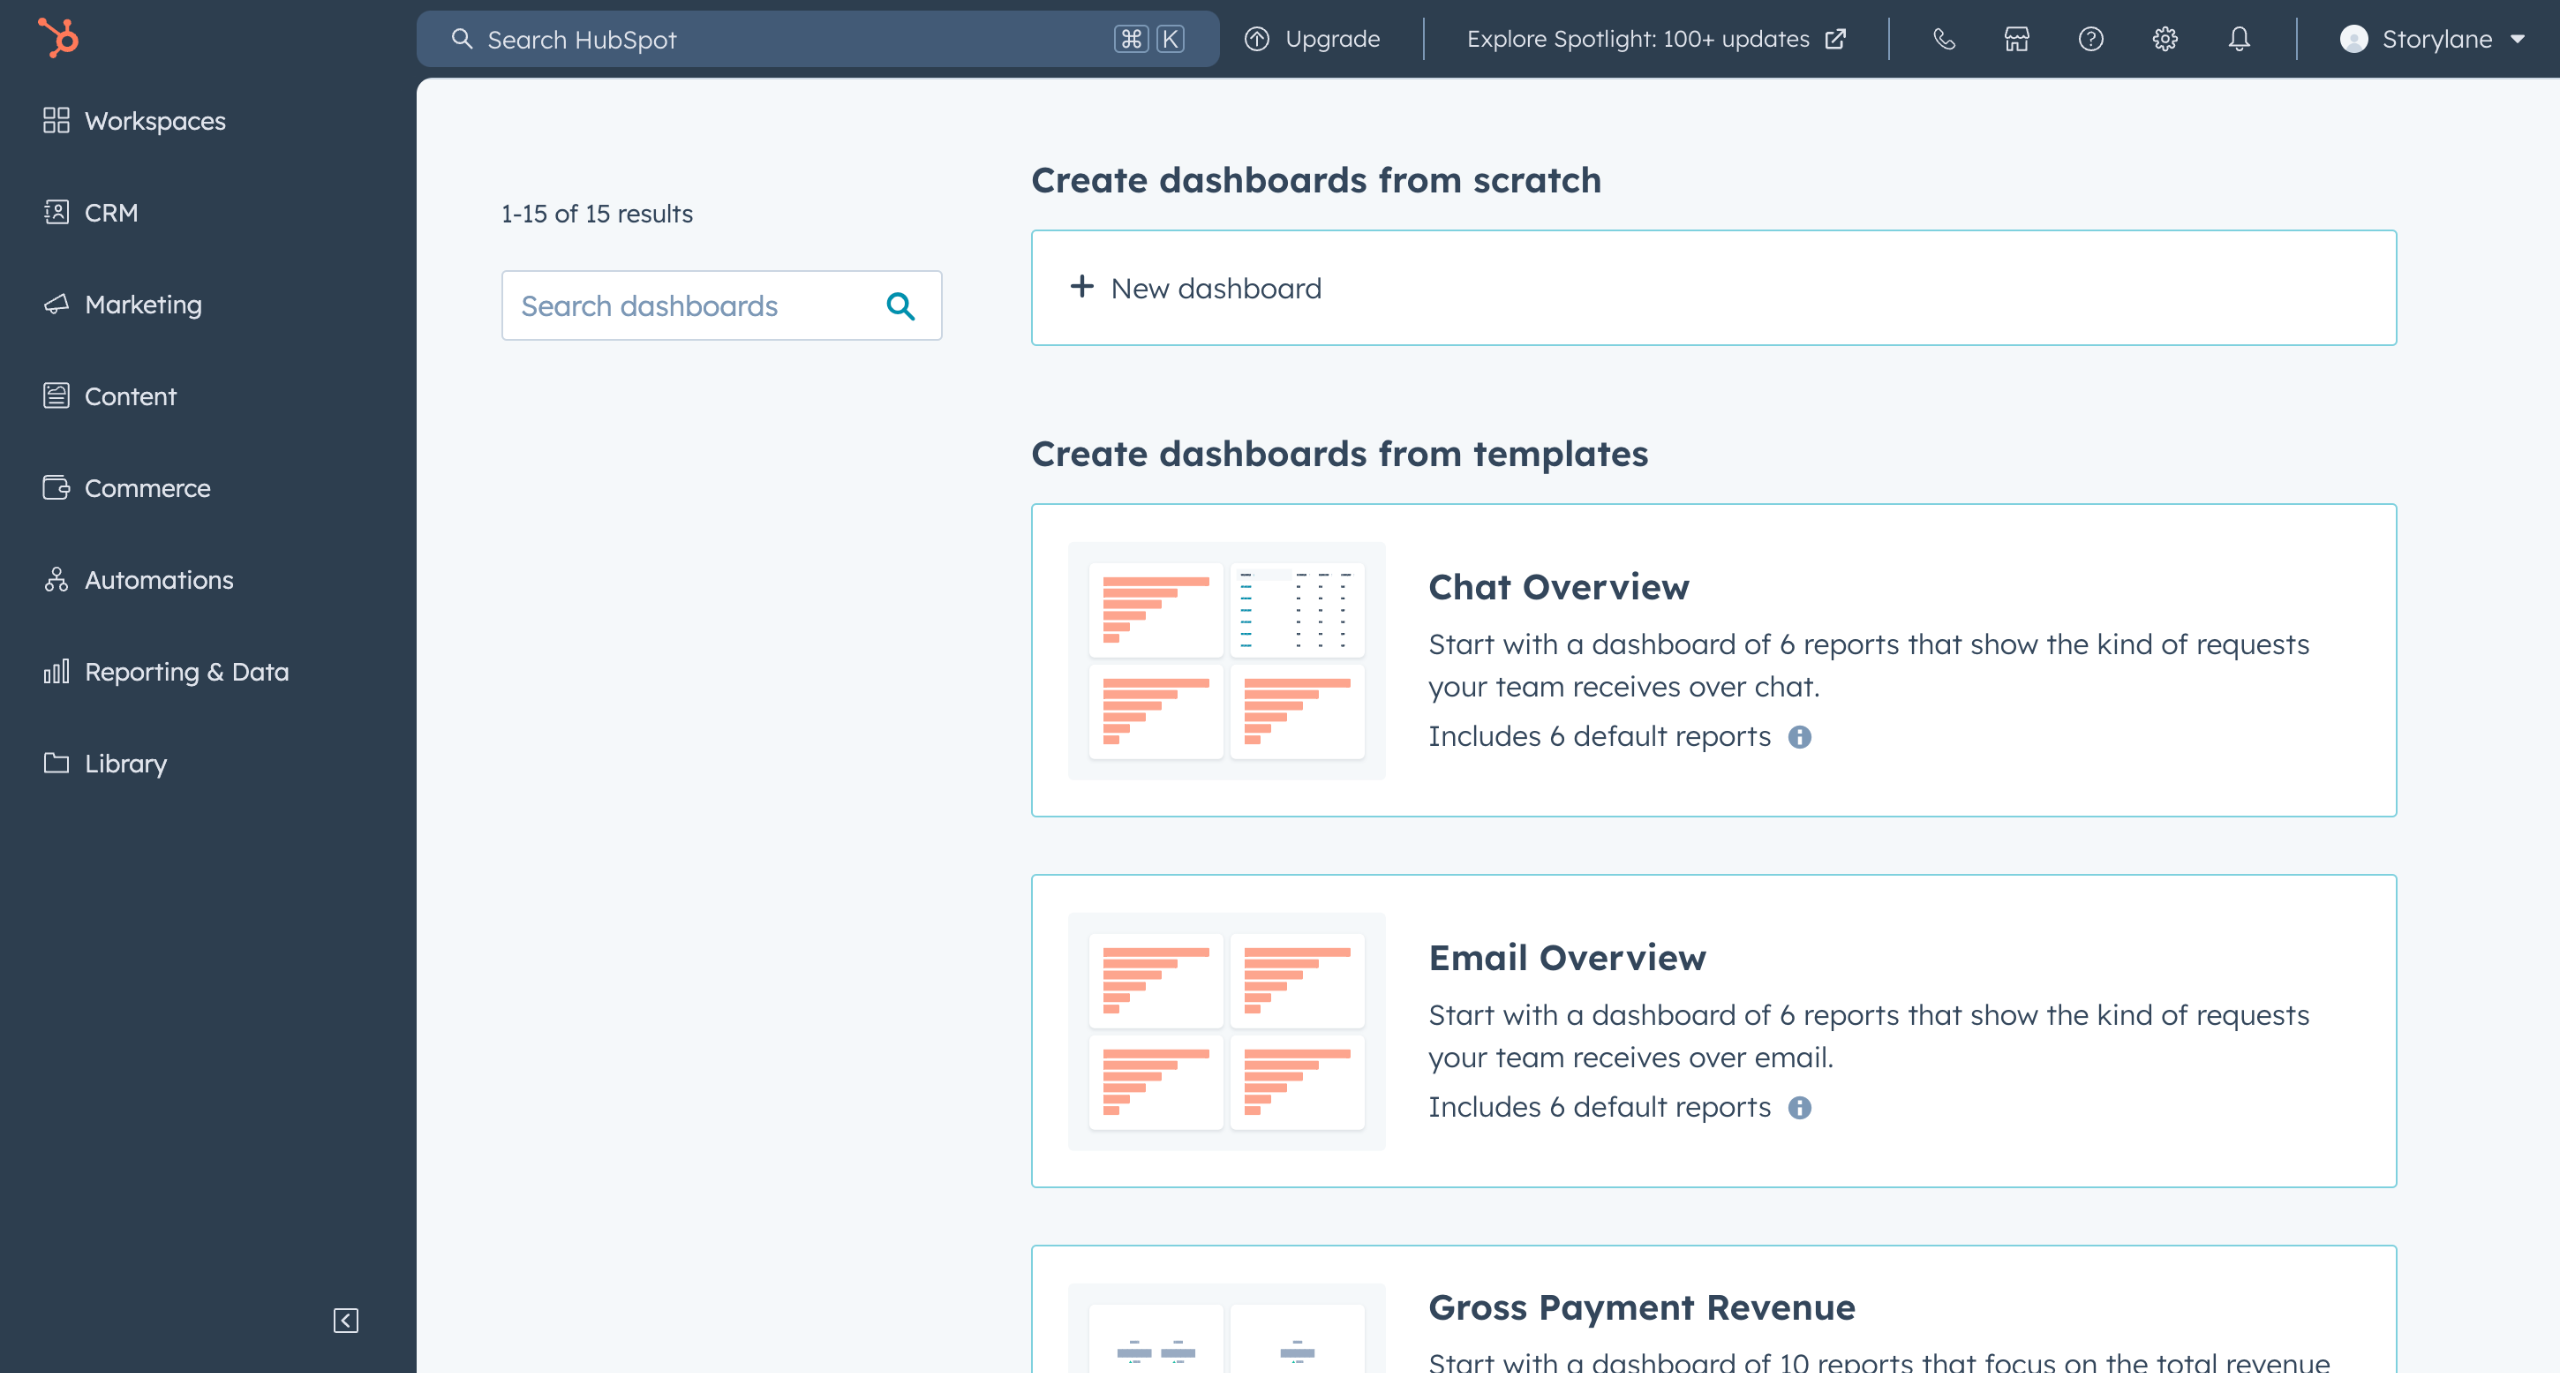
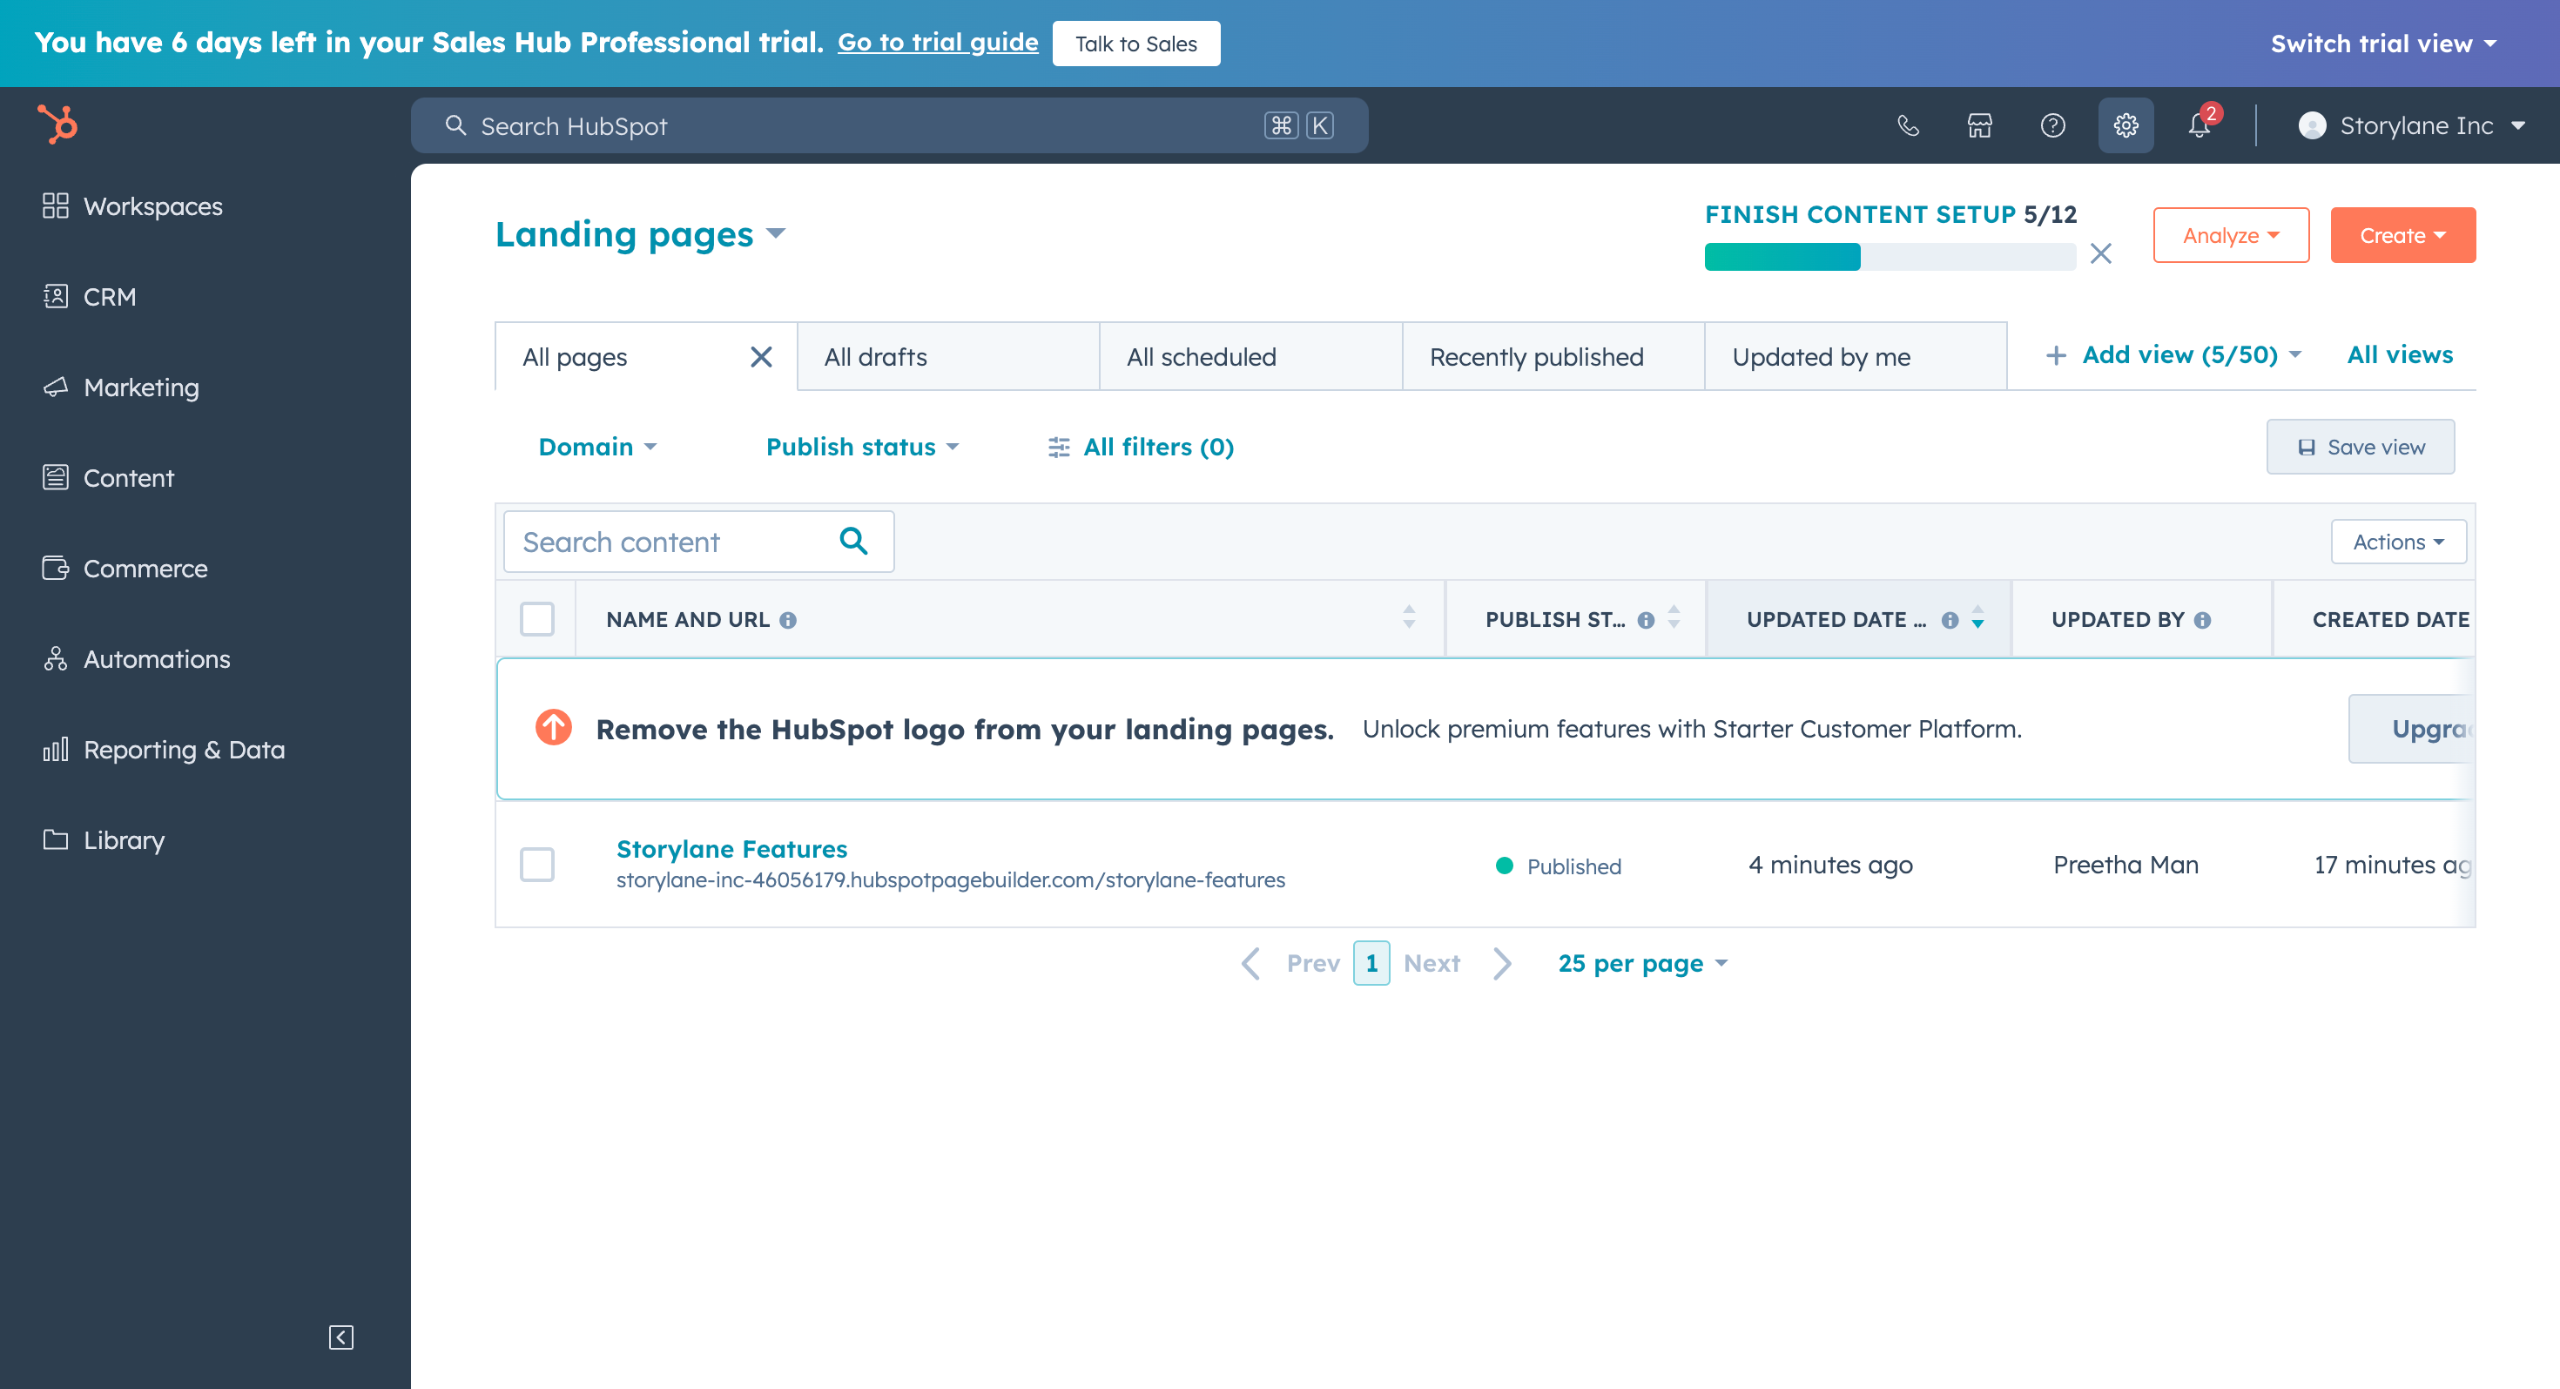
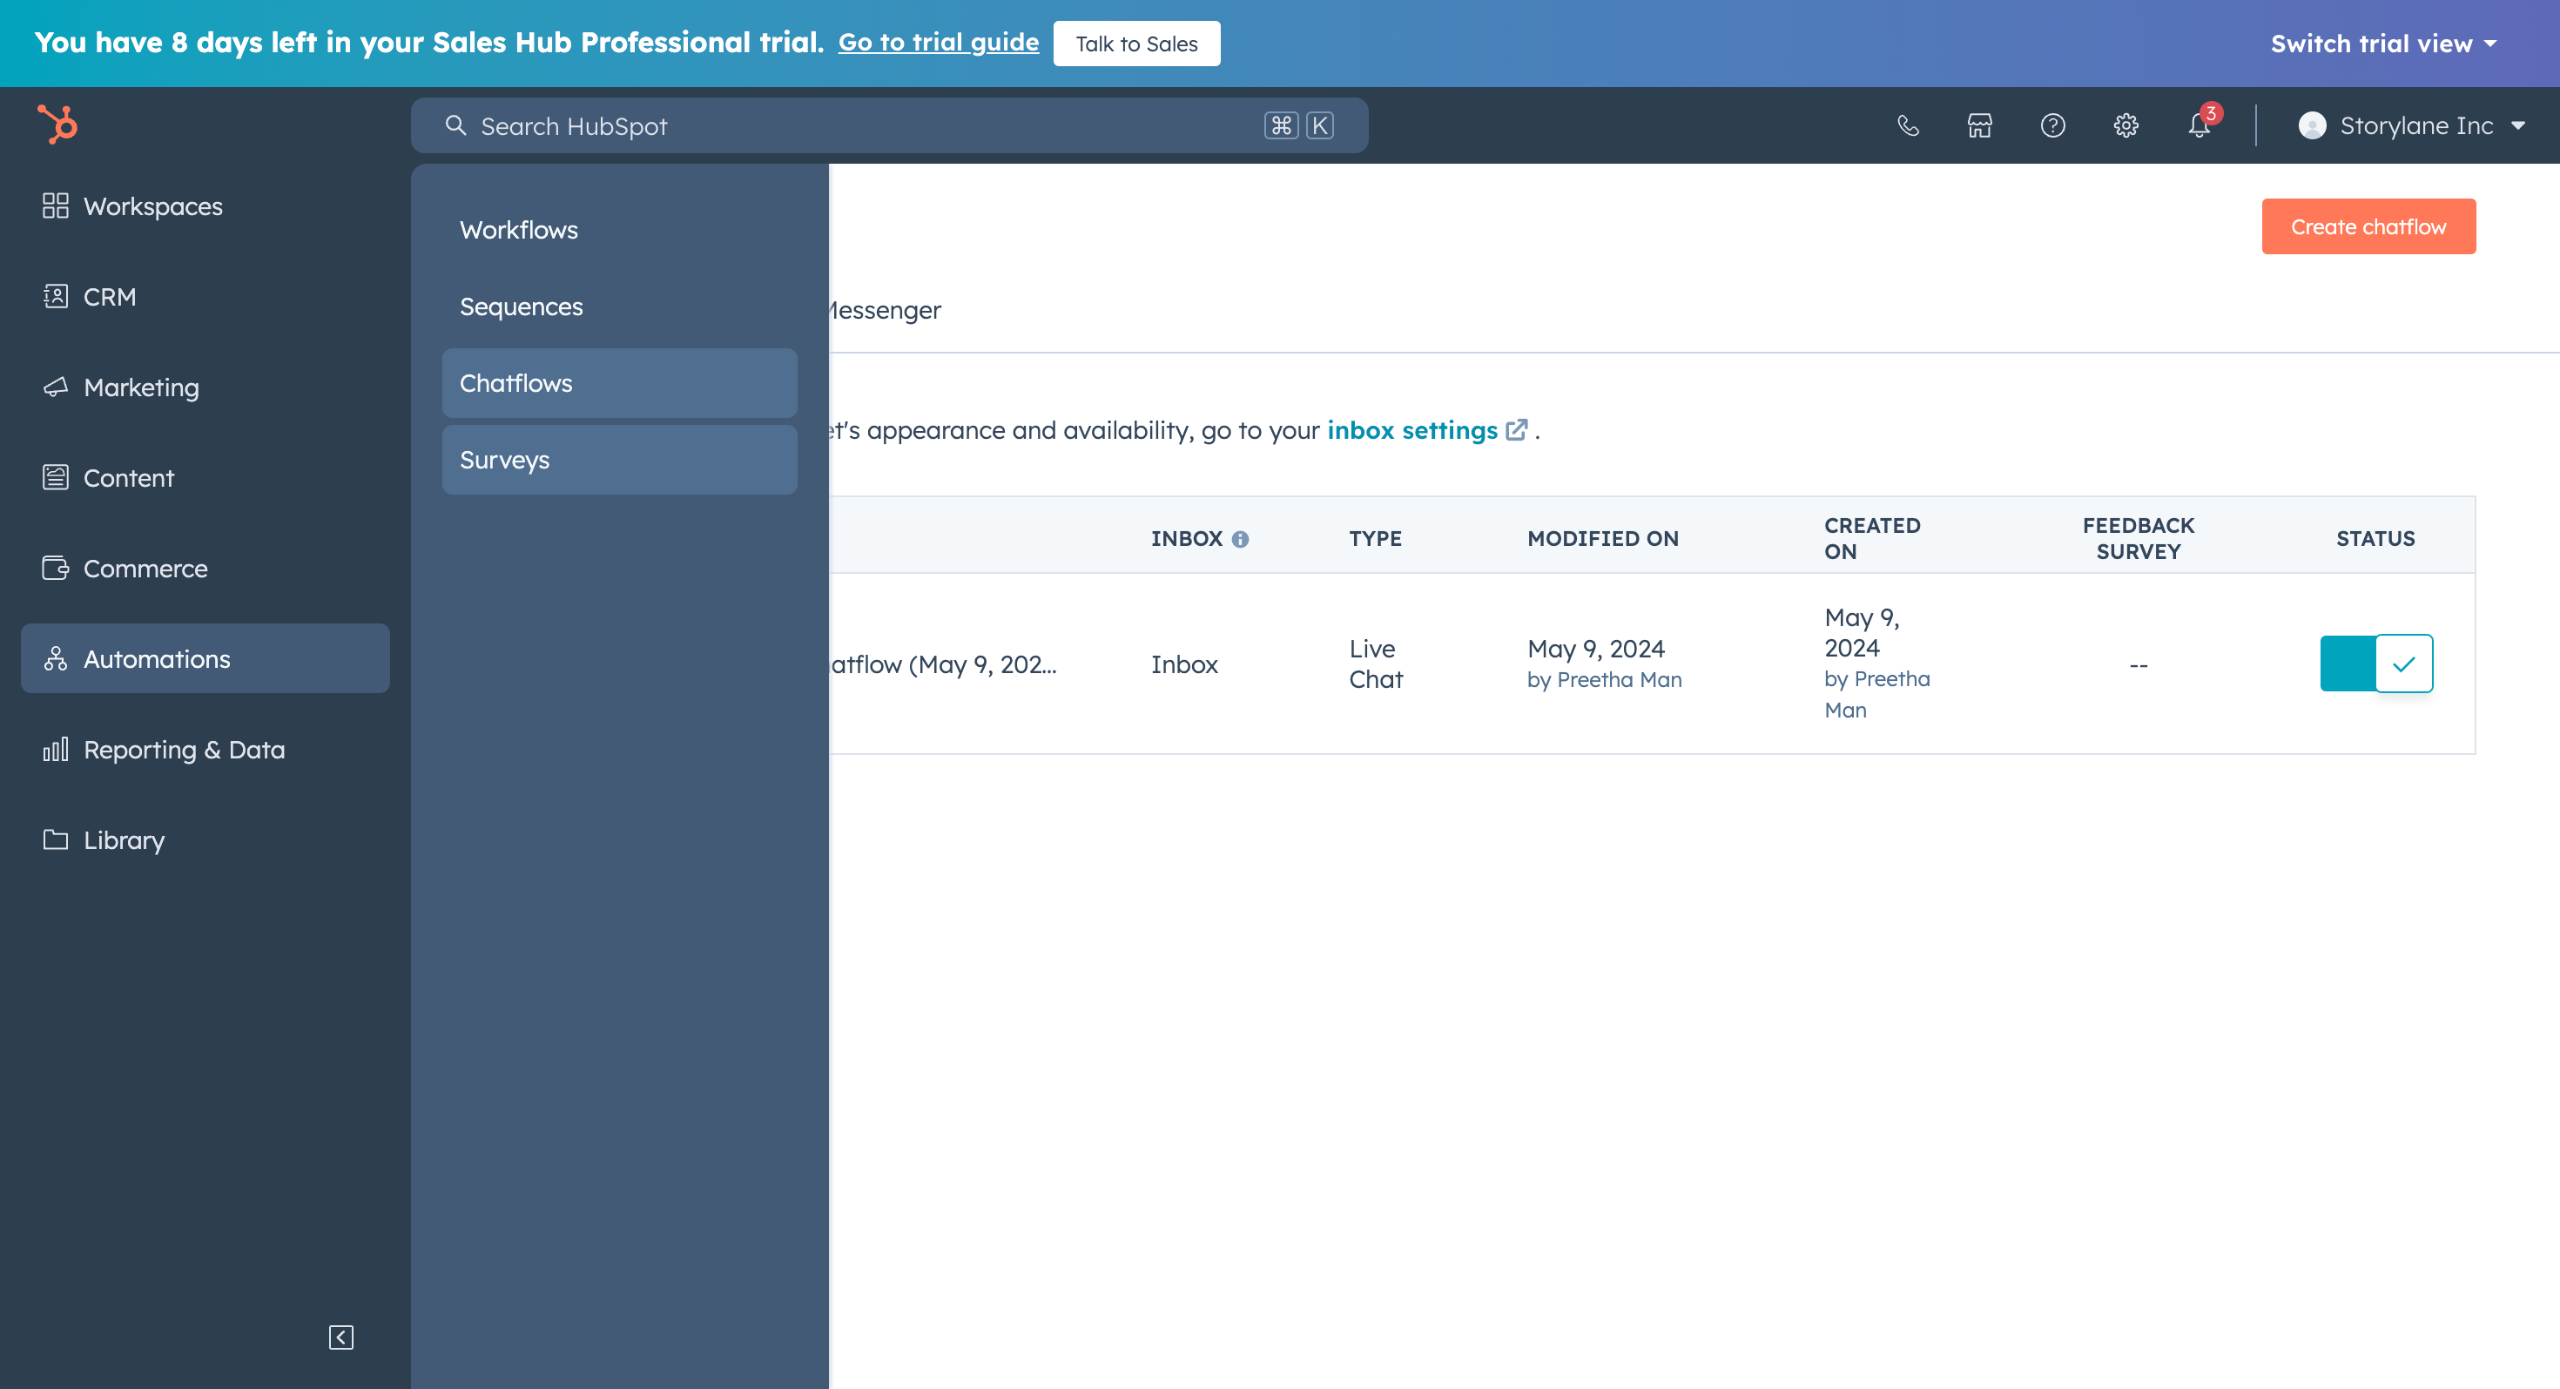
Navigate to Automations > Chatflows
Click on the Create chatflow button.
You can define the colour of the chat window based on your brand colors.
And get a preview of the chatform on the right as you keep building it.
Welcome message: This is the initial message visitors see when they open the chat.
Under the Assign to option, select a team member who will own chat interactions.
Put your availability based on your working hours.
You can show the reply time so your visitors know what to expect in terms of response time.
Hit the Publish button if your happy with the chat widget.
And you will receive a success dialog box
Make sure the STATUS is toggled ON.
Click on the Edit button.
Move to the Target tab
You can define page rules where the chat would be visible.
You can select the display avatar in the Display tab.
Quick answer: To add HubSpot chat to website, navigate to Automations > Chatflows, create a chatflow, customize colors, set a welcome message, assign a team member, configure availability and reply time, publish the widget, ensure the status is toggled on, define page rules in the Target tab, and select a display avatar.
About this HubSpot tutorial
Set up and publish a website chat widget in HubSpot by configuring messages, team assignments, availability, page rules, and display avatars. This guide covers hubSpot - How to Add HubSpot Chat to Website in 15 steps, starting with "Navigate to Automations > Chatflows" and finishing with "You can select the display avatar in the Display tab". The interactive demo above is a click-through copy of the real HubSpot interface, so you can rehearse each step before doing it in your own account.
Frequently asked questions
How many steps does hubSpot - How to Add HubSpot Chat to Website take?
15 steps. Each one is listed in order above, and the demo highlights exactly where to click.
Can I try it without changing my own account?
Yes. Clicking through the demo doesn't touch your HubSpot data or settings. Once you know the flow, repeat it in your own workspace.
This tutorial is filed under HubSpot. Related guides: HubSpot - Add HubSpot Tracking code to website, HubSpot - How to Add Lead Source and Hubspot - Add lead status. Last reviewed 05 Oct 2026.

Create your first interactive demo in minutes
No credit card required • Start building today