How to Connect Buffer Analytics to Notion Using Zapier
How to Connect Buffer Analytics to Notion Using Zapier: step-by-step guide
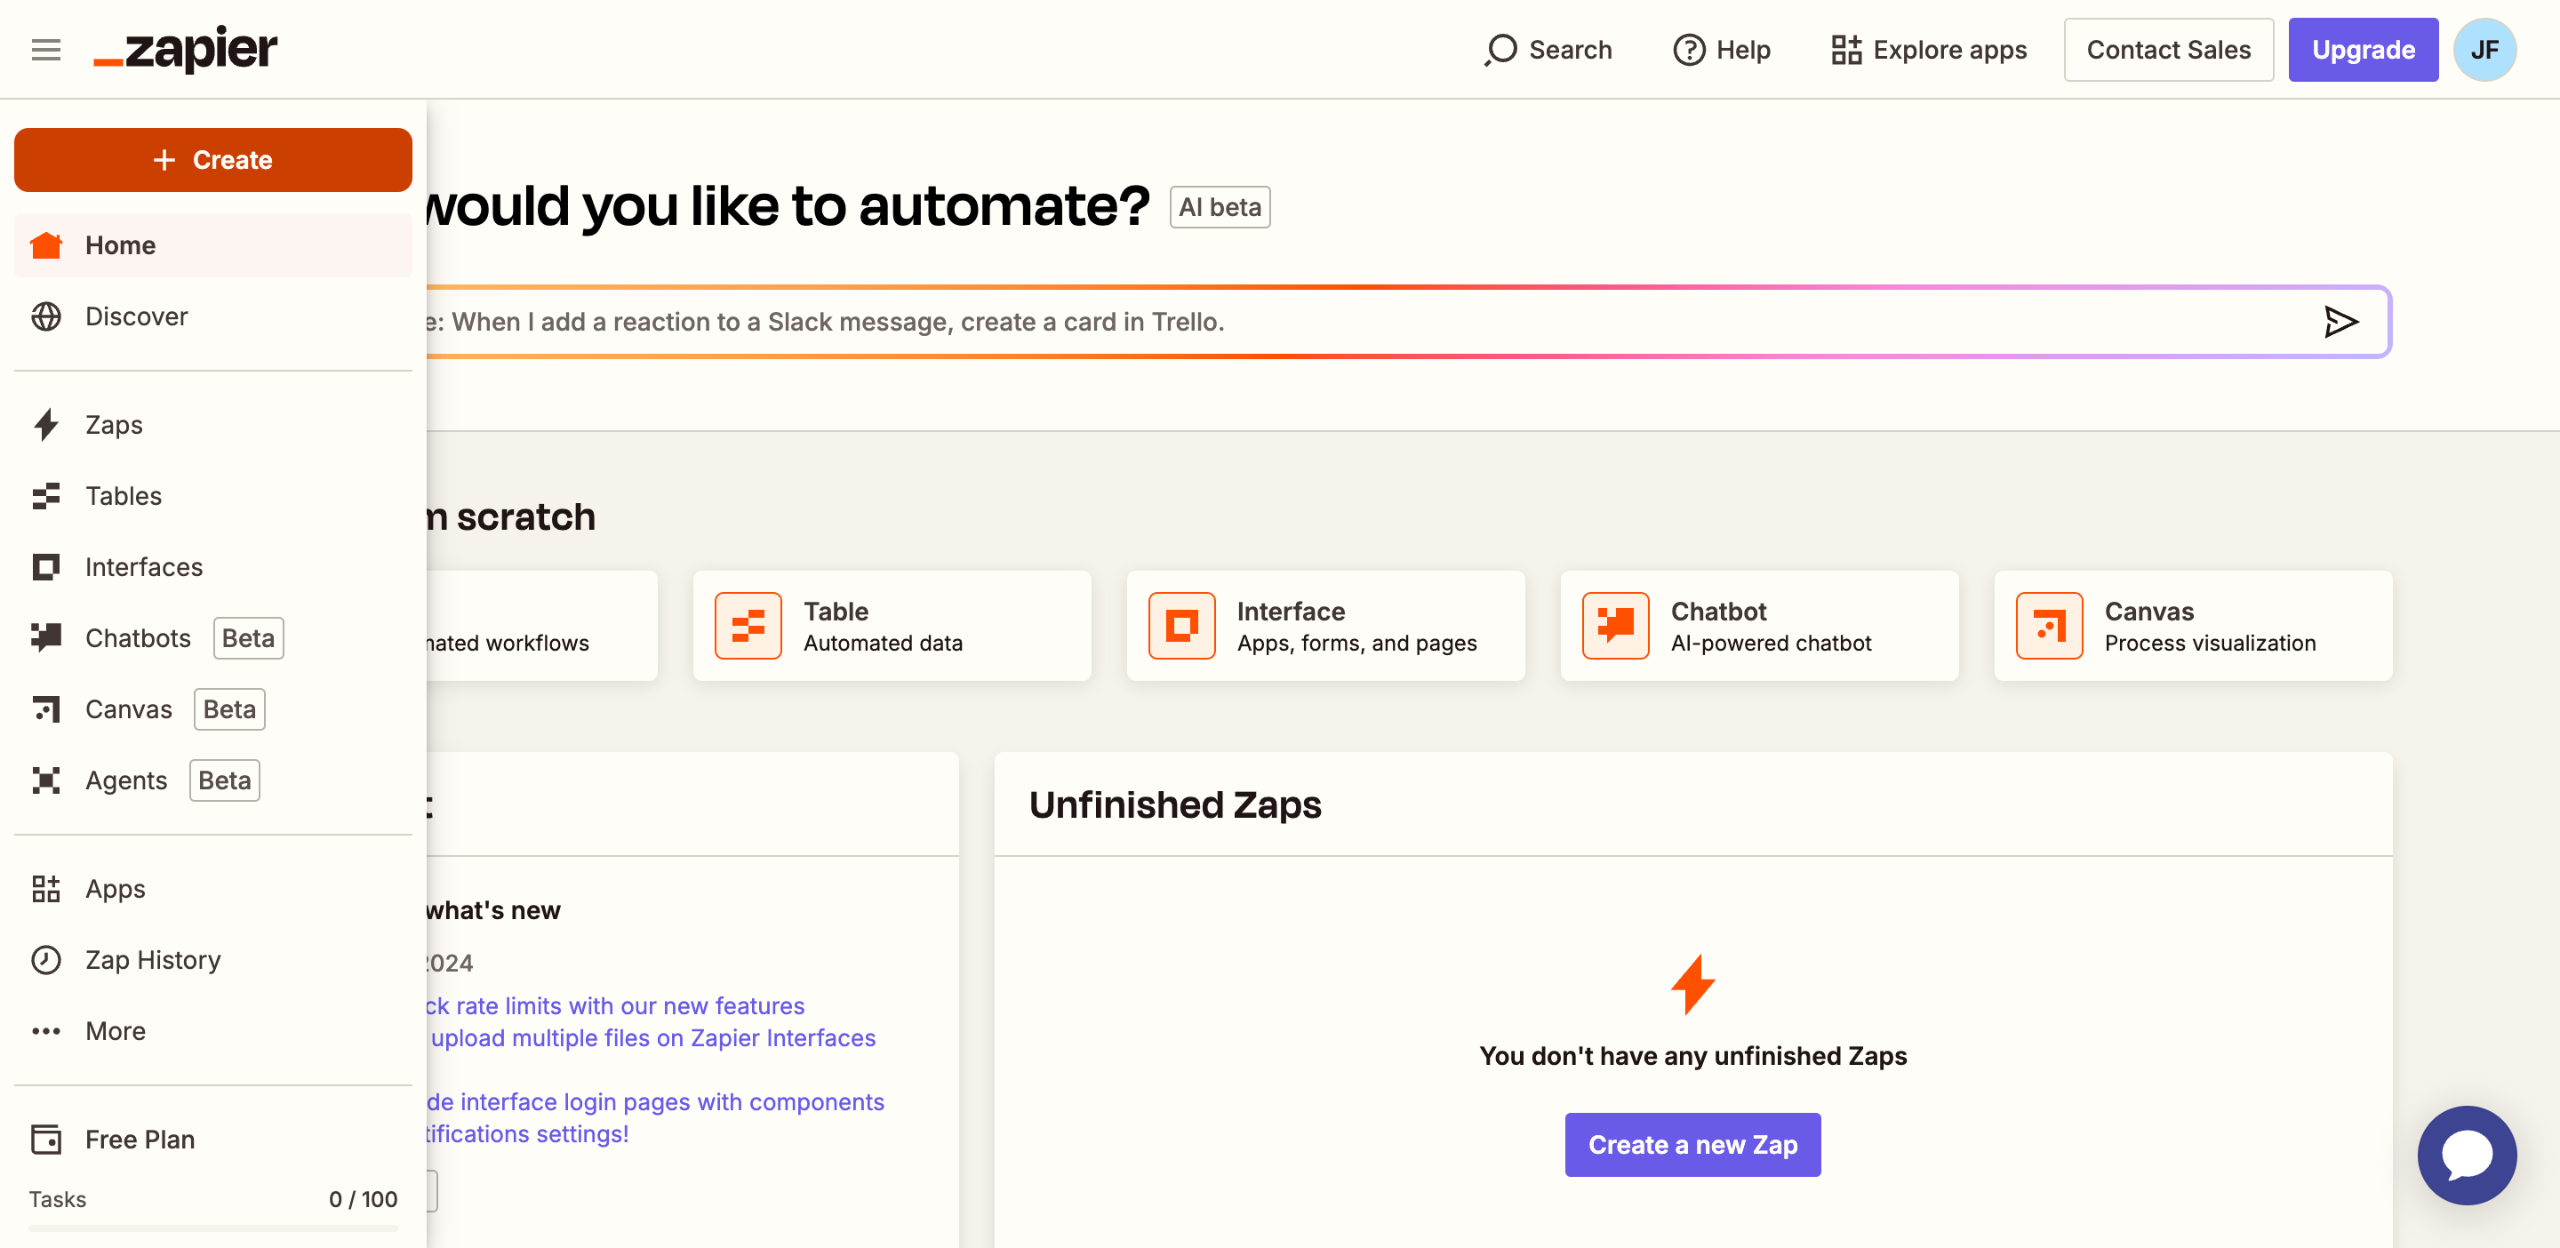
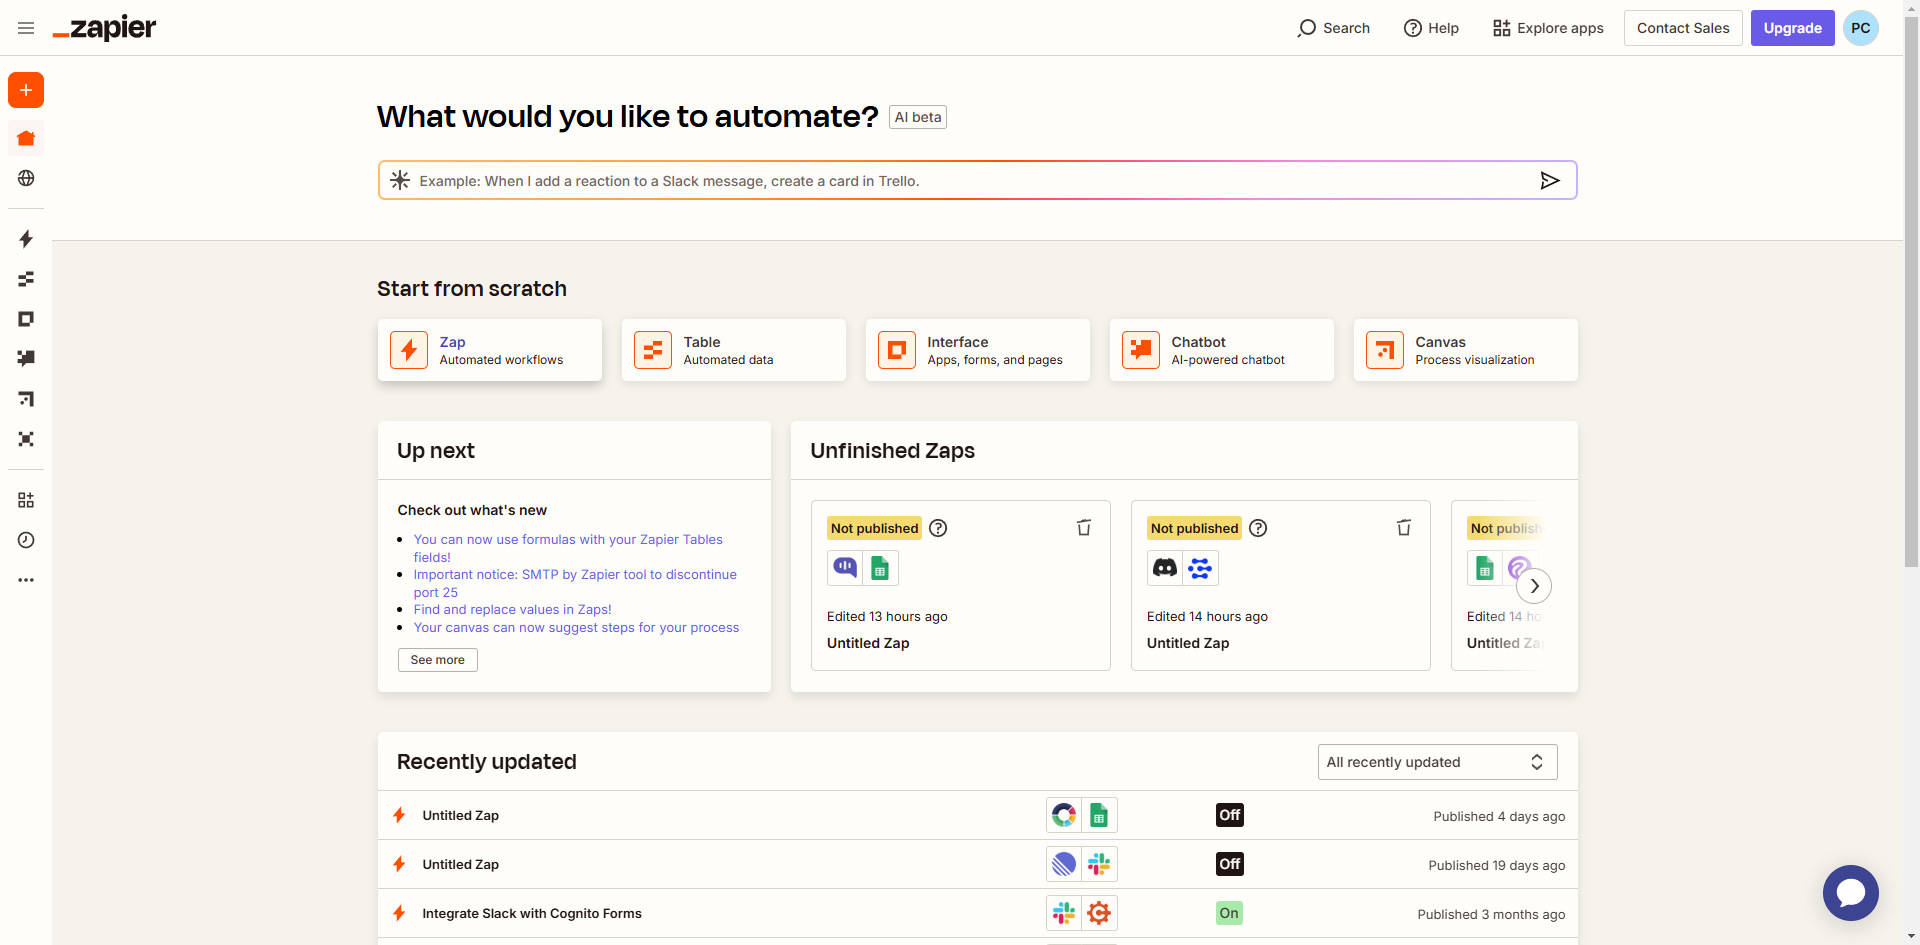
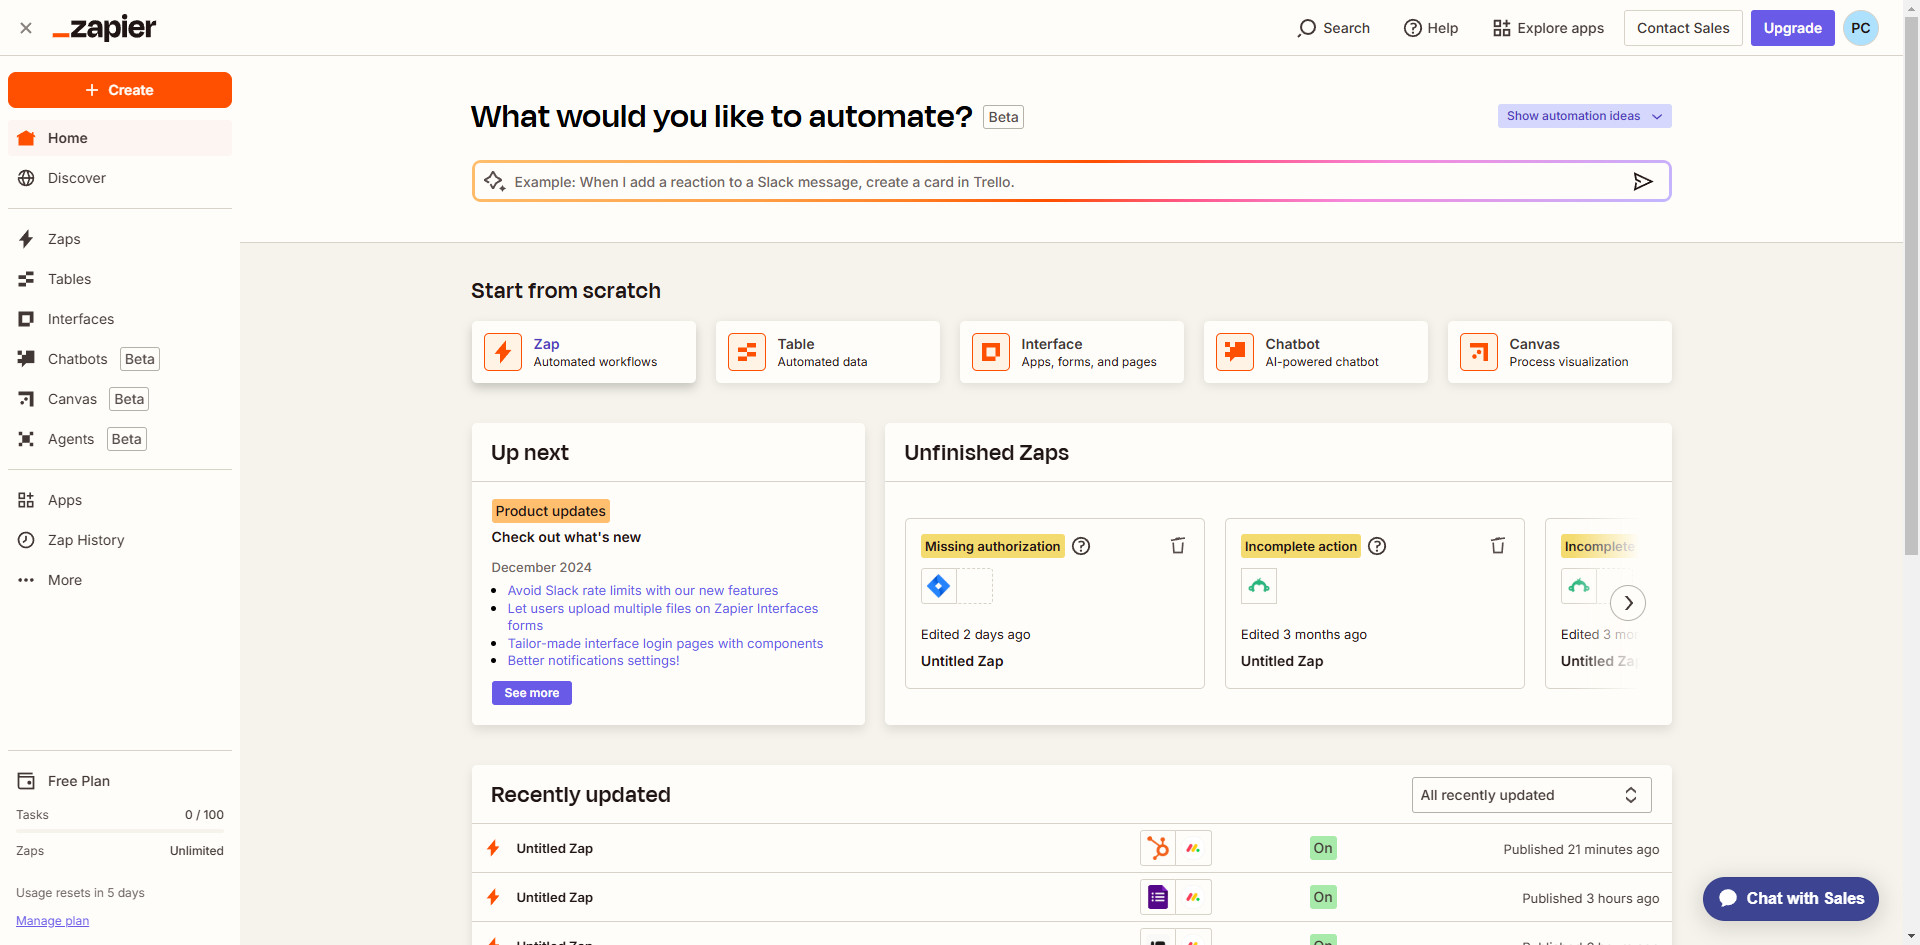
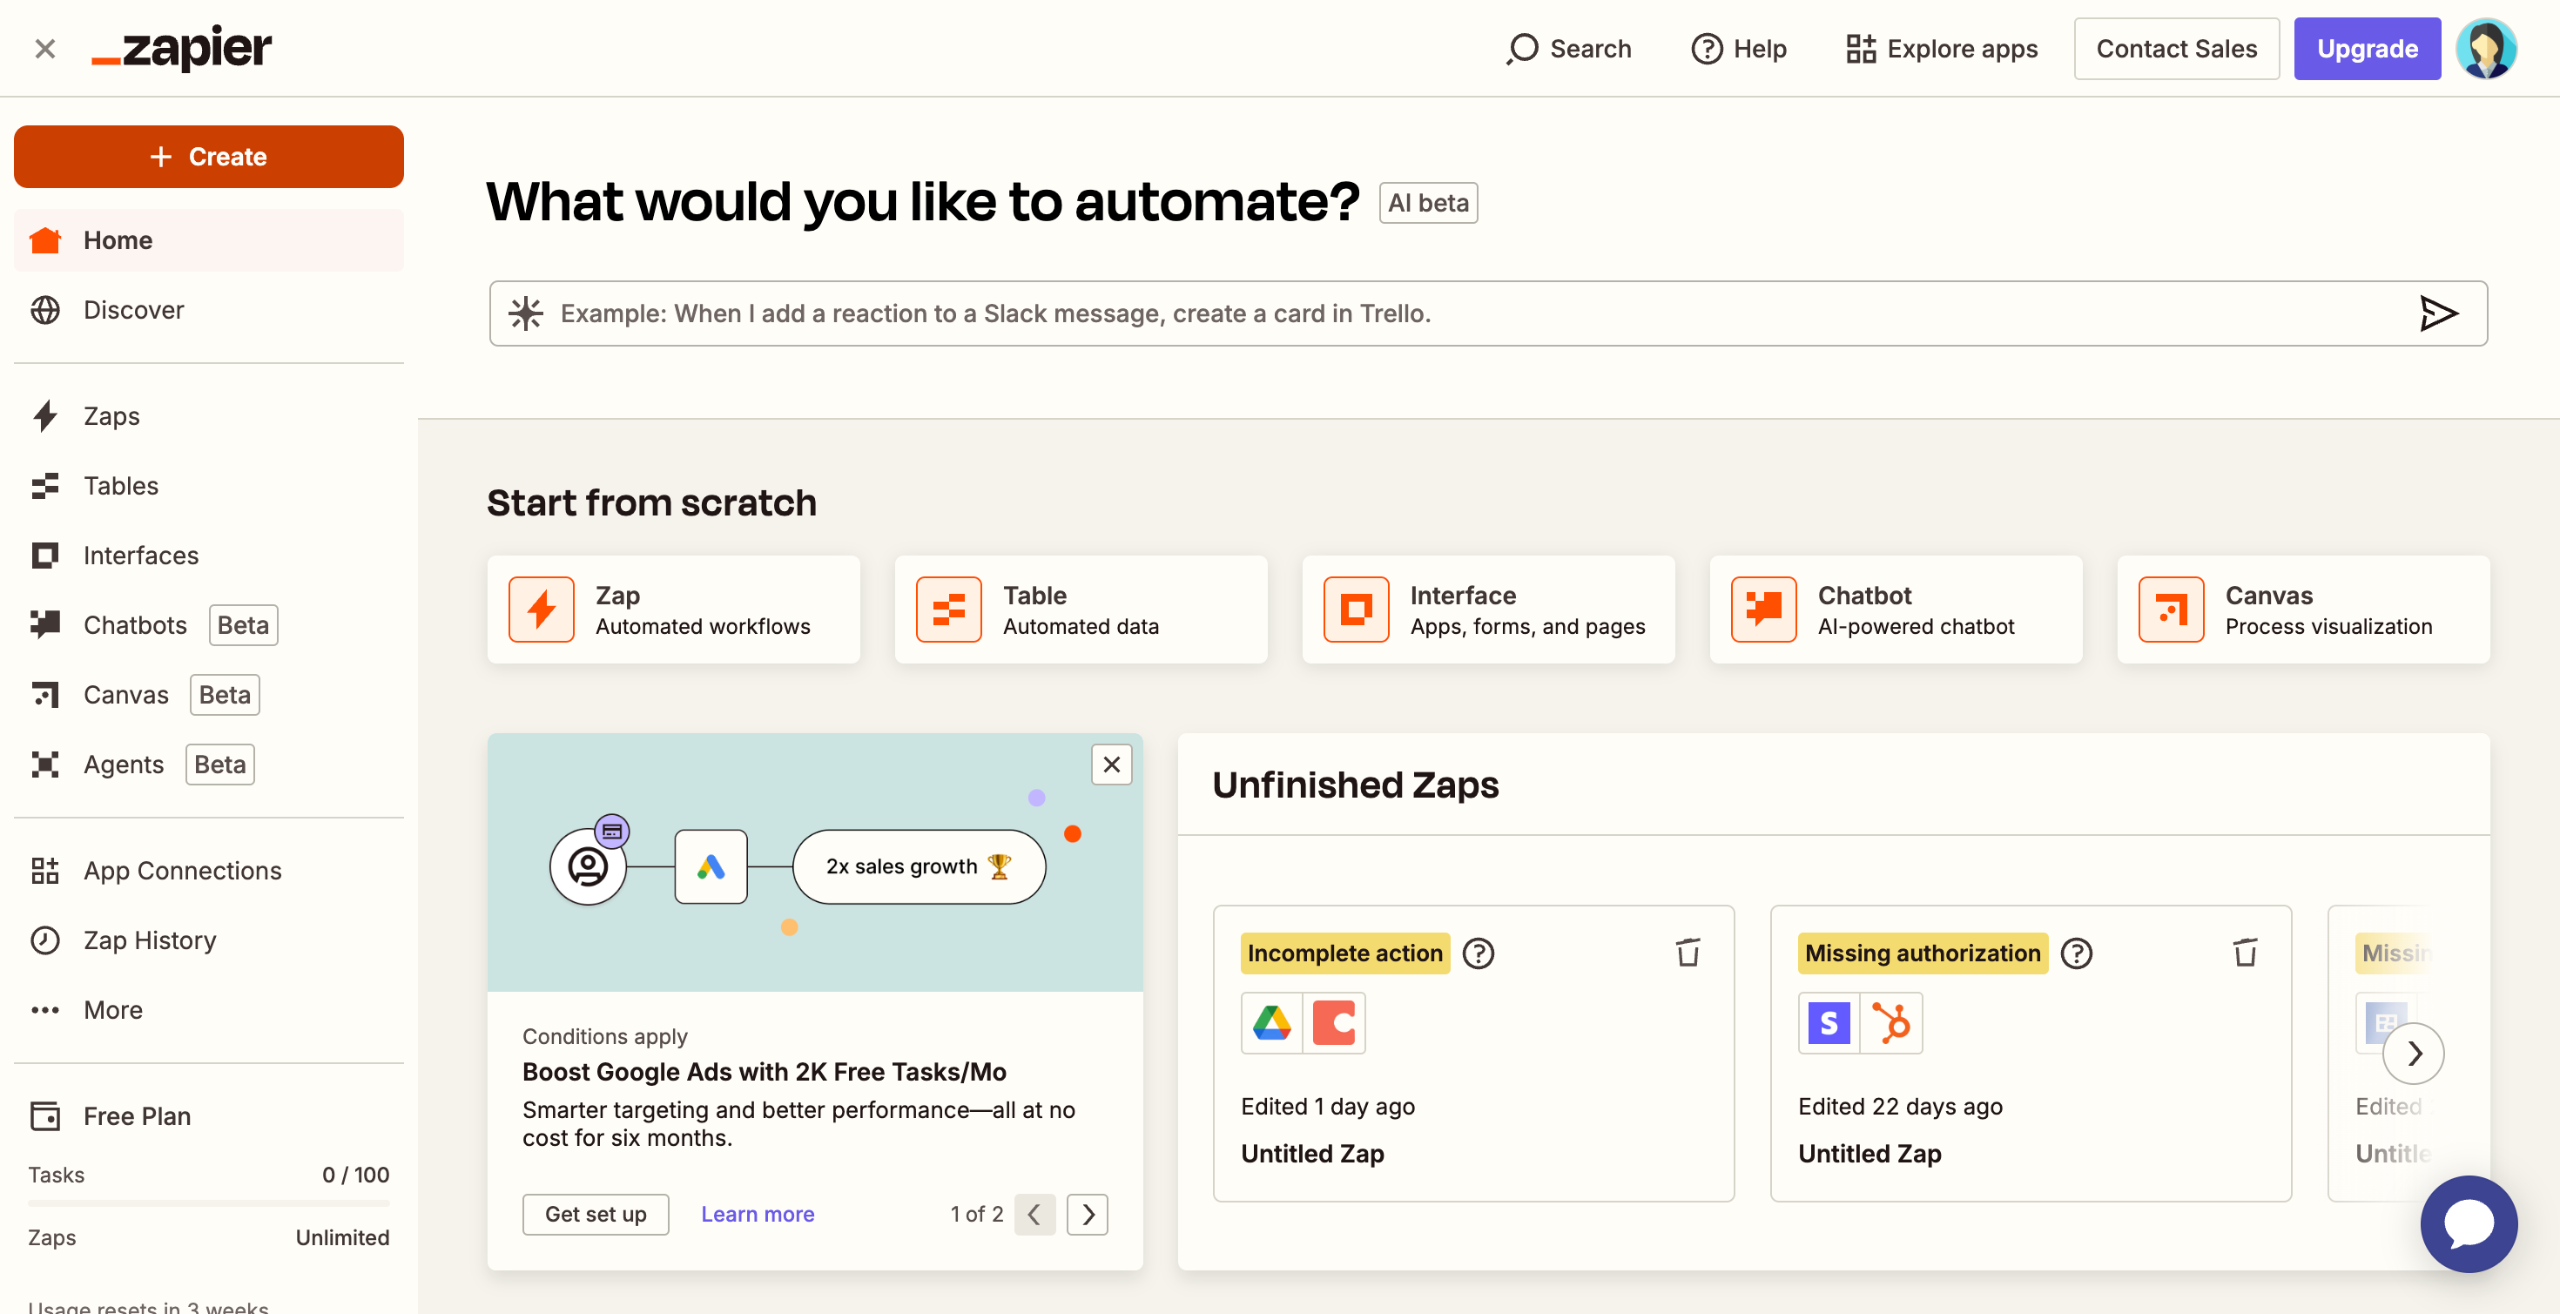
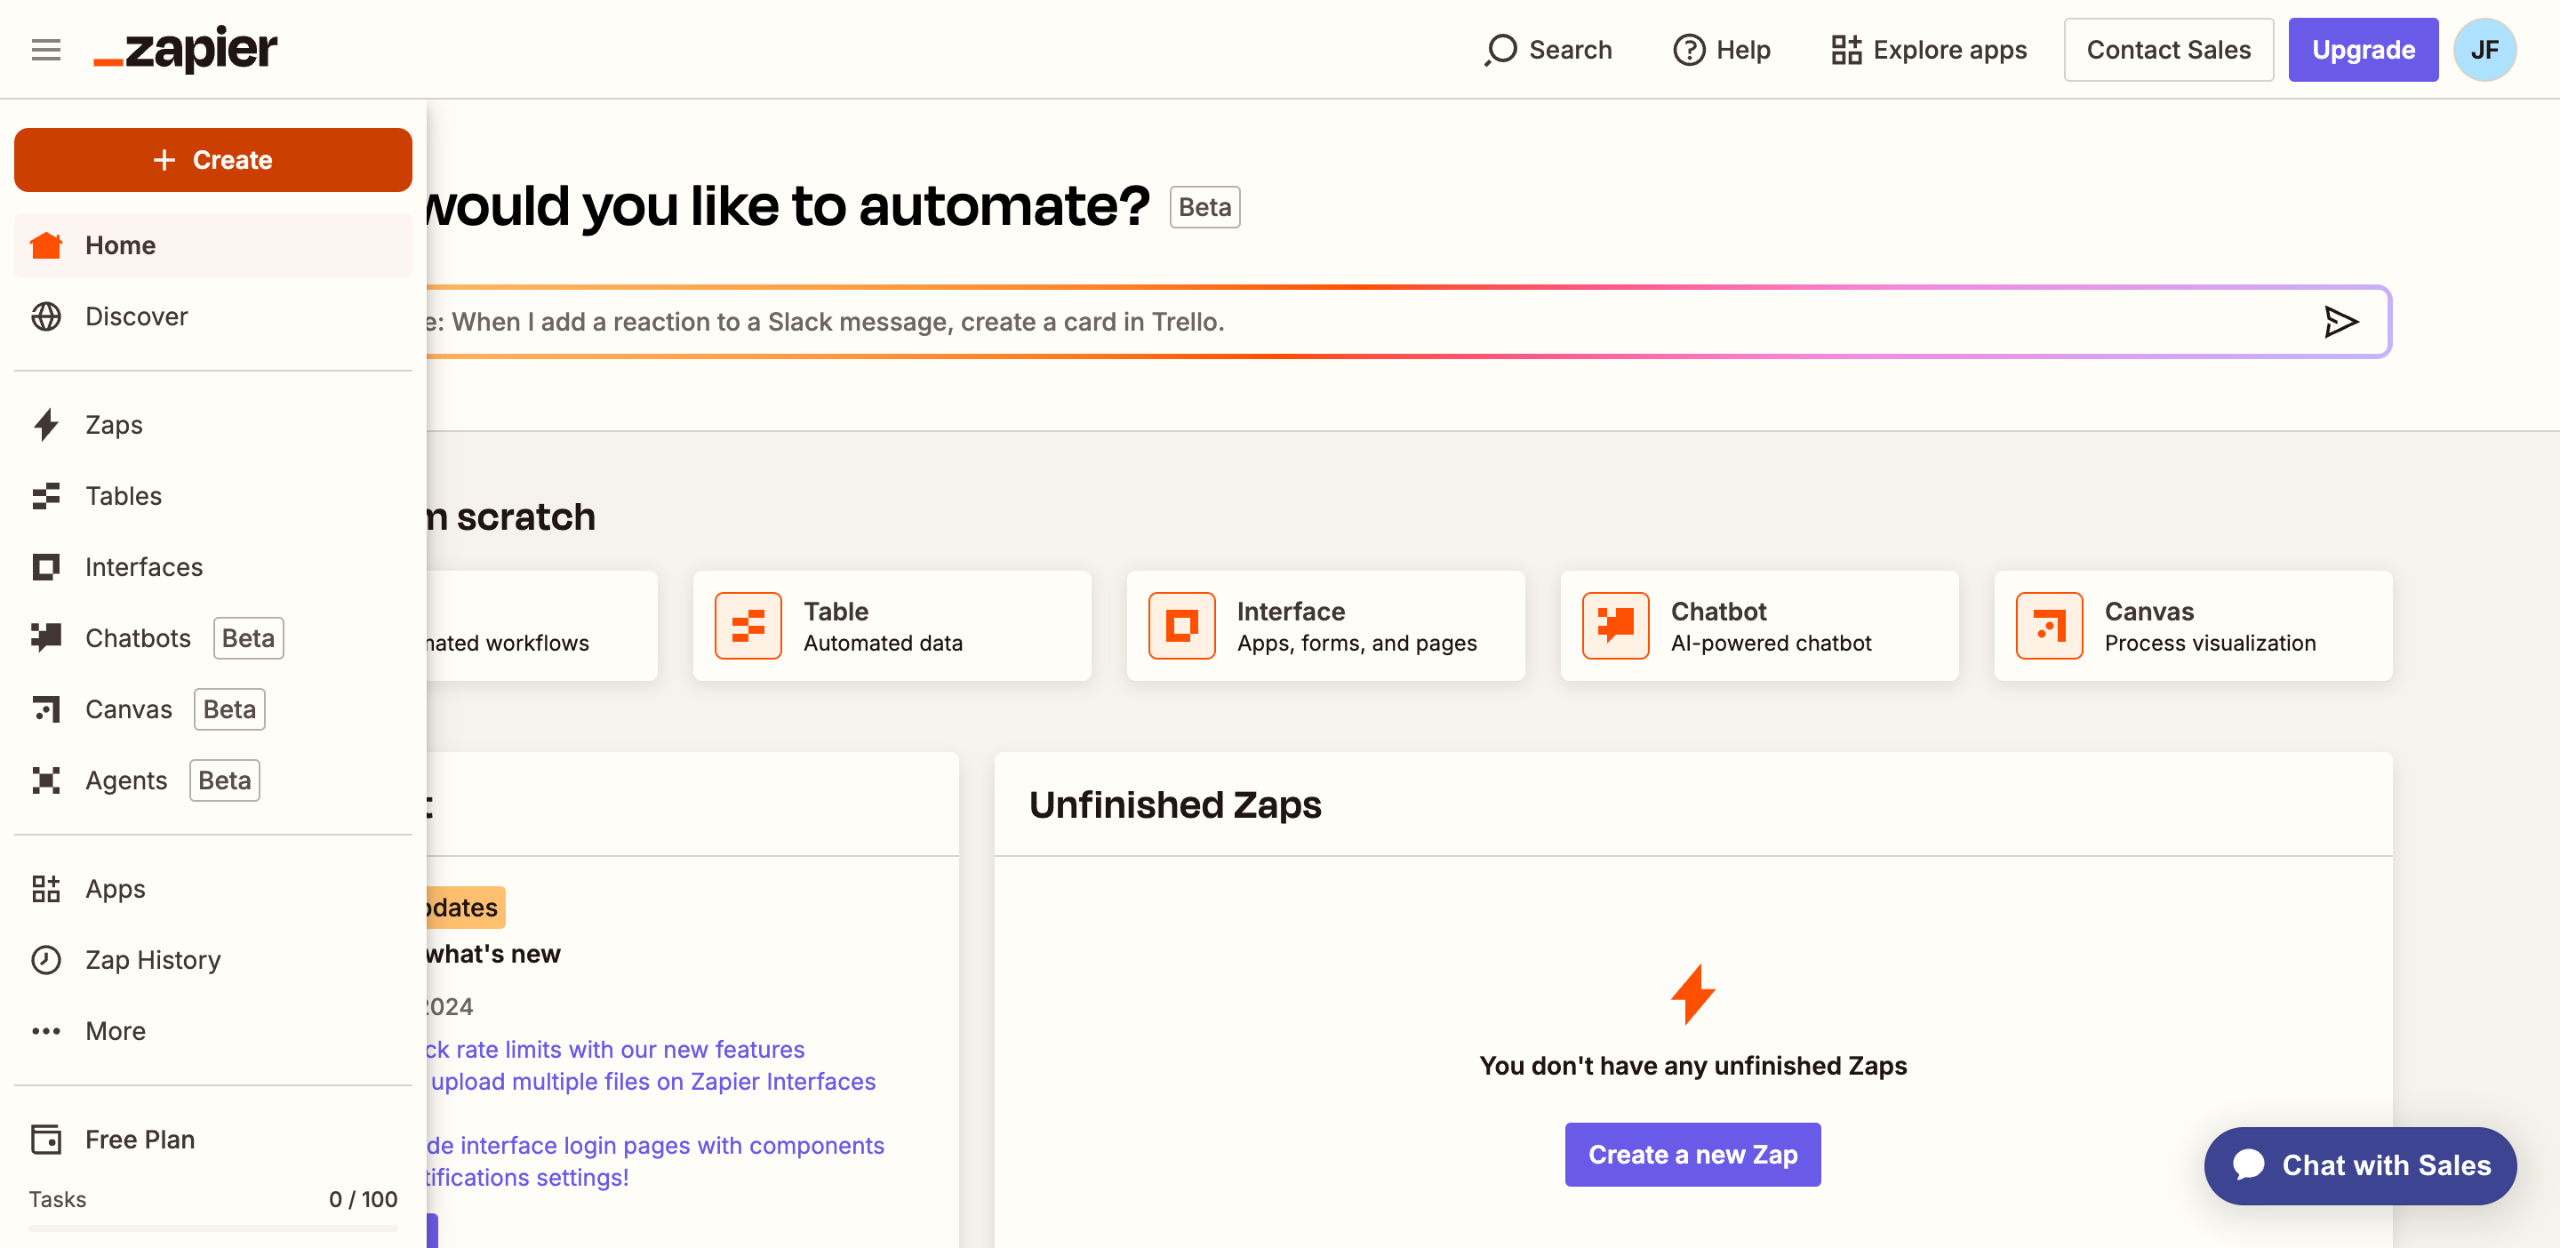
Navigate to the left-side panel, then tap 'Create'.
Choose 'Zaps' from the list of options.
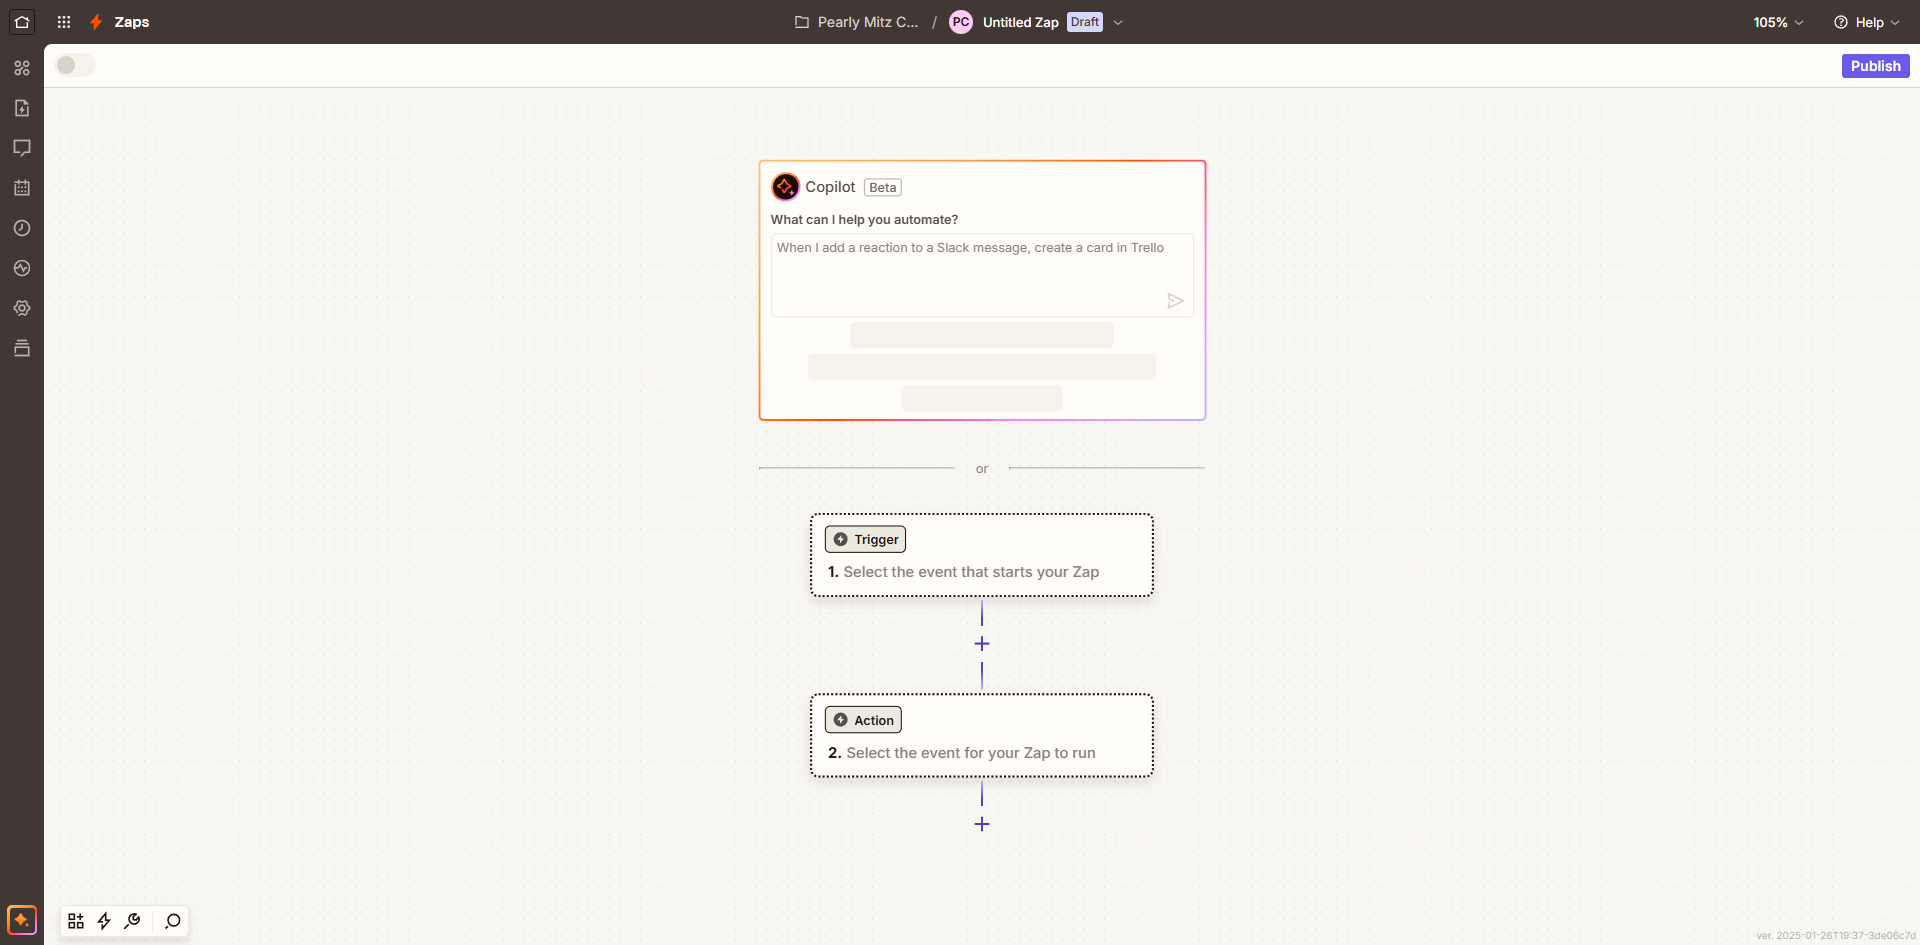
After that, tap the 'Trigger' tab to start the integration process.
Search for 'Buffer' and then select it from the recommended matches.
Next, click the 'Trigger Event' menu to view and explore the available options.
Pick 'New Sent Item' from the list of options.
Tap 'Sign In' afterwards, then log into your active Buffer account.
Subsequently, tap 'Allow' to agree with the terms and grant the necessary permissions.
Provide the additional information needed to configure the Trigger accordingly. In this case, specify the Organization and Channel you wish to connect.
Subsequently, tap 'Continue' to run your input and test the Trigger.
Choose the particular record you wish to use, then tap 'Continue With Selected Record'.
Subsequently, search for 'Notion' and choose it as the Action app.
Next, tap the 'Action Event' menu to proceed further.
Choose 'Add Content to Page' from the list of options.
Click 'Sign In' afterwards and then log into your Notion account.
Subsequently, review the required permissions and then click 'Select Pages'.
Tick the checkbox beside the page you wish to use and then click 'Allow Access'.
One by one, fill out the input fields with the required information.
As for the Content field, tap its corresponding 'Add' button.
Select the Buffer analytics data you wish to connect to Notion.
Once done, click 'Continue' to publish and enable the integration.
After completing these steps, your Buffer analytics will be connected to Notion based on your input.
Quick answer: To integrate Buffer analytics with Notion using Zapier, create a new Zap, set Buffer as the trigger app with the New Sent Item event, sign in, configure the organization and channel, test the trigger, select Notion as the action app with the Add Content to Page event, sign in, select pages, map the Buffer analytics data to the Notion content field, and continue to publish the integration.
About this Zapier tutorial
Connect Buffer analytics to Notion using Zapier by configuring a new Zap, setting up triggers and actions, and mapping data. This guide shows how to connect Buffer Analytics to Notion Using Zapier in 22 steps, starting with "Navigate to the left-side panel, then tap 'Create'" and finishing with "After completing these steps, your Buffer analytics will be connected to Notion based o...". The interactive demo above is a click-through copy of the real Zapier interface, so you can rehearse each step before doing it in your own account.
Frequently asked questions
How many steps does it take to connect Buffer Analytics to Notion Using Zapier?
22 steps. Each one is listed in order above, and the demo highlights exactly where to click.
Can I try it without changing my own account?
Yes. Clicking through the demo doesn't touch your Zapier data or settings. Once you know the flow, repeat it in your own workspace.
This tutorial is filed under Zapier, Notion and Buffer. Related guides: How to Connect Buttondown to Notion Using Zapier, How to Connect Chatra to Slack Using Zapier and How to Connect ClickUp Tasks to Team Workflows with Zapier. Last reviewed 05 Oct 2026.

Create your first interactive demo in minutes
No credit card required • Start building today