How To Create A Popup In Webflow
- George Apostolov
How To Create A Popup In Webflow: step-by-step guide
To begin, go to the Add Elements tab on the left sidebar menu.
Insert a Div Block element to act as a wrapper for our popup.
Select the new Div and go to the Style tab on the right sidebar menu.
Locate the Size options.
Set the desired size for your popup.
Consider changing the background.
We'll add a few more elements to populate it.
Such as a heading text element.
You can continue creating a perfect pop-up for your needs but for now we have a simple one ready.
Select the popup Div and locate the Position option on the right sidebar menu.
Set its position to Absolute.
Consider settings the z-index property to a very high value to ensure it stays on top of all other elements.
Adjust the position of your window as you would like it to appear.
Once ready, locate the Layout section and set the Display to None. This will hide the popup until it must be shown using a trigger.
Now, you can use any element or icons for this but a button works as well. Select the element you wish to add a trigger to show the pop-up to.
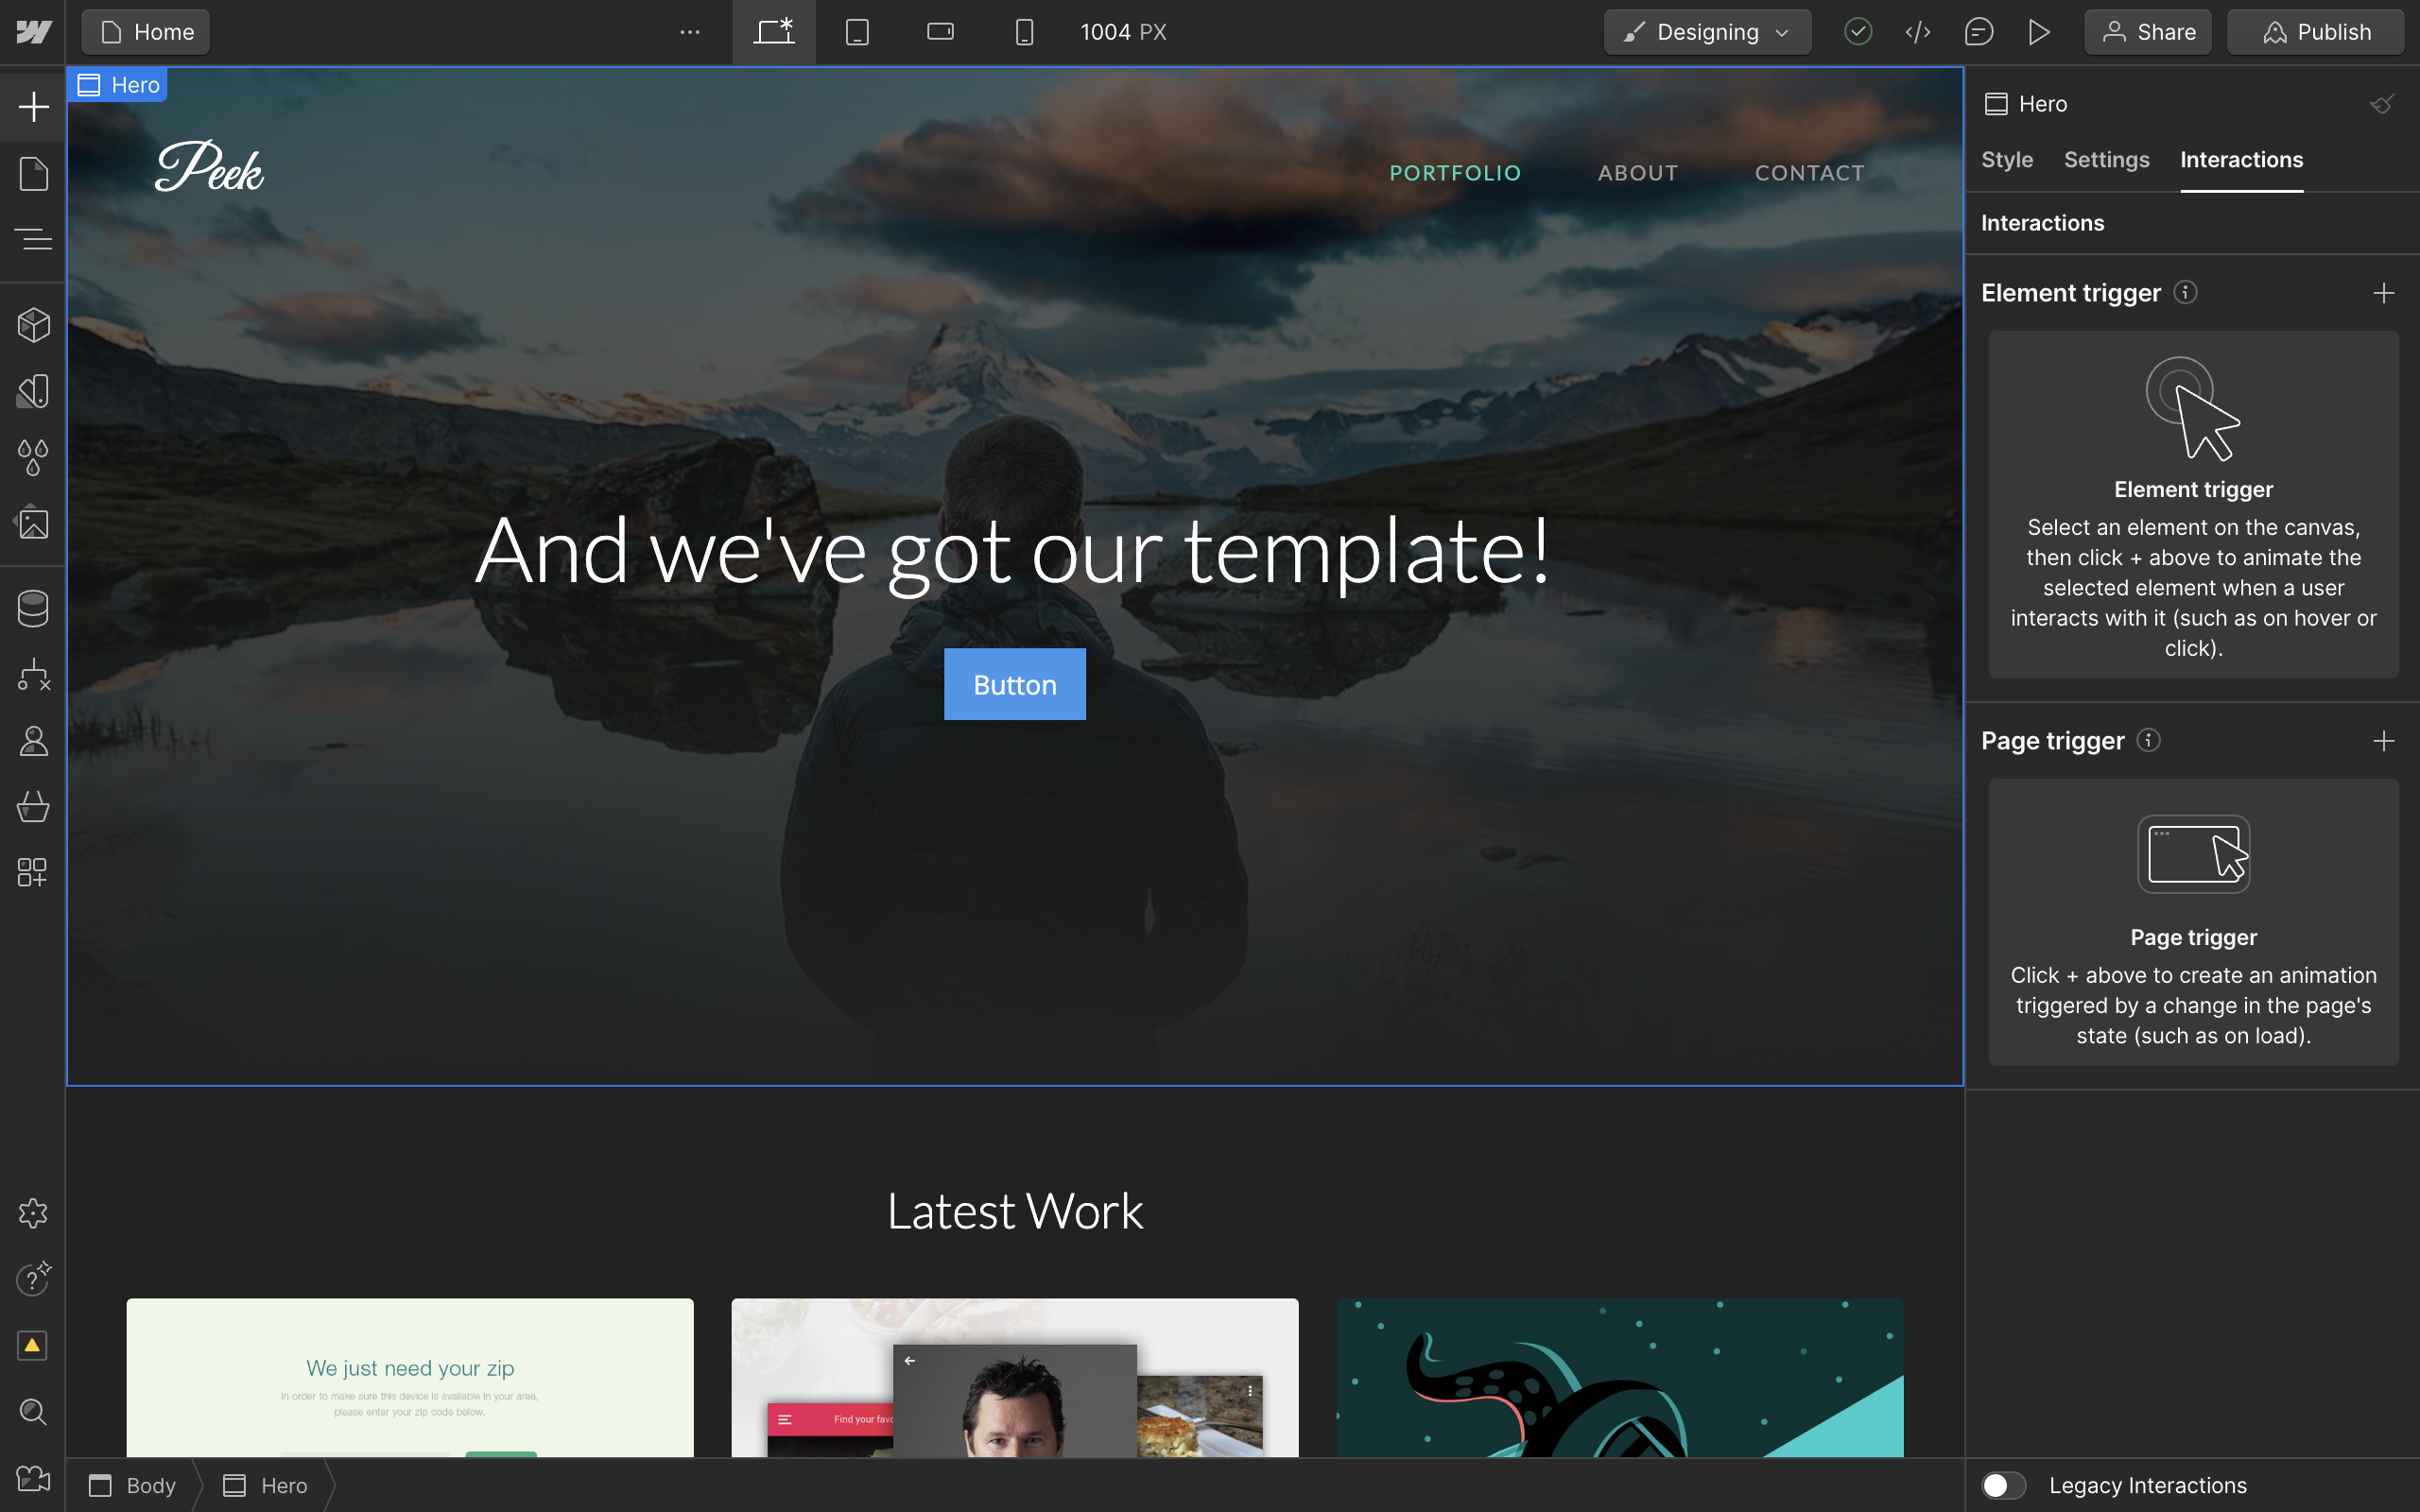
Go to the Interactions tab from the right sidebar menu.
Click on the (+) icon next to Element trigger.
Select Mouse click (tap).
Select the 1st click Action option to set.
Select Start an animation.
Click on the (+) icon next to Timed Animations.
Enter a name for this animation such as "Show popup".
Use the navigator to select the hidden window.
While selected, click on the (+) icon next to Actions to create an animation for your pop-up.
Select Hide/Show at the bottom.
Optional: Consider changing the Affect settings to only affect the specific element.
Select Display: Block.
Click on Save.
Repeat the same steps for the 2nd click Action until the end.
At the last step, select Display: None to hide the pop-up when clicking on the button again.
Save your second animation.
Use the Preview mode from the top right button.
Click on the button.
Voila! You now have a pop-up. Click on the button again to close.
Quick answer: To create a popup in Webflow, add a Div Block wrapper, style its size and background, populate it with elements, set its position to Absolute with a high z-index, and hide it using Display None. Then, configure a button trigger in the Interactions tab with show and hide animations to toggle the popup visibility.
About this Webflow tutorial
Build and trigger interactive popups in Webflow by configuring div block styles, absolute positioning, display settings, and click animations. This guide shows how to create A Popup In Webflow in 34 steps, starting with "To begin, go to the Add Elements tab on the left sidebar menu" and finishing with "Voila! You now have a pop-up. Click on the button again to close". The interactive demo above is a click-through copy of the real Webflow interface, so you can rehearse each step before doing it in your own account.
Frequently asked questions
How many steps does it take to create A Popup In Webflow?
34 steps. Each one is listed in order above, and the demo highlights exactly where to click.
Can I try it without changing my own account?
Yes. Clicking through the demo doesn't touch your Webflow data or settings. Once you know the flow, repeat it in your own workspace.
This tutorial is filed under Webflow. Related guides: How To Create A Table In Webflow, How To Delete A Component In Webflow and How To Delete Classes In Webflow. Last reviewed 05 Oct 2026.

Create your first interactive demo in minutes
No credit card required • Start building today