How to Create a Request Form in Wrike
- George Apostolov
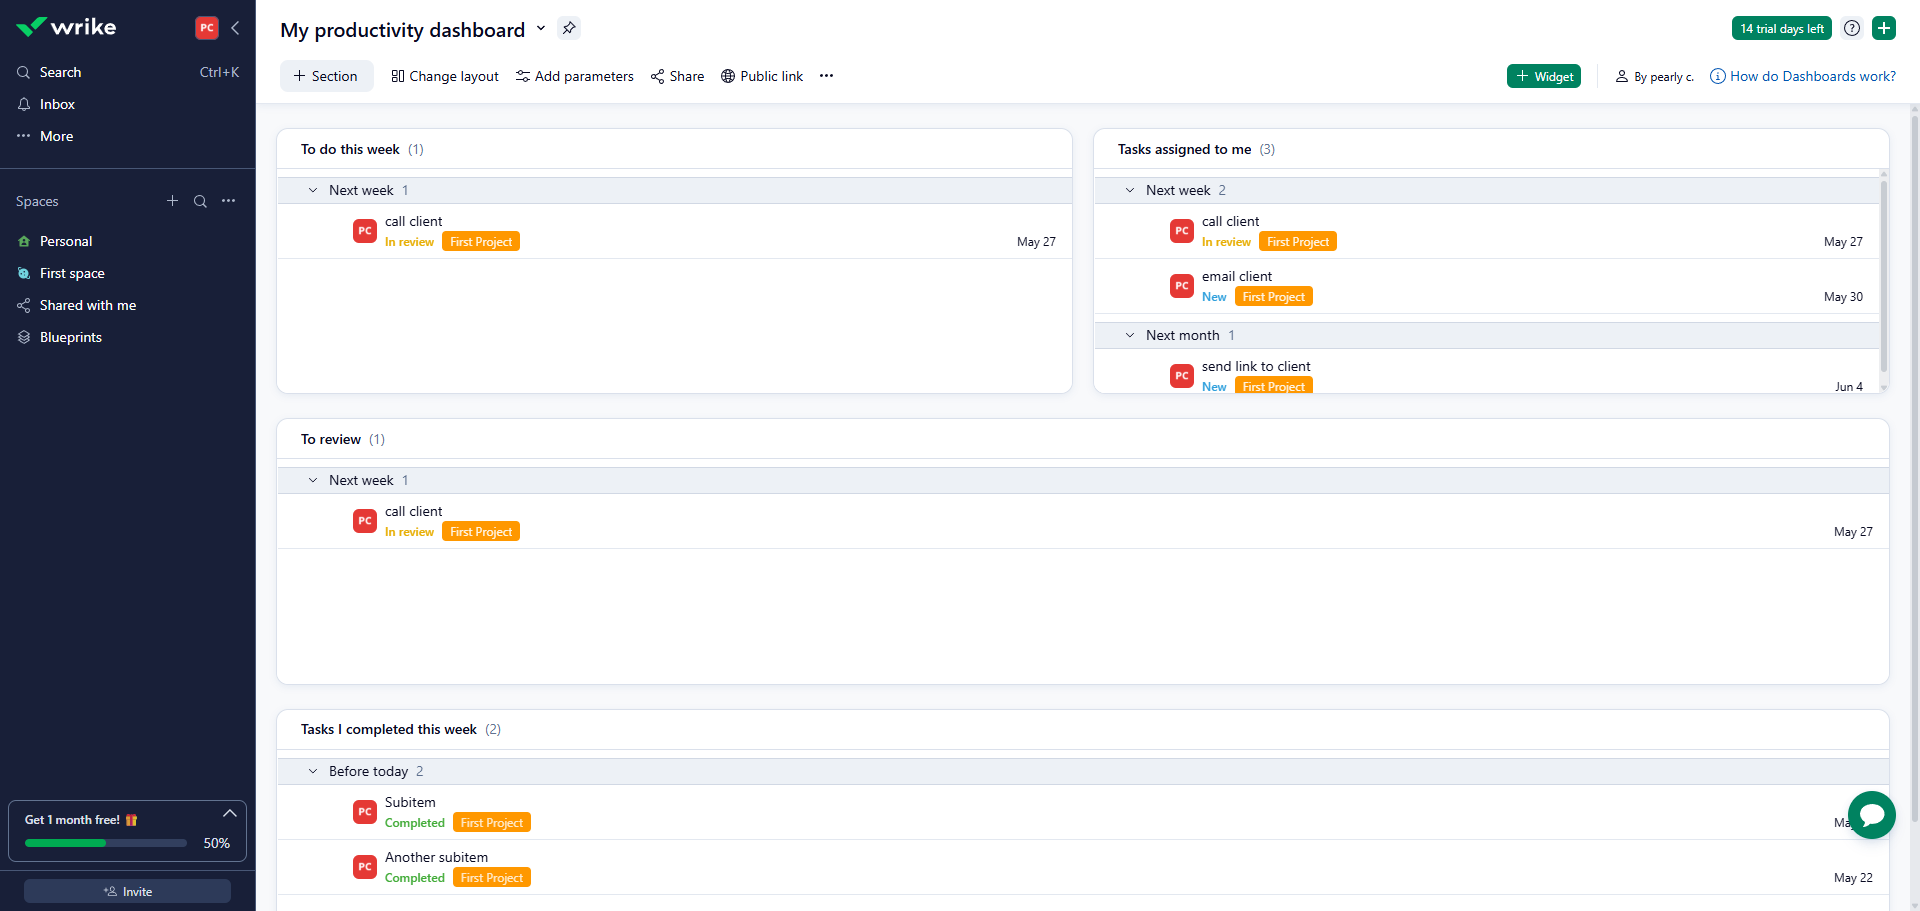
How to Create a Request Form in Wrike: step-by-step guide
Click your profile icon.
Access your workspace configuration through 'Settings'.
Navigate to 'Request Forms' to create standardized intake processes.
Select '+ Form' to begin crafting your custom request template.
Enter a form title.
Give your form a descriptive name that clearly identifies its purpose.
Expand your form with new fields using the add button to add a question.
Formulate your question to gather specific information from requesters.
Customize this field to capture exactly what your team needs.
Make fields 'Answer required' as needed.
Write clear instructions that guide users on how to answer correctly.
Click 'Publish' to finalize your form and make it available to your team.
Your form is ready to streamline incoming requests. Copy the form link or embed it on your intranet or site.
You've successfully created a request form in Wrike.
Quick answer: To create a request form in Wrike, click your profile icon, access Settings, and navigate to Request Forms. Select + Form, enter a title and description, add and customize questions, set required fields, and write instructions. Finally, click Publish to finalize the form, and copy the link or embed it.
About this tutorial
Build a custom intake process in the app by adding fields, setting required answers, and publishing your template to streamline incoming requests. This guide shows how to create a Request Form in Wrike in 14 steps, starting with "Click your profile icon" and finishing with "You've successfully created a request form in Wrike". The interactive demo above is a click-through copy of the real product interface, so you can rehearse each step before doing it in your own account.
Frequently asked questions
How many steps does it take to create a Request Form in Wrike?
14 steps. Each one is listed in order above, and the demo highlights exactly where to click.
Can I try it without changing my own account?
Yes. Clicking through the demo doesn't touch your data or settings. Once you know the flow, repeat it in your own workspace.

Create your first interactive demo in minutes
No credit card required • Start building today