How to Make a Search Bar Design in Figma
- George Apostolov
This guide is an interactive LiveDemo. Create interactive demos of your own product: Interactive demo software · Interactive product tours for your website · Start free
How to Make a Search Bar Design in Figma: step-by-step guide
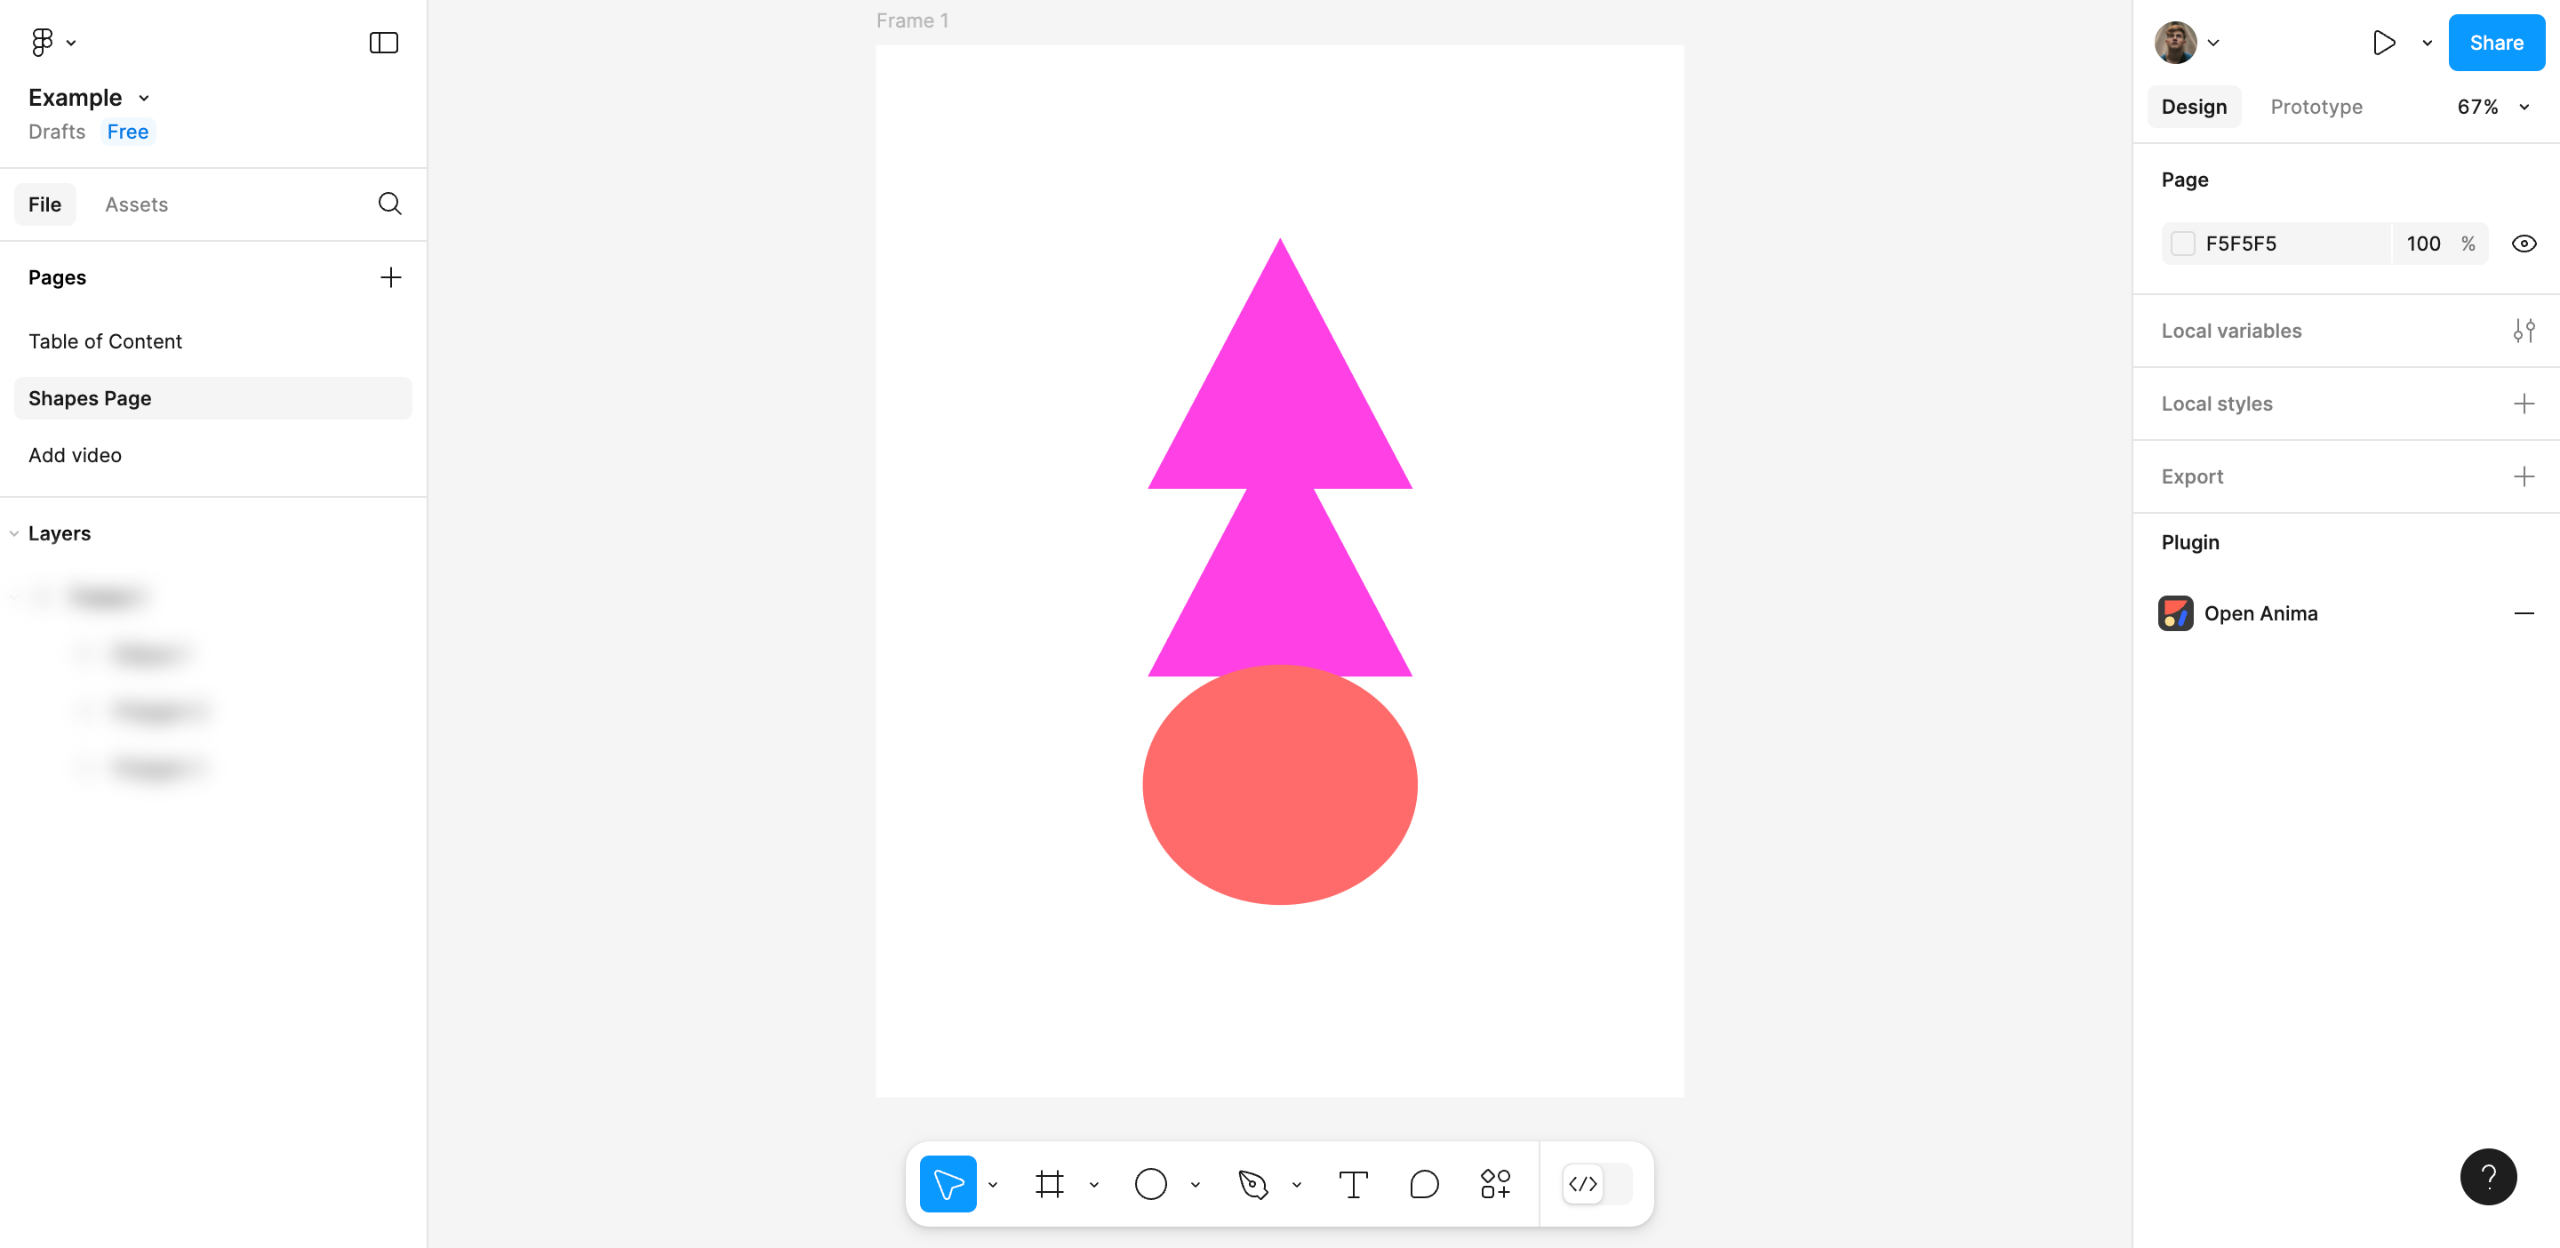
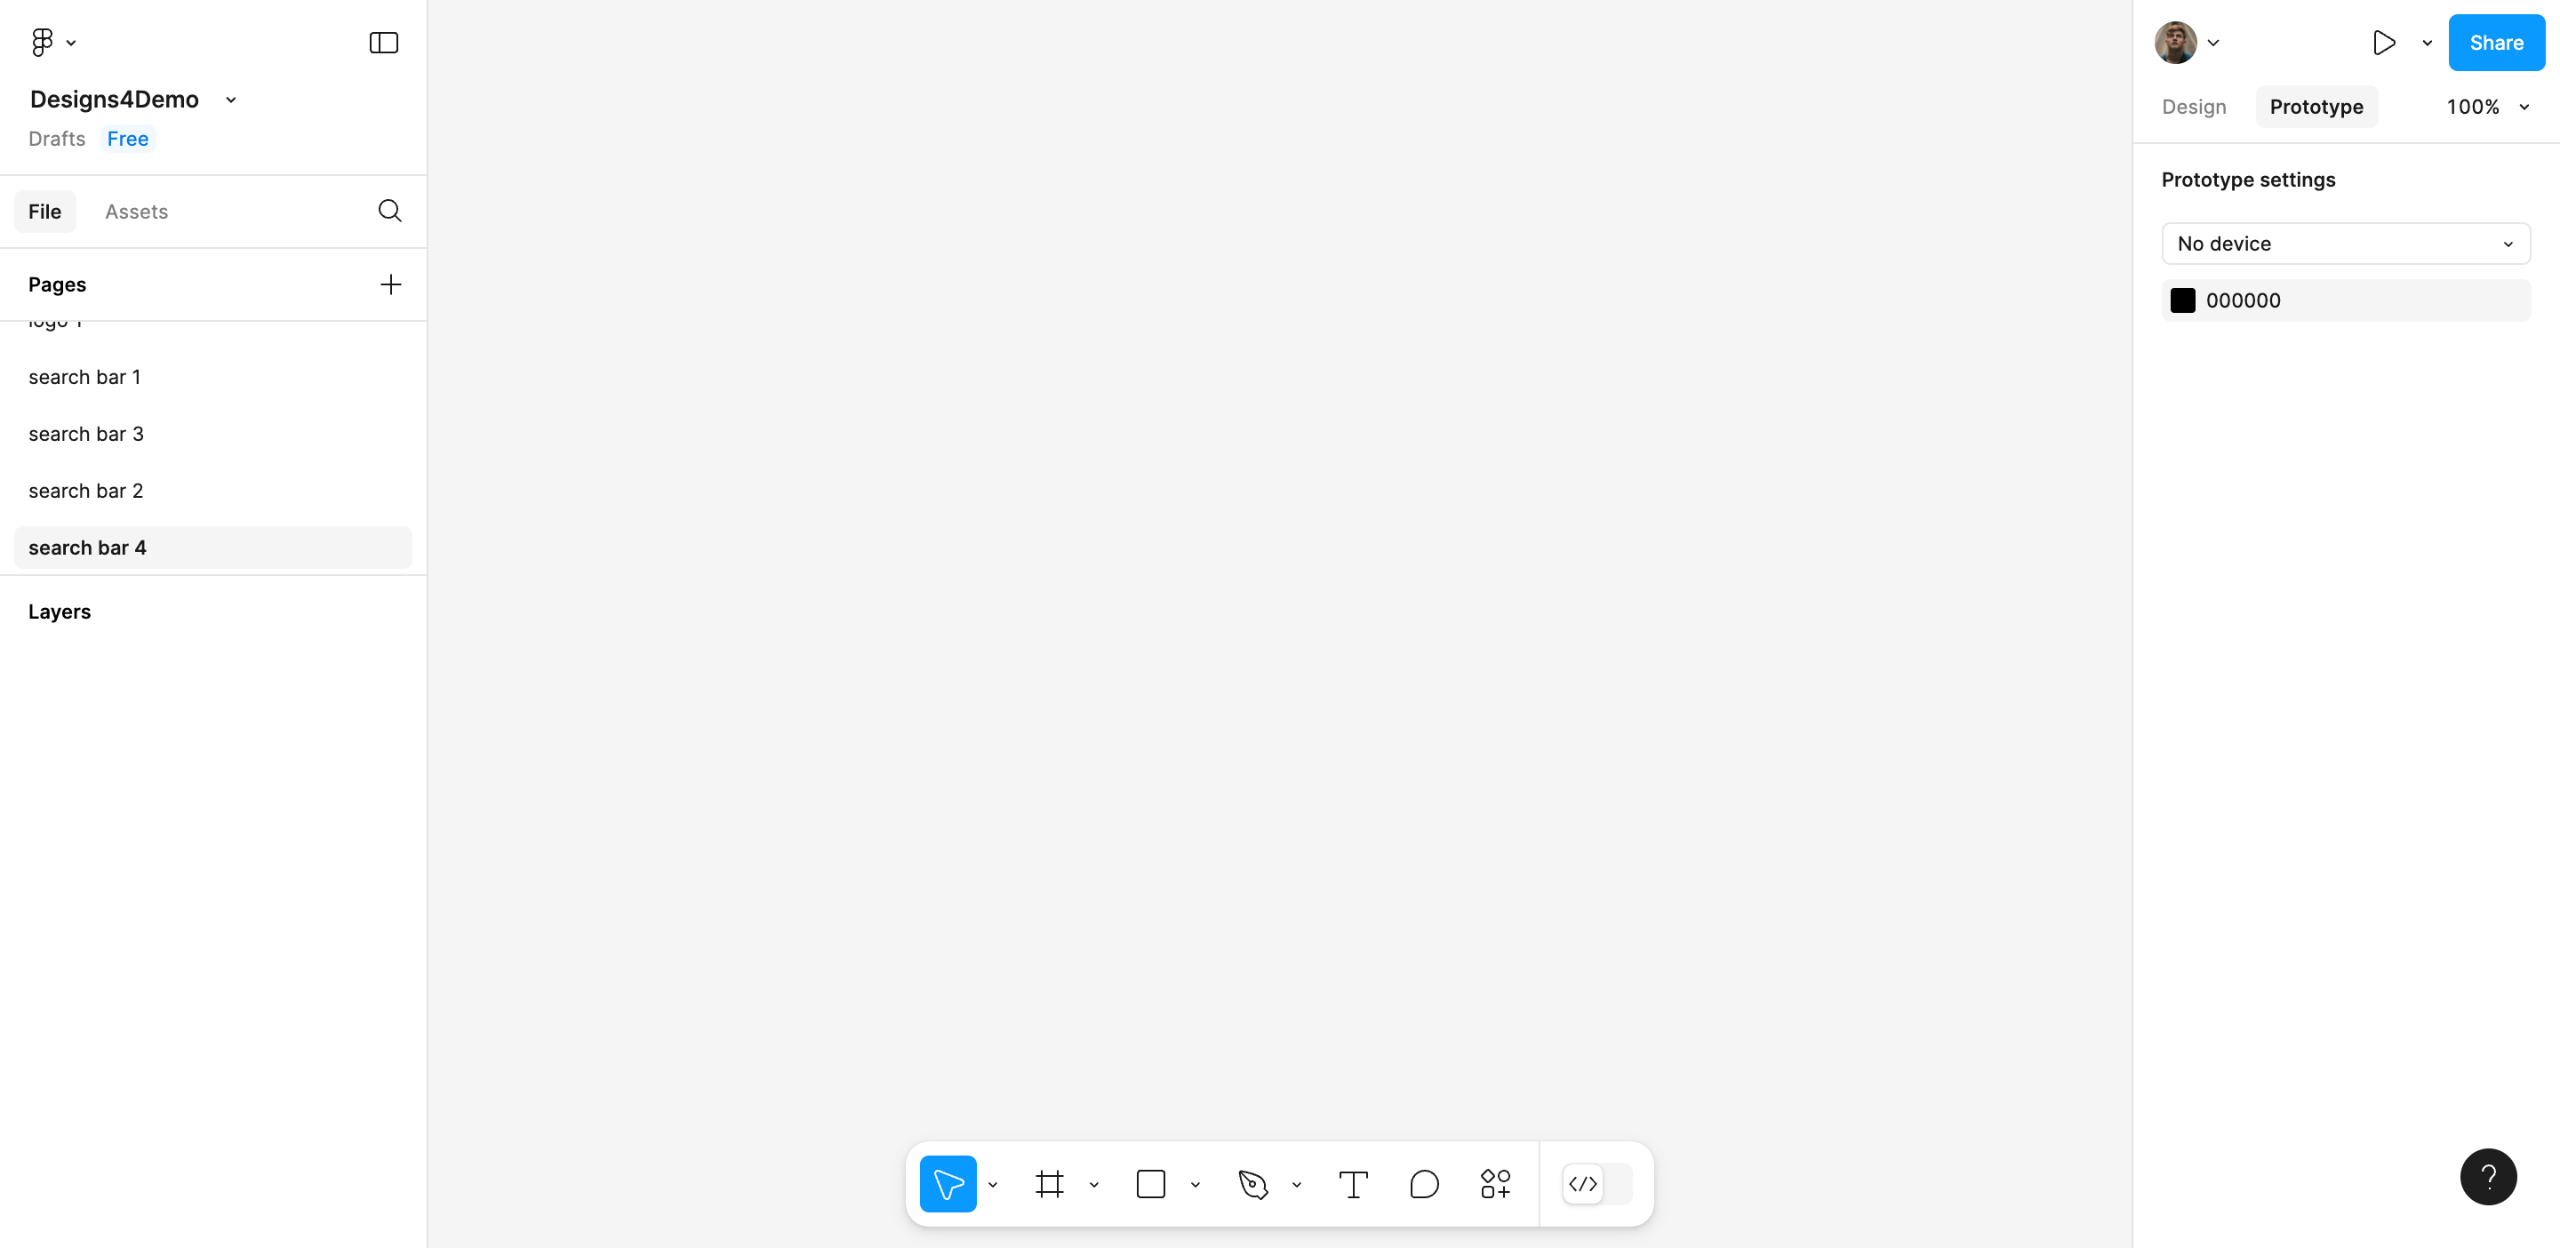
Navigate to the bottom section of your Figma design canvas and then access the menu bar. From there, you can use the provided options to add shapes and texts, draw sketches, enable plugins, and more.
After that, use your mouse cursor to add the objects to your design canvas and start creating the structure of your search box.
Arrange each element according to your liking. At the same time, make all the necessary adjustments. For instance, you may resize, scale, or move the objects in order to fit them accordingly.
Once done, select the elements individually and then go to the right-side panel for further customization. From there, you can reconfigure the Position, Layout, Appearance, and Visual Effects of your search box design. Just provide your input to change the default settings based on your preferences.
Select all the layers of your search box design. Following that, right-click on the selection to access the options.
Tap 'Copy' afterwards.
Subsequently, right-click anywhere around the canvas and click 'Paste Here'.
Click on the duplicate and reconfigure its default design settings to create a variation. You can use the options on the right-side panel or the menu bar at the bottom section.
After that, select the main design of your search box. Ensure that all layers are included.
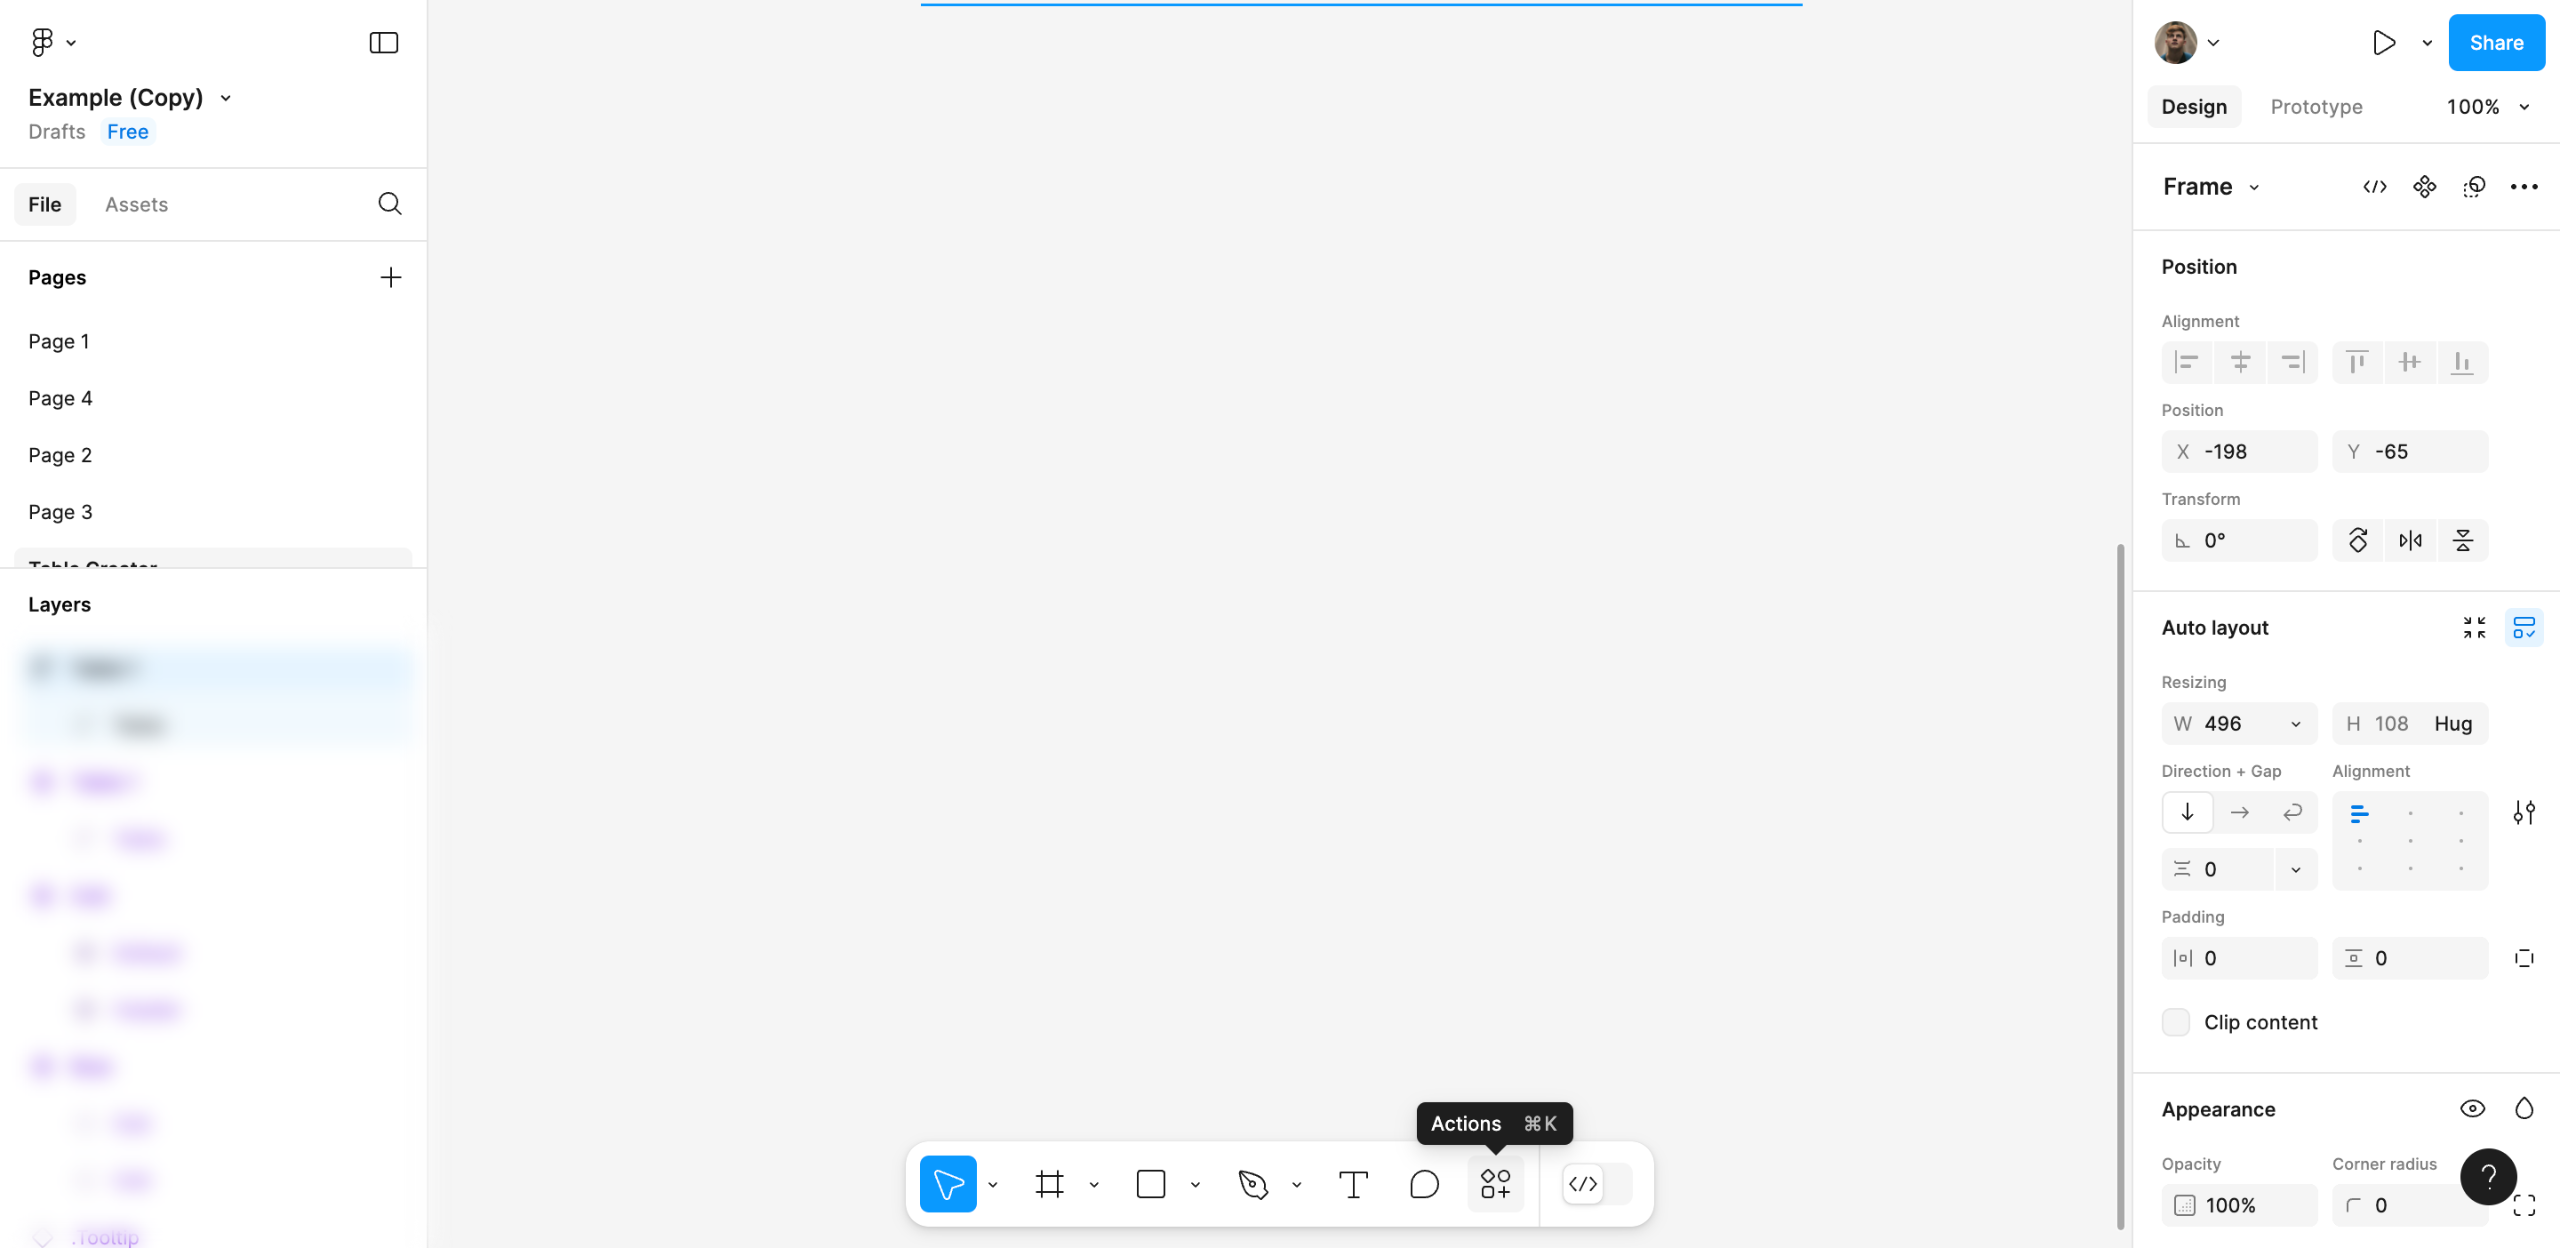
Head over to the right-side panel and tap the 'More Actions' icon.
Choose 'Create Component' from the list of options. Subsequently, repeat the same series of steps for the variant of the main design.
Once done, tap the 'Prototype' tab to create a responsive connection between the main design of your search box and its variant.
Select the main design and then hover your mouse cursor over it.
Next, grab the 'Add' icon attached to one of its sides and drag it to the variant.
Configure the Interaction settings accordingly. Specify your preferred Trigger, Action, and Animation.
Finally, click the 'Present' button at the top-right corner.
At this point, you can now test out your search box design. Review its aesthetic and functional quality. If necessary, don't hesitate to make revisions until you achieve your desired results.
Quick answer: To make a search bar design in Figma, navigate to the menu bar to add shapes and texts, arrange and customize the elements, duplicate the design for a variation, create components for both, and set up a prototype connection with specific interaction settings before testing the result using the Present button.
About this Figma tutorial
Build and prototype an interactive search bar design in Figma using shapes, layers, components, and customizable interaction settings. This guide shows how to make a Search Bar Design in Figma in 17 steps, starting with "Navigate to the bottom section of your Figma design canvas and then access the menu bar..." and finishing with "At this point, you can now test out your search box design. Review its aesthetic and fu...". The interactive demo above is a click-through copy of the real Figma interface, so you can rehearse each step before doing it in your own account.
Frequently asked questions
How many steps does it take to make a Search Bar Design in Figma?
17 steps. Each one is listed in order above, and the demo highlights exactly where to click.
Can I try it without changing my own account?
Yes. Clicking through the demo doesn't touch your Figma data or settings. Once you know the flow, repeat it in your own workspace.
This tutorial is filed under Figma. Related guides: How to Make a Table in Figma, How to Make Something Not a Component in Figma and How to Make the Figma Prototype Responsive. Last reviewed 05 Oct 2026.

Create your first interactive demo in minutes
No credit card required • Start building today