Tidio Klaviyo Integration
- George Apostolov
Tidio Klaviyo Integration: step-by-step guide
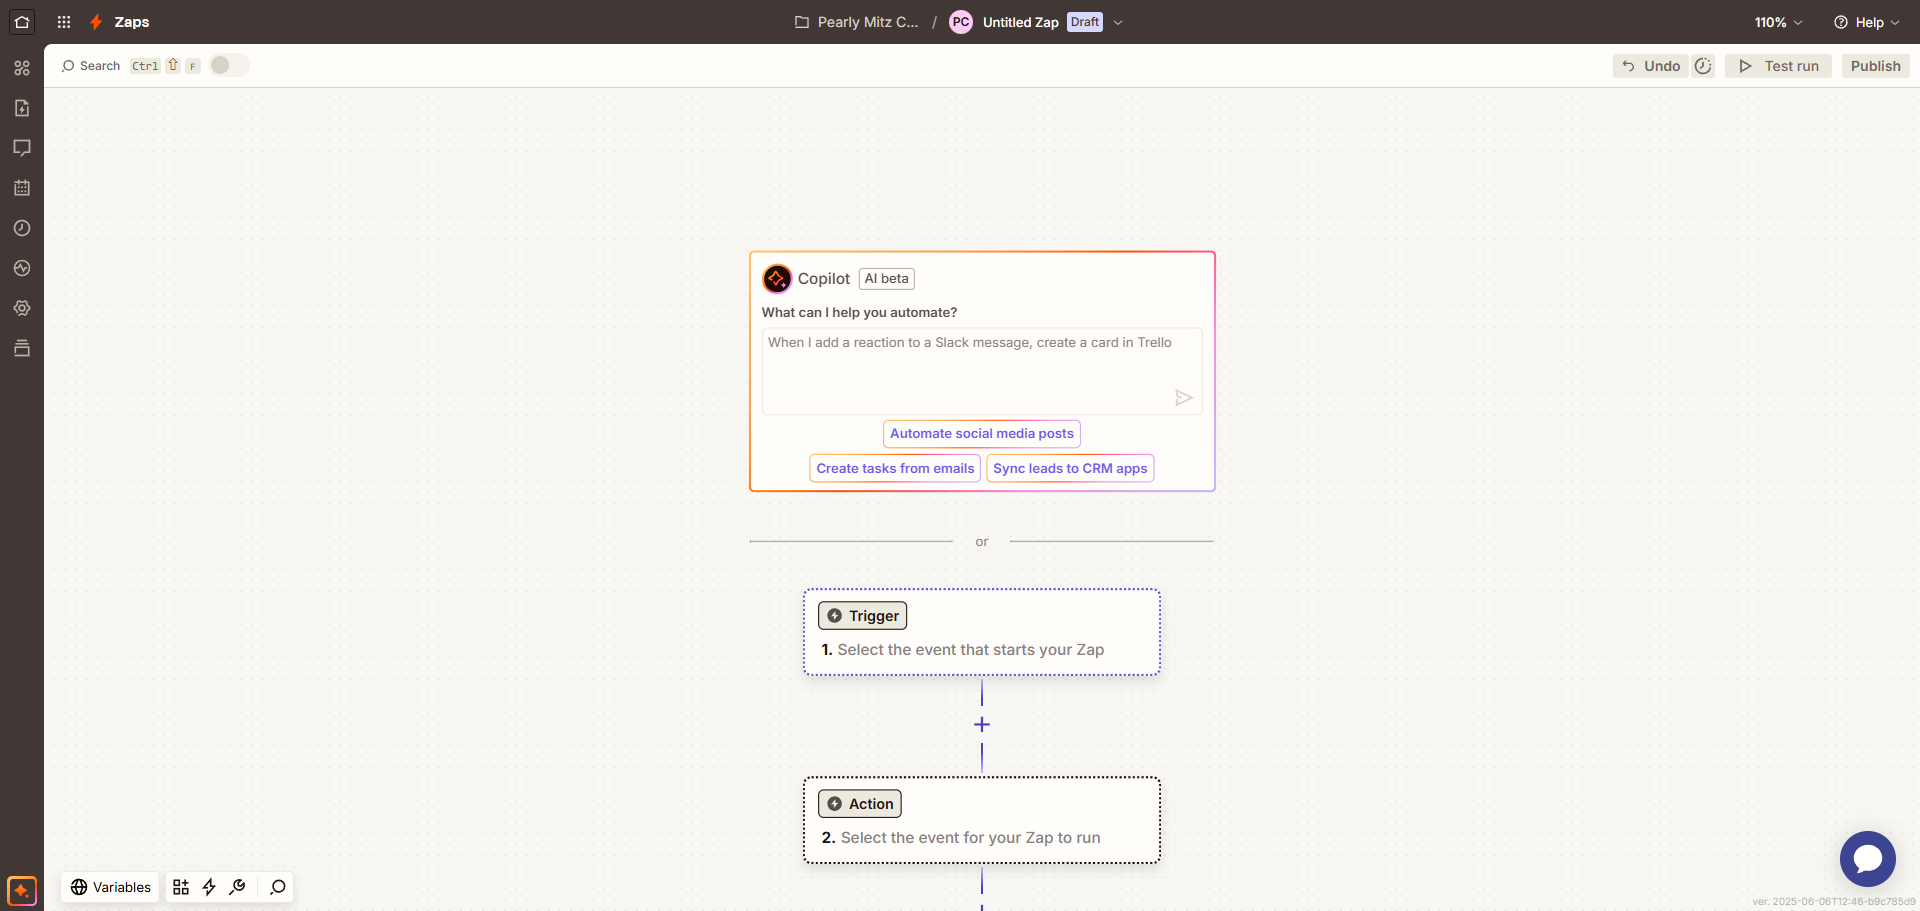
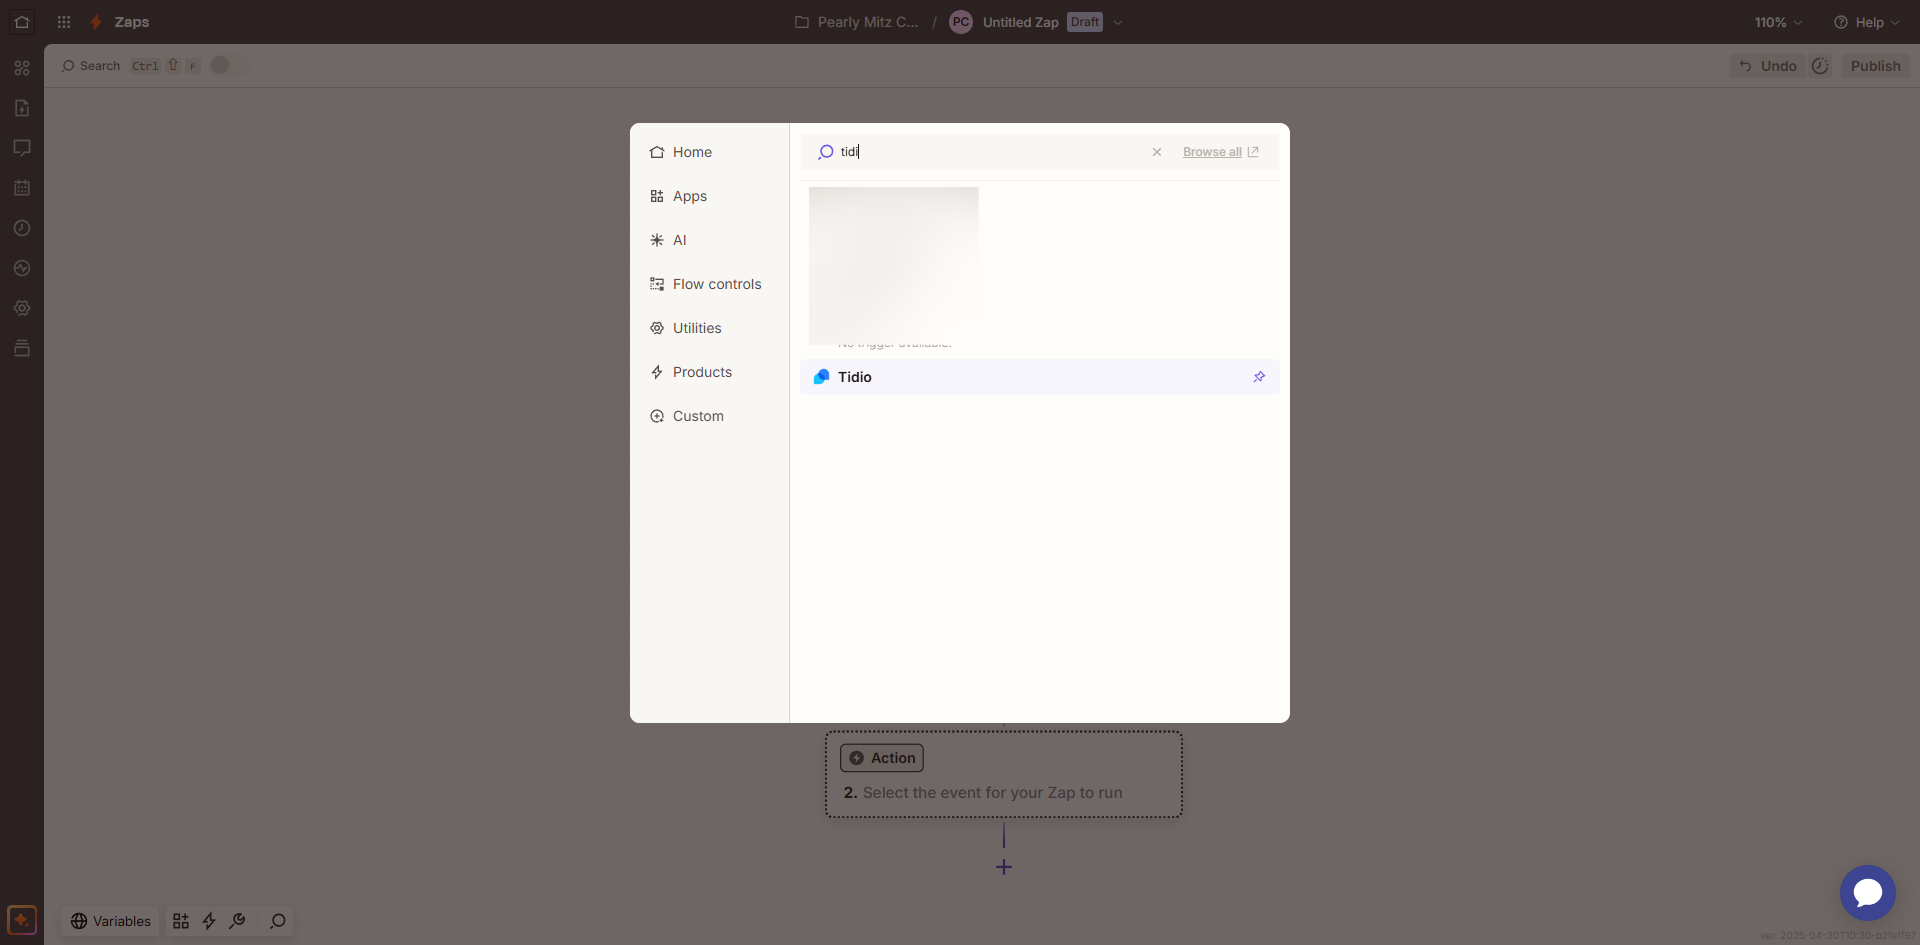
Select 'Tidio' as your trigger app to capture chat interactions from your website.
Select your trigger event.
Connect your Tidio account to access your chatbot data.
Select which visitor data fields you want to capture from Tidio.
Now, set up what happens with your chat data by clicking 'Test trigger'.
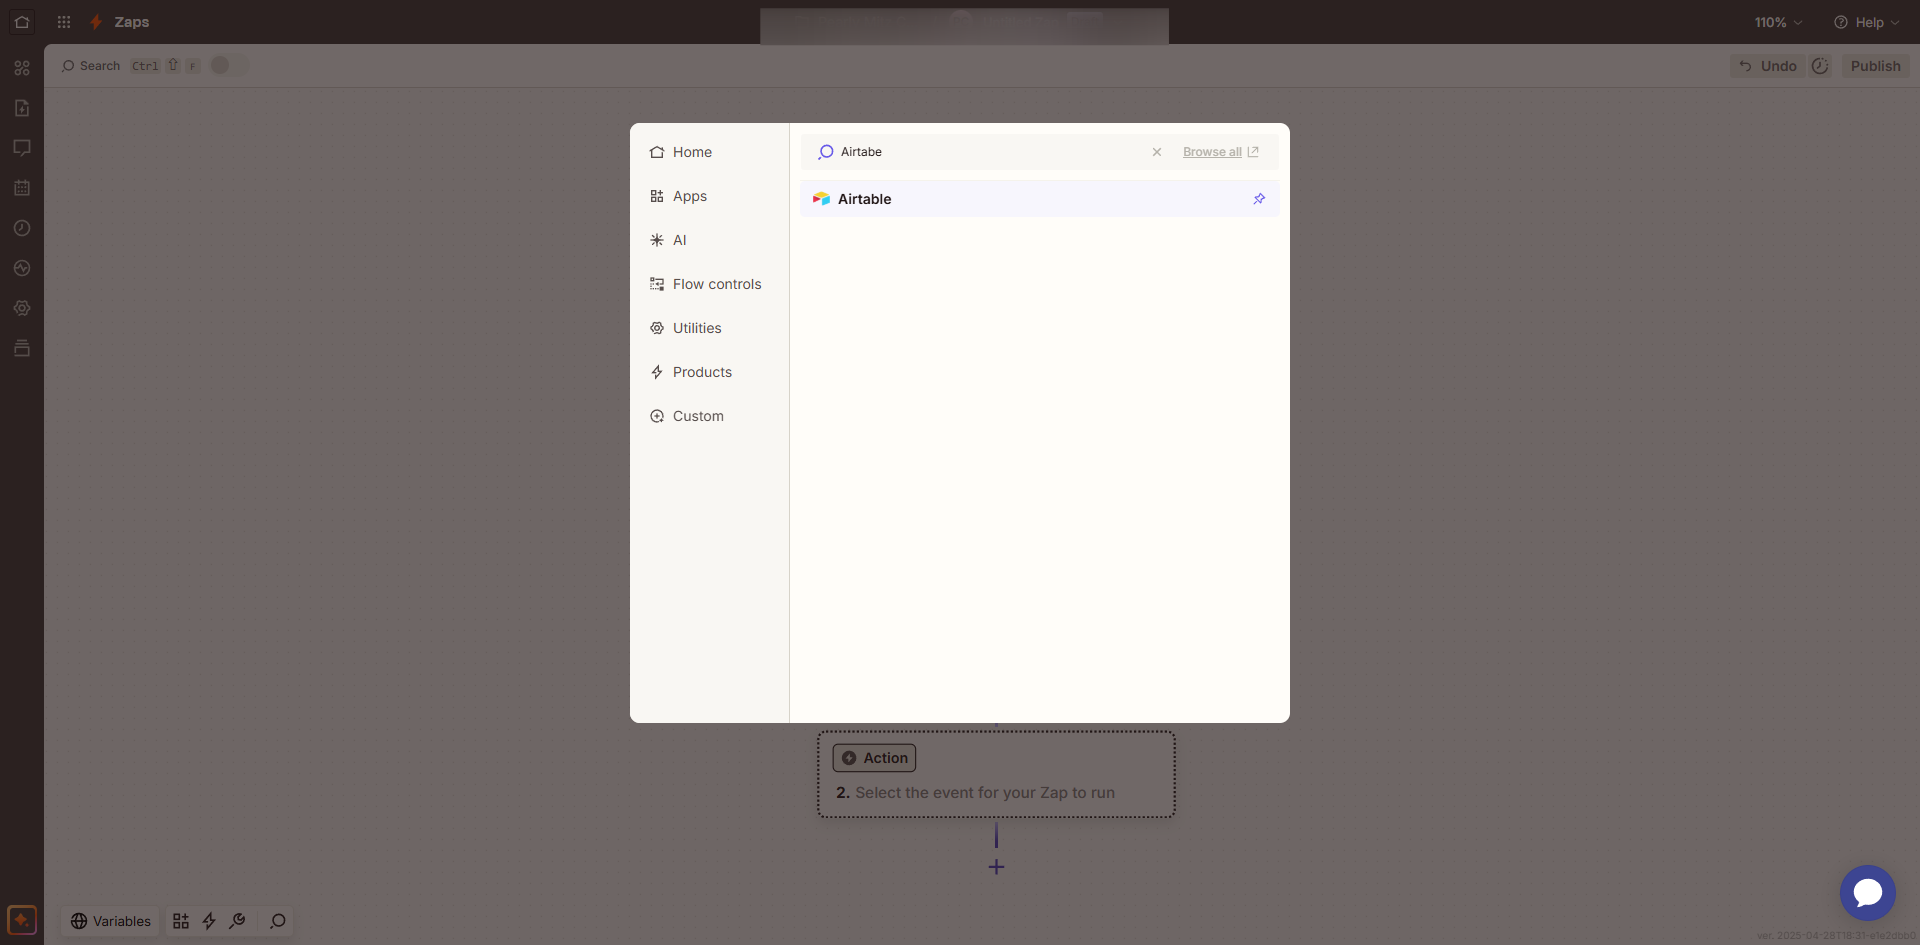
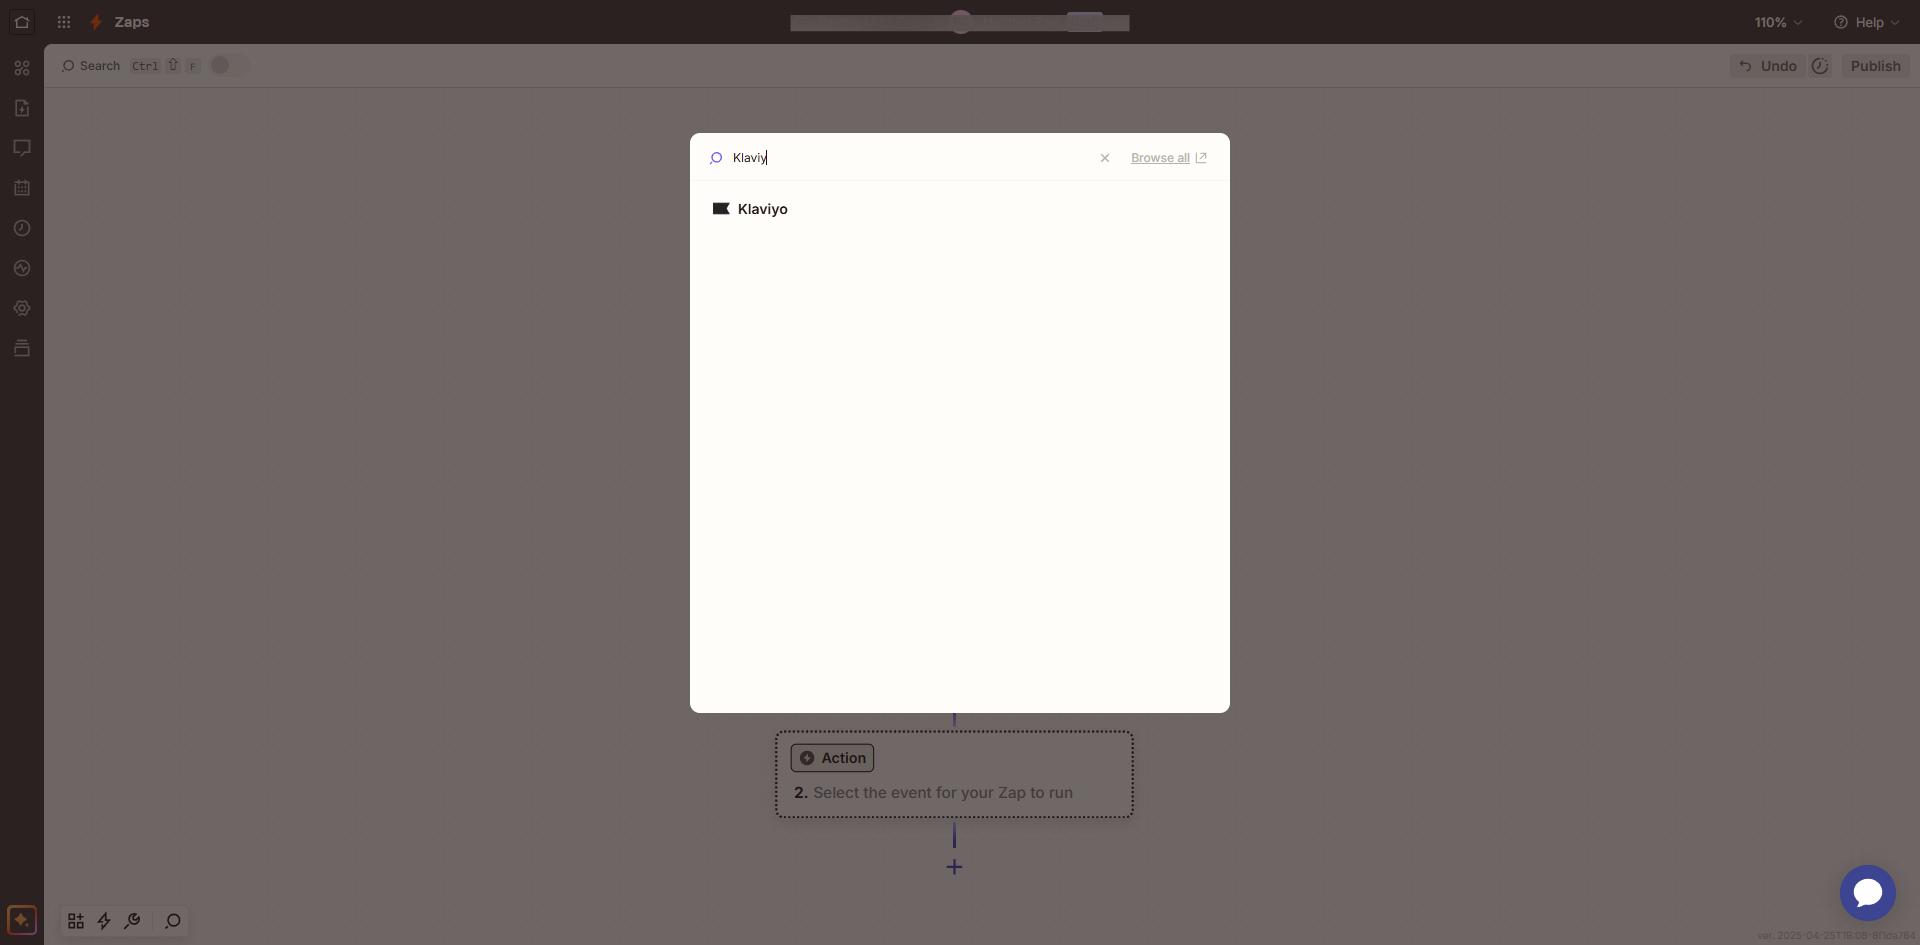
Select 'Klaviyo' as your action app to add contacts to your email marketing platform.
Specify what action Klaviyo should take with the incoming chat data.
Connect to your Klaviyo account to enable contact management.
Select the contact identifier to ensure proper matching in Klaviyo.
Specify which Klaviyo list should receive these tagged contacts.
Click 'Continue' to finalize your automation setup after confirming all settings.
Click 'Test step' to test your Zap to ensure proper data flow between Tidio and Klaviyo.
Click 'Publish' to activate your Zap to start automatically tagging contacts from chat interactions.
Quick answer: To sync Tidio chat interactions to your email marketing platform, select Tidio as your trigger app, connect your account, and choose your visitor data fields. Then, select Klaviyo as your action app, connect your account, specify the action, select the contact identifier and destination list, and publish your Zap.
About this Klaviyo tutorial
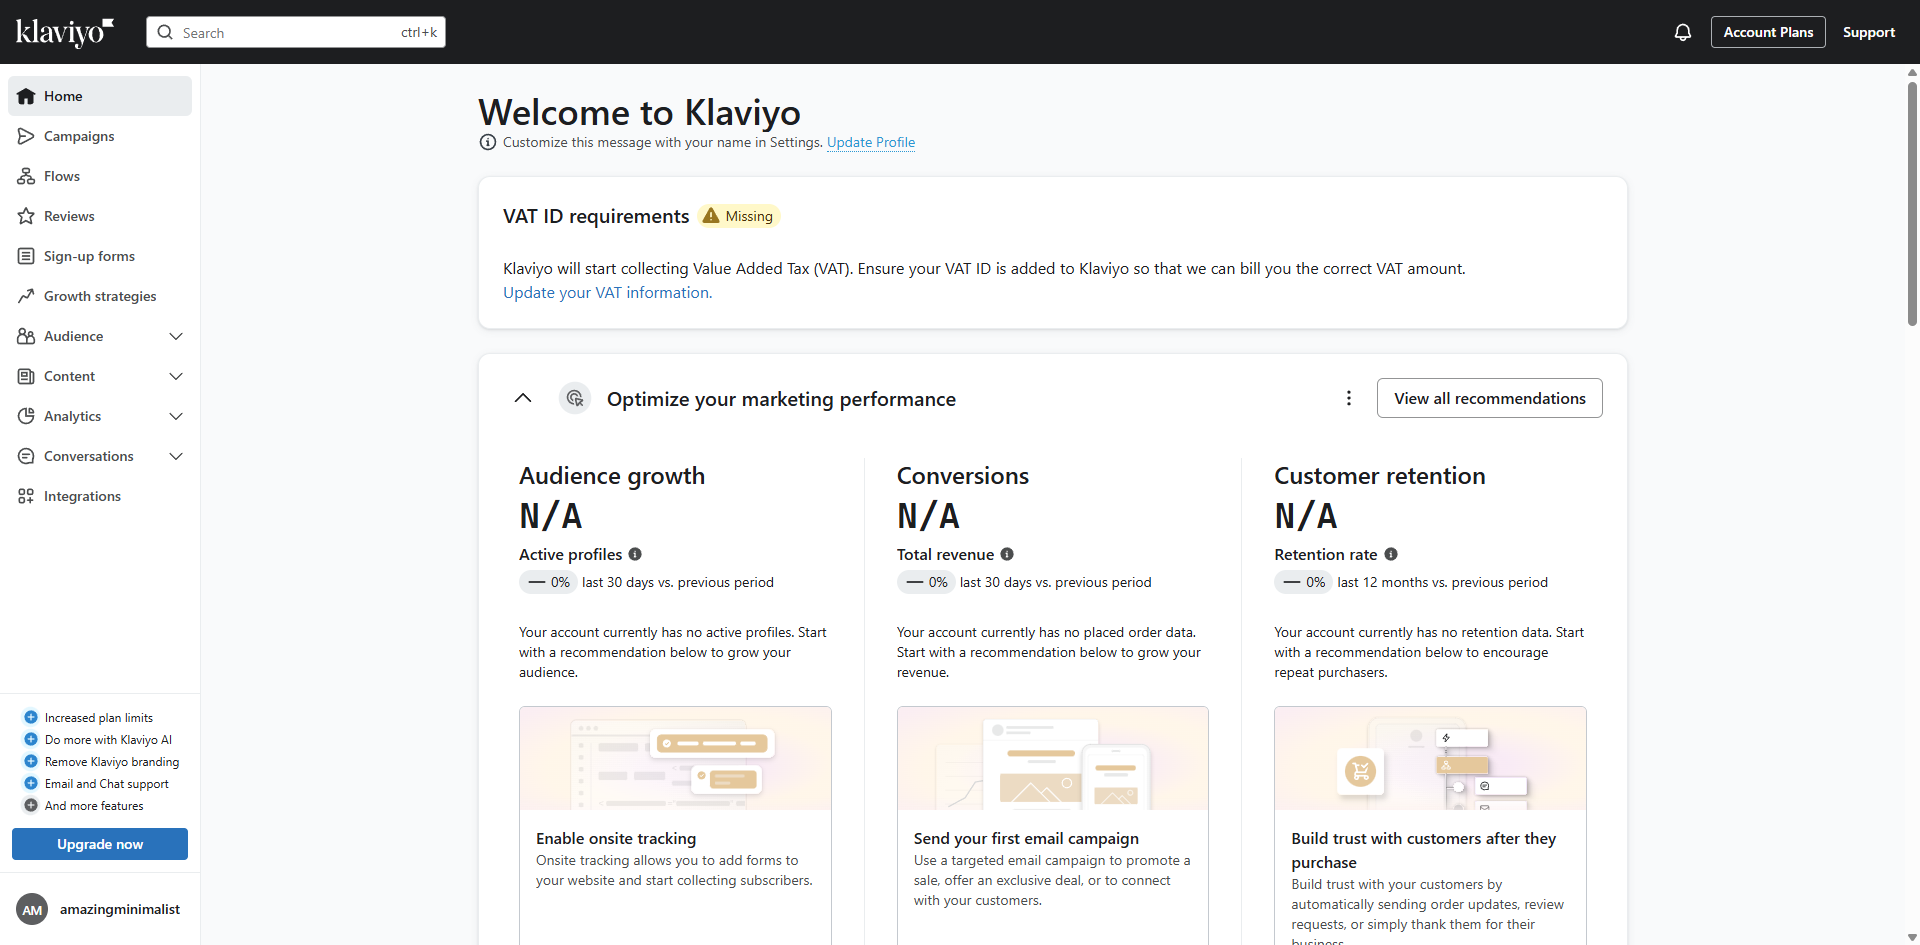
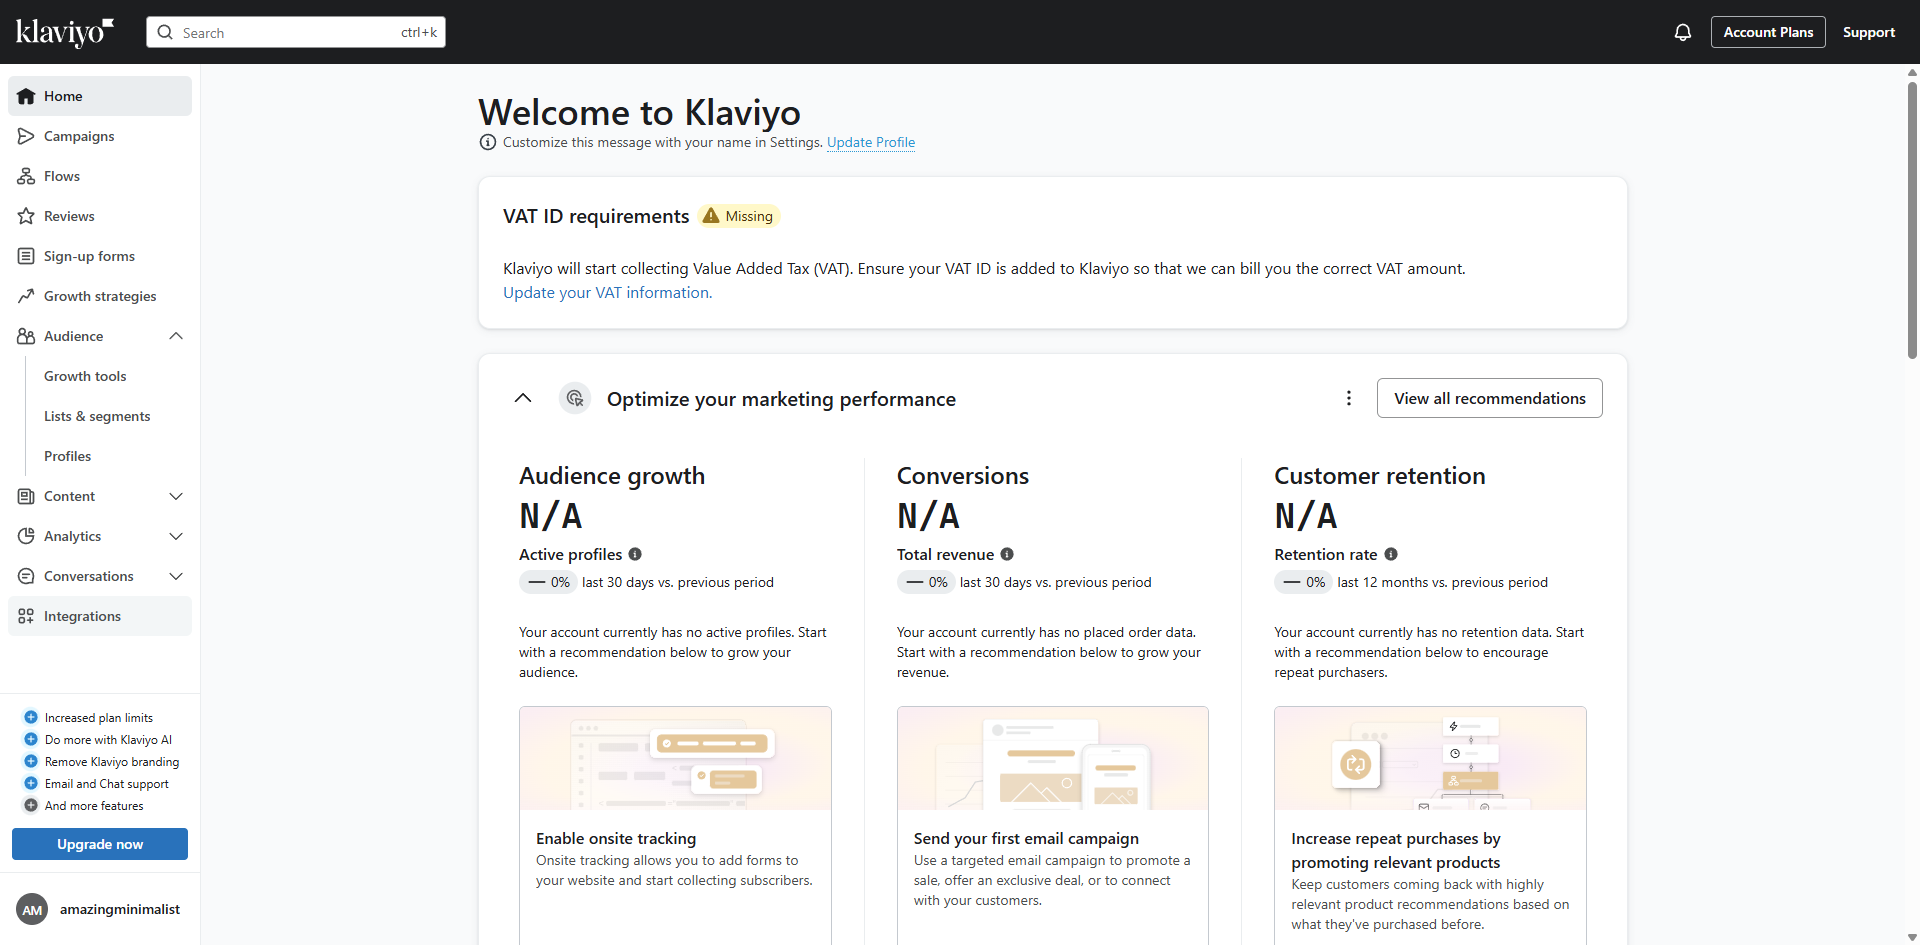
Automate contact creation in Klaviyo by syncing chat data from Tidio. Test your trigger and action steps to start tagging contacts today. This guide covers tidio Klaviyo Integration in 13 steps, starting with "Select 'Tidio' as your trigger app to capture chat interactions from your website" and finishing with "Click 'Publish' to activate your Zap to start automatically tagging contacts from chat...". The interactive demo above is a click-through copy of the real Klaviyo interface, so you can rehearse each step before doing it in your own account.
Frequently asked questions
How many steps does tidio Klaviyo Integration take?
13 steps. Each one is listed in order above, and the demo highlights exactly where to click.
Can I try it without changing my own account?
Yes. Clicking through the demo doesn't touch your Klaviyo data or settings. Once you know the flow, repeat it in your own workspace.
This tutorial is filed under Klaviyo. Related guides: Typeform Klaviyo Integration, Airtable Klaviyo Integration and Calendly Klaviyo Integration. Last reviewed 05 Oct 2026.

Create your first interactive demo in minutes
No credit card required • Start building today