How To Add Custom Code In Webflow
- George Apostolov
This guide is an interactive LiveDemo. Create interactive demos of your own product: Interactive demo software · Interactive product tours for your website · Start free
How To Add Custom Code In Webflow: step-by-step guide
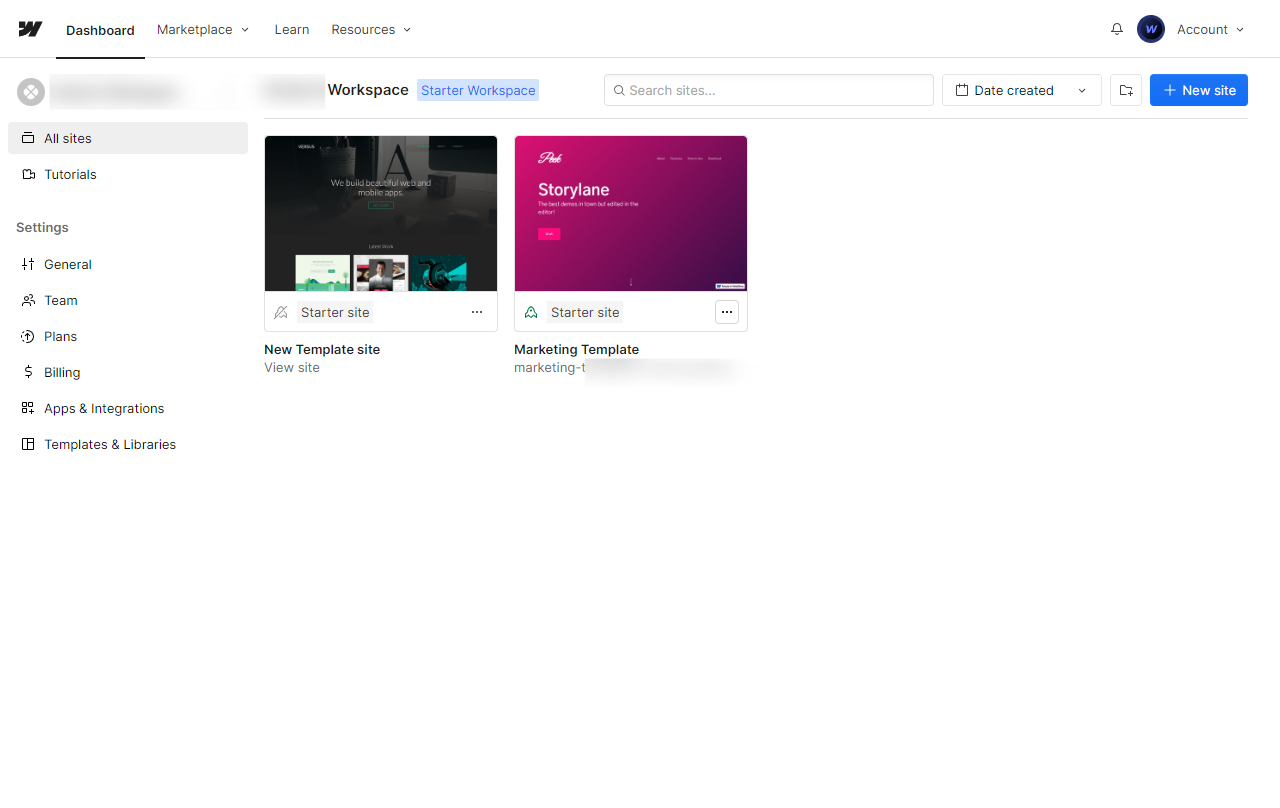
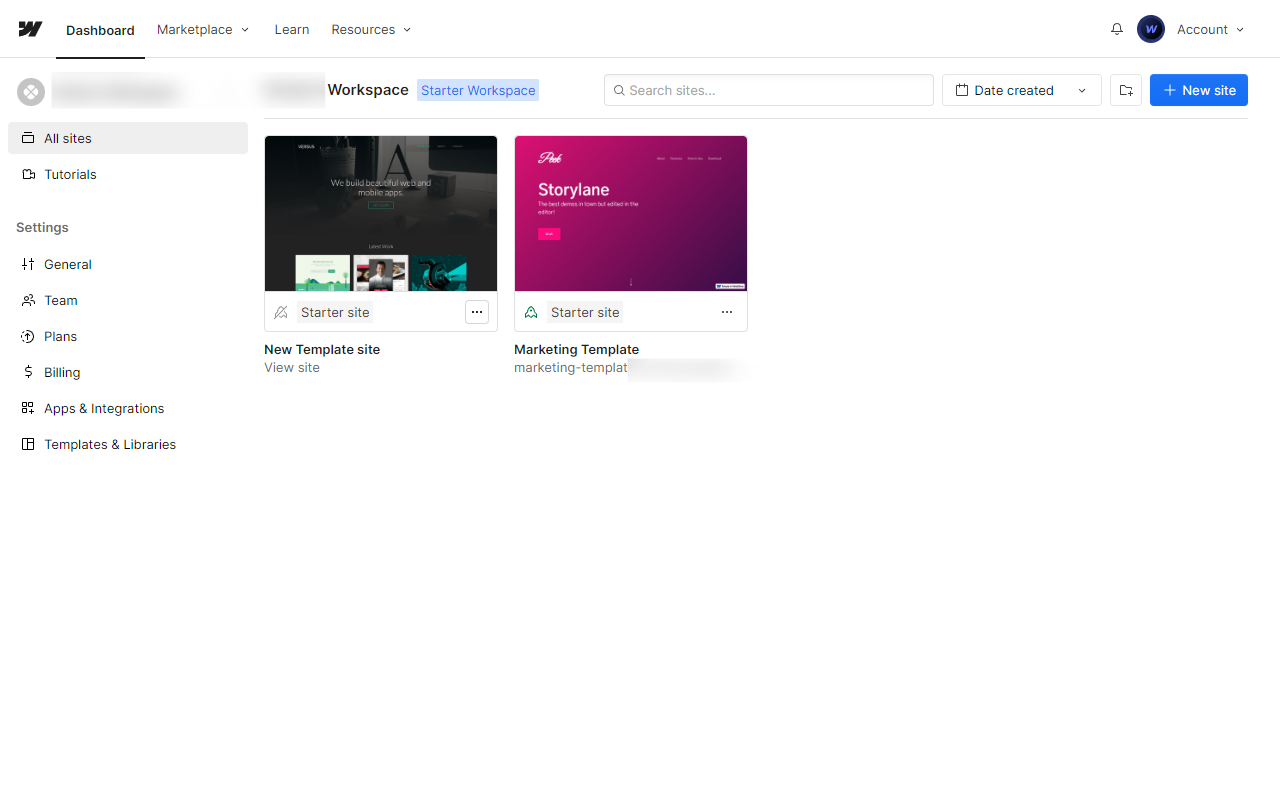
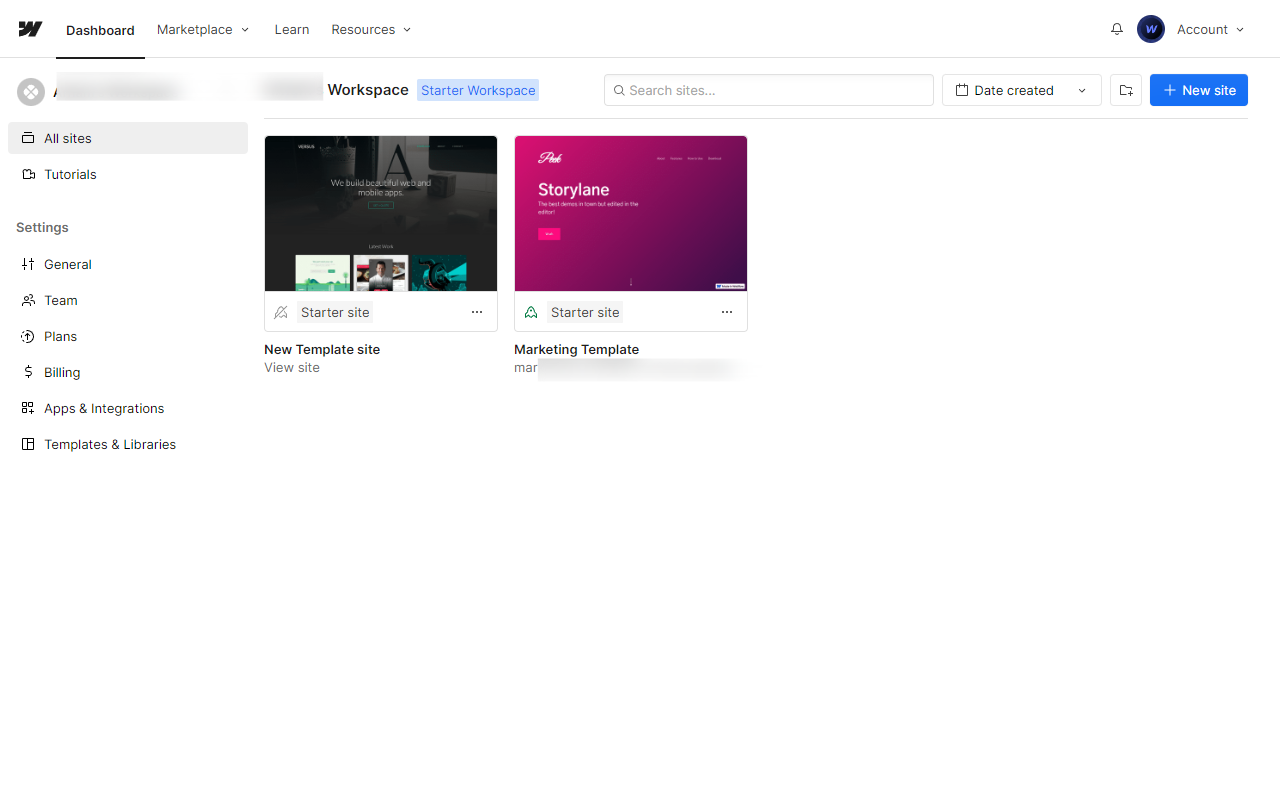
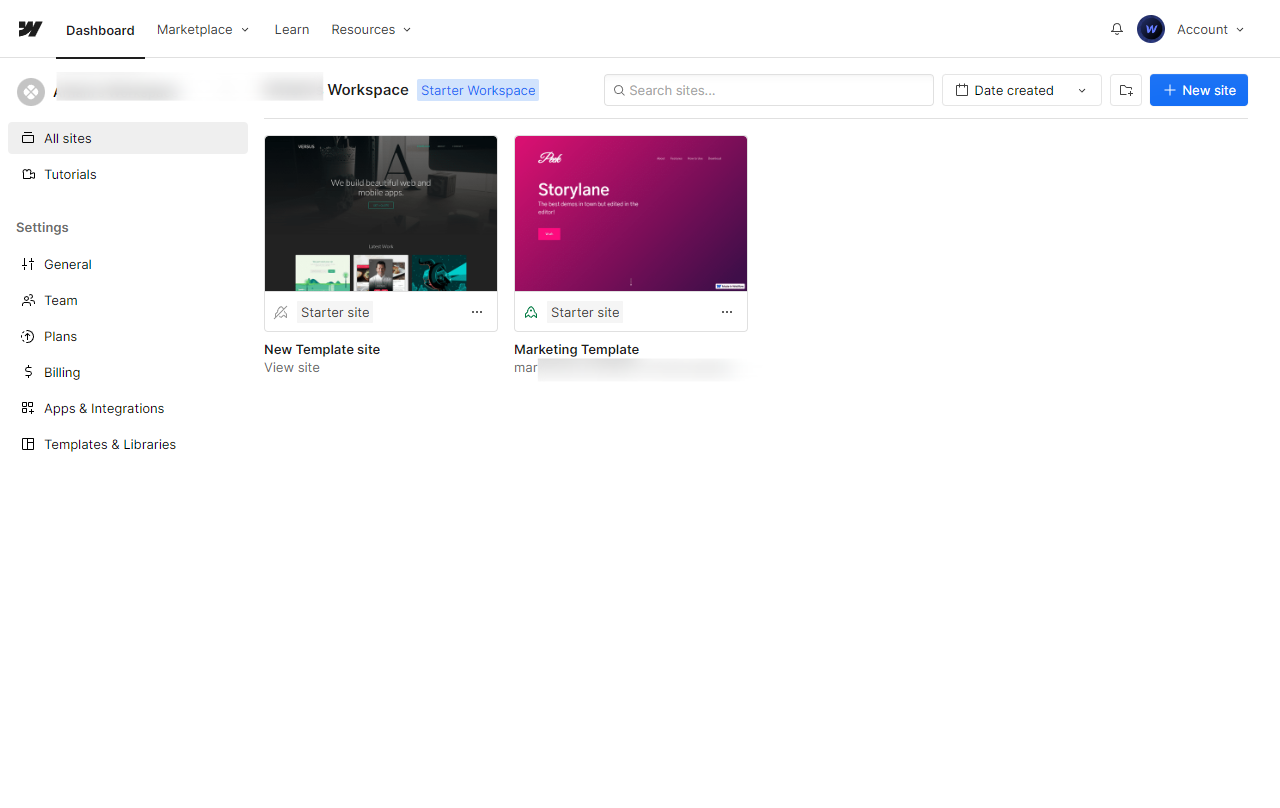
From the Webflow dashboard locate your project thumbnail and click on the three dotted icon to view options.
Click on Settings.
From the left sidebar, navigate to the Custom code section.
This page will contain different sections for head, body and footer. Enter your code depending on where it should be applied.
Validate and save your changes. Note that all code applied here will be applied to all pages of your project.
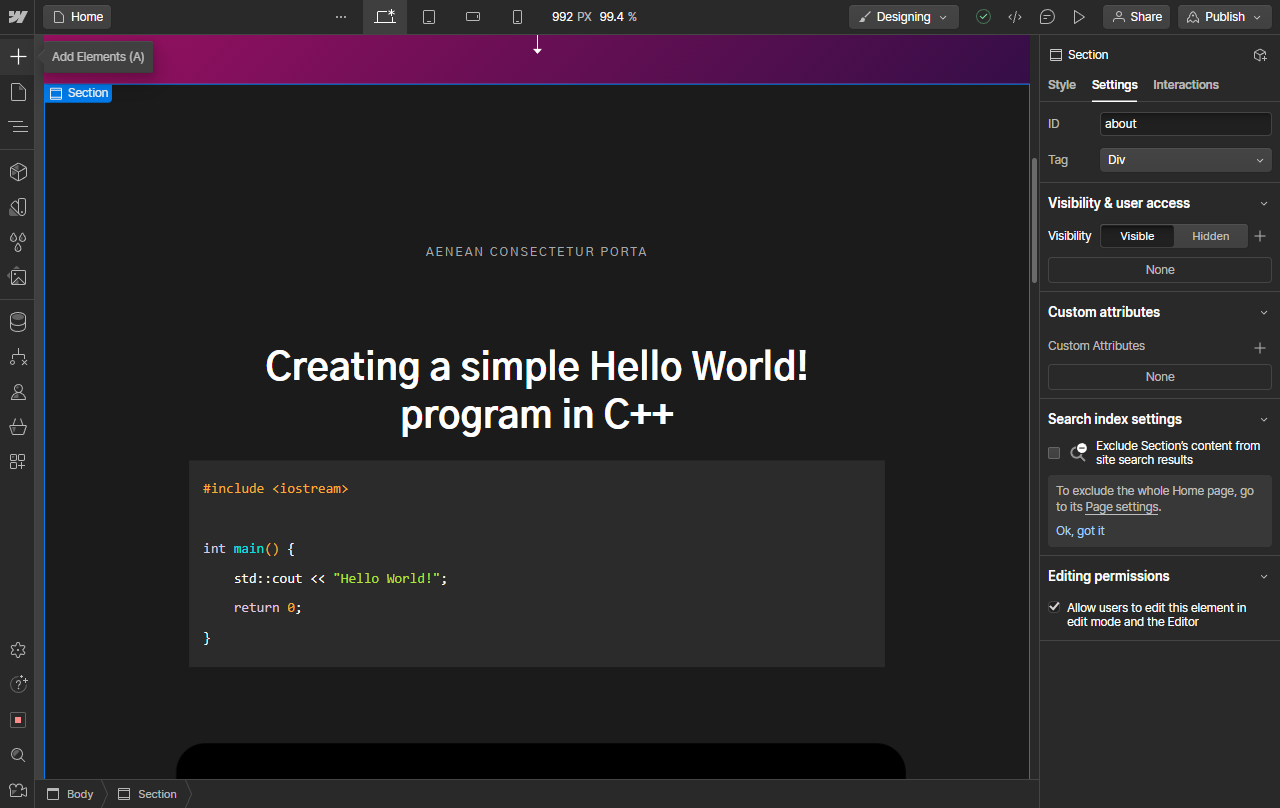
To apply code to a specific page, from inside the editor, go to the Pages tab in the left sidebar menu.
Hover over the page name to reveal a small gear icon for settings. Click to open.
Scroll to the bottom to find the Custom Code section.
This section will contain separate sections for head, body and footer. Enter and save your code in the appropriate location. Most commonly, CSS is entered within the head tag and JS is entered before the </body> tag.
Save your changes and publish your project to push them live.
Quick answer: To add custom code in Webflow, locate your project thumbnail on the dashboard, click the three-dotted icon, select Settings, navigate to the Custom code section, enter your code in the head, body, or footer, and save. Alternatively, open the editor, go to the Pages tab, click the page settings gear icon, scroll to the Custom Code section, add your code, save, and publish.
About this Webflow tutorial
Insert custom CSS and JavaScript into specific pages or your entire Webflow project using the custom code settings and editor options. This guide shows how to add Custom Code In Webflow in 10 steps, starting with "From the Webflow dashboard locate your project thumbnail and click on the three dotted..." and finishing with "Save your changes and publish your project to push them live". The interactive demo above is a click-through copy of the real Webflow interface, so you can rehearse each step before doing it in your own account.
Frequently asked questions
How many steps does it take to add Custom Code In Webflow?
10 steps. Each one is listed in order above, and the demo highlights exactly where to click.
Can I try it without changing my own account?
Yes. Clicking through the demo doesn't touch your Webflow data or settings. Once you know the flow, repeat it in your own workspace.
This tutorial is filed under Webflow. Related guides: How To Add Facebook Pixel To Webflow, How To Add Icon To Button Webflow and How To Add Icons In Webflow. Last reviewed 05 Oct 2026.

Create your first interactive demo in minutes
No credit card required • Start building today