How to Autofit in Microsoft Excel
- George Apostolov
This guide is an interactive LiveDemo. Create interactive demos of your own product: Interactive demo software · Interactive customer onboarding guides · Start free
How to Autofit in Microsoft Excel: step-by-step guide
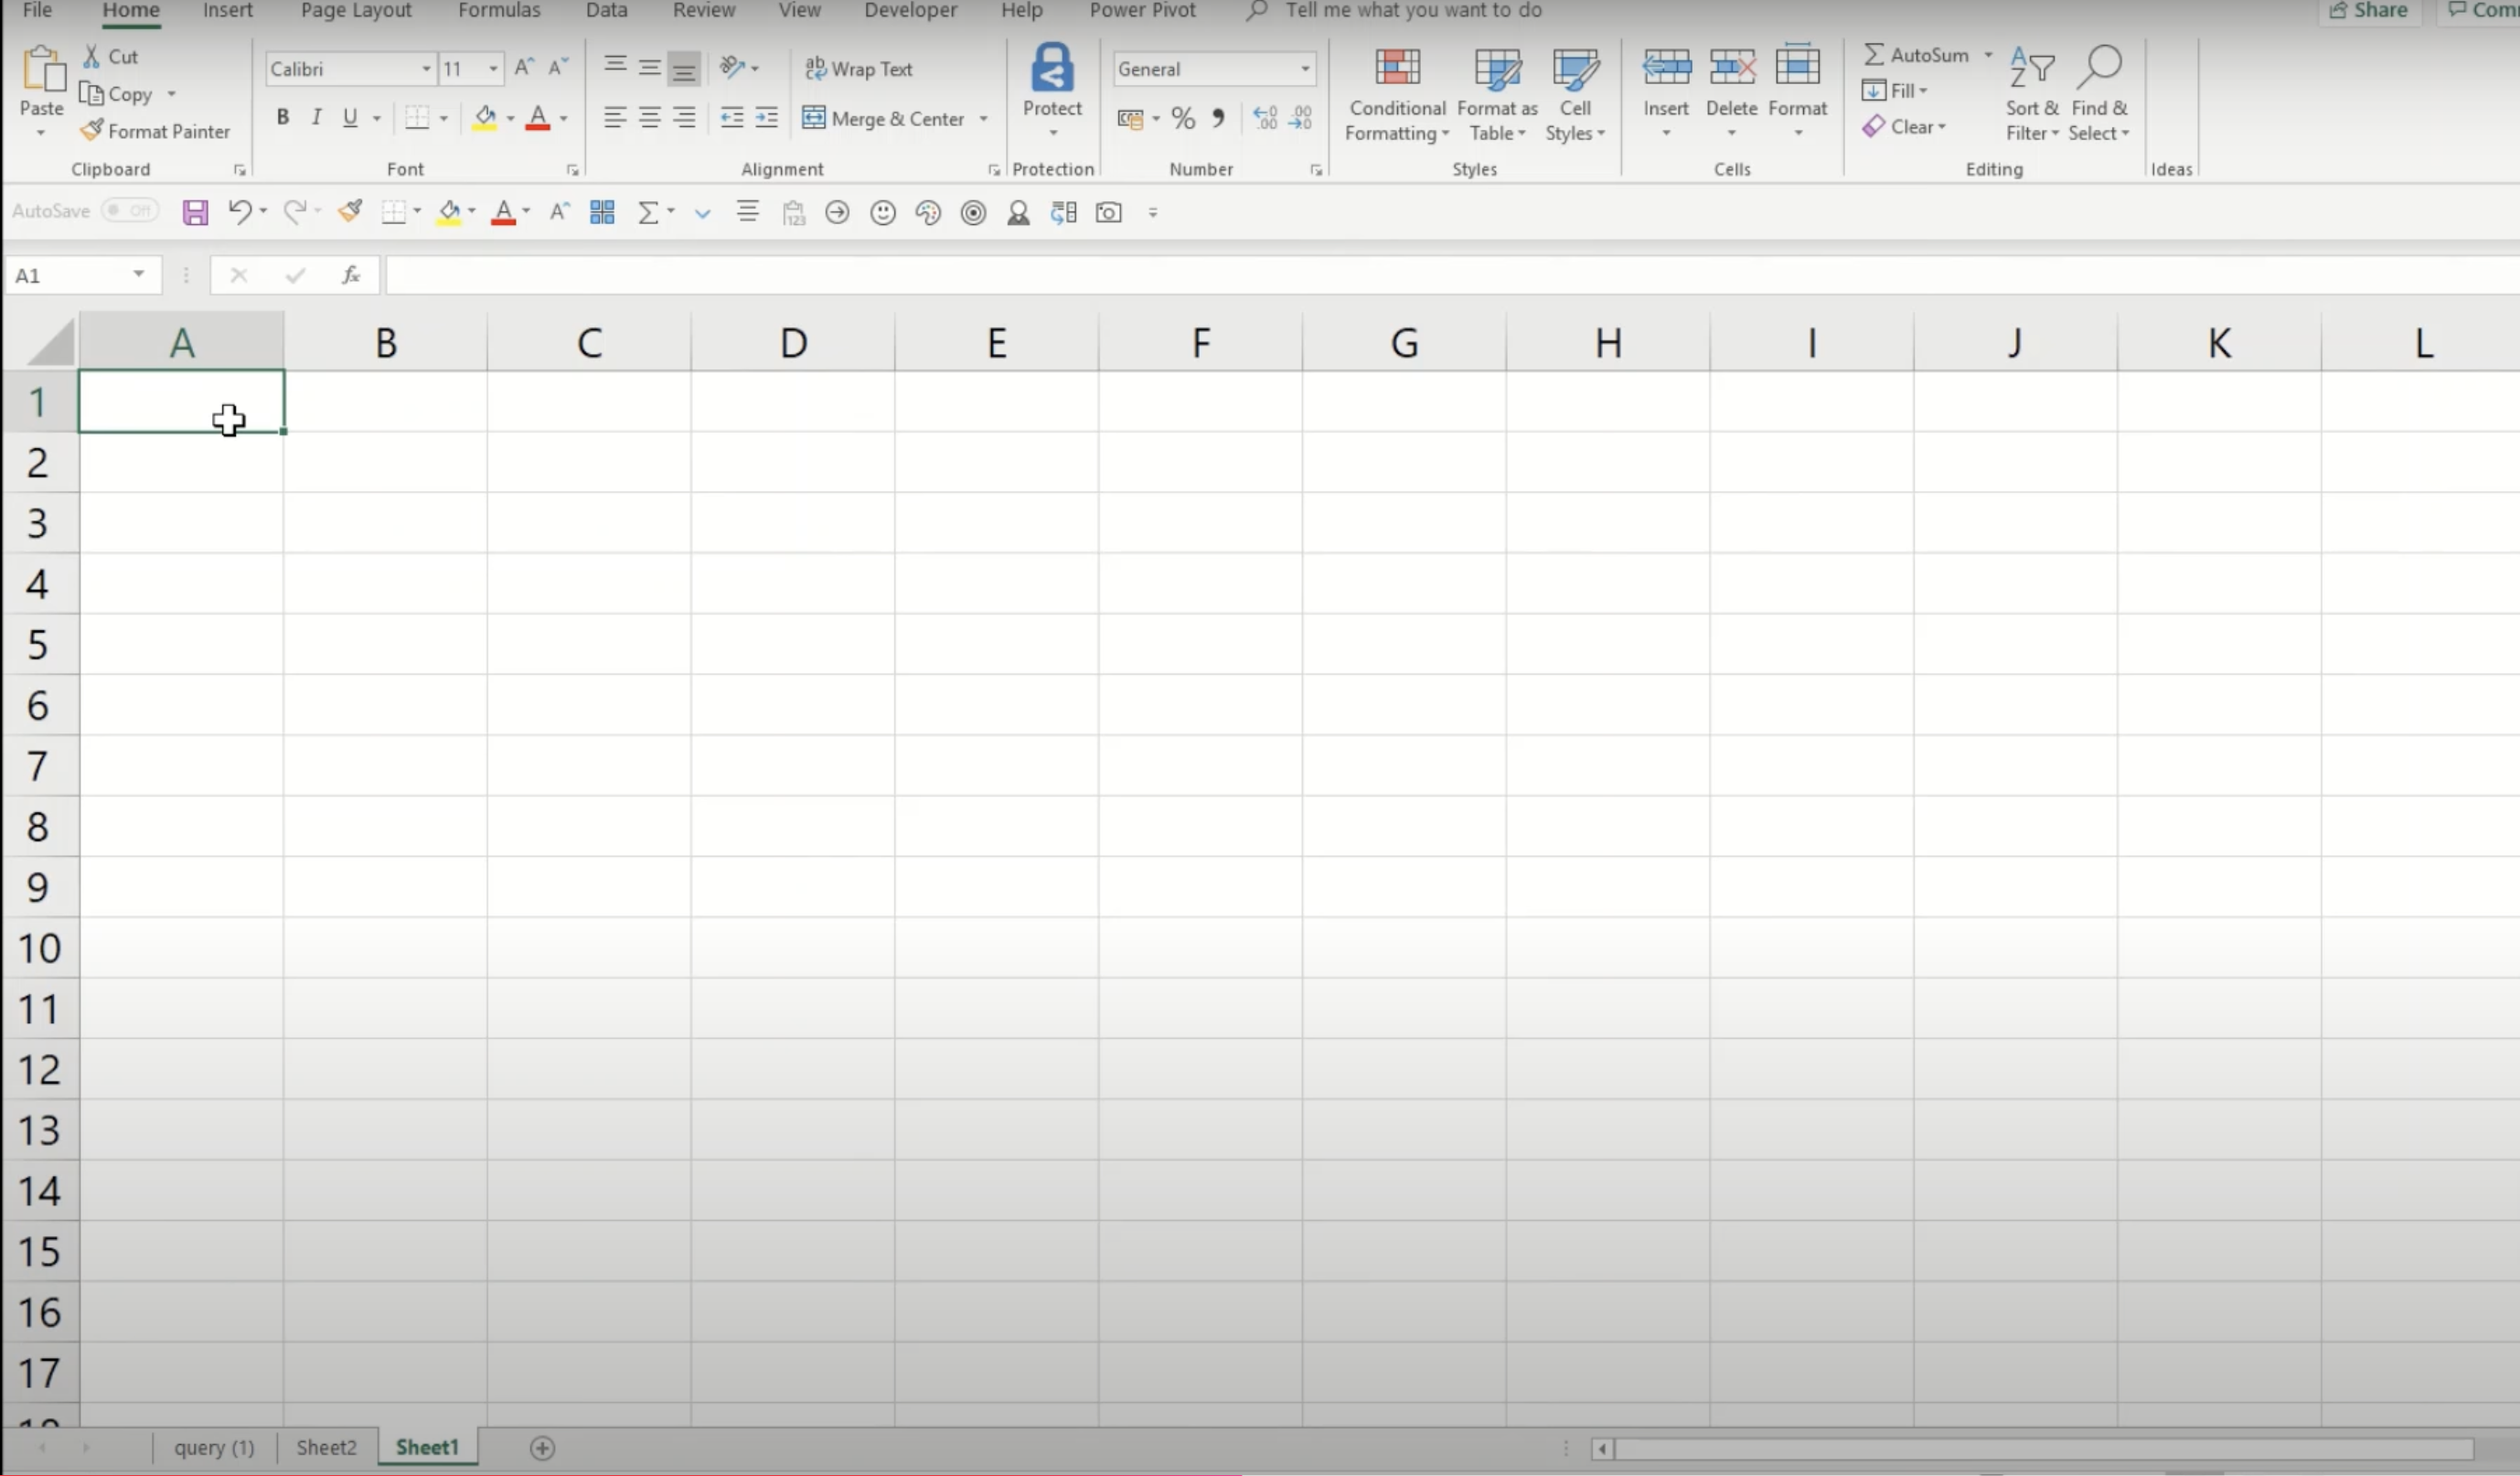
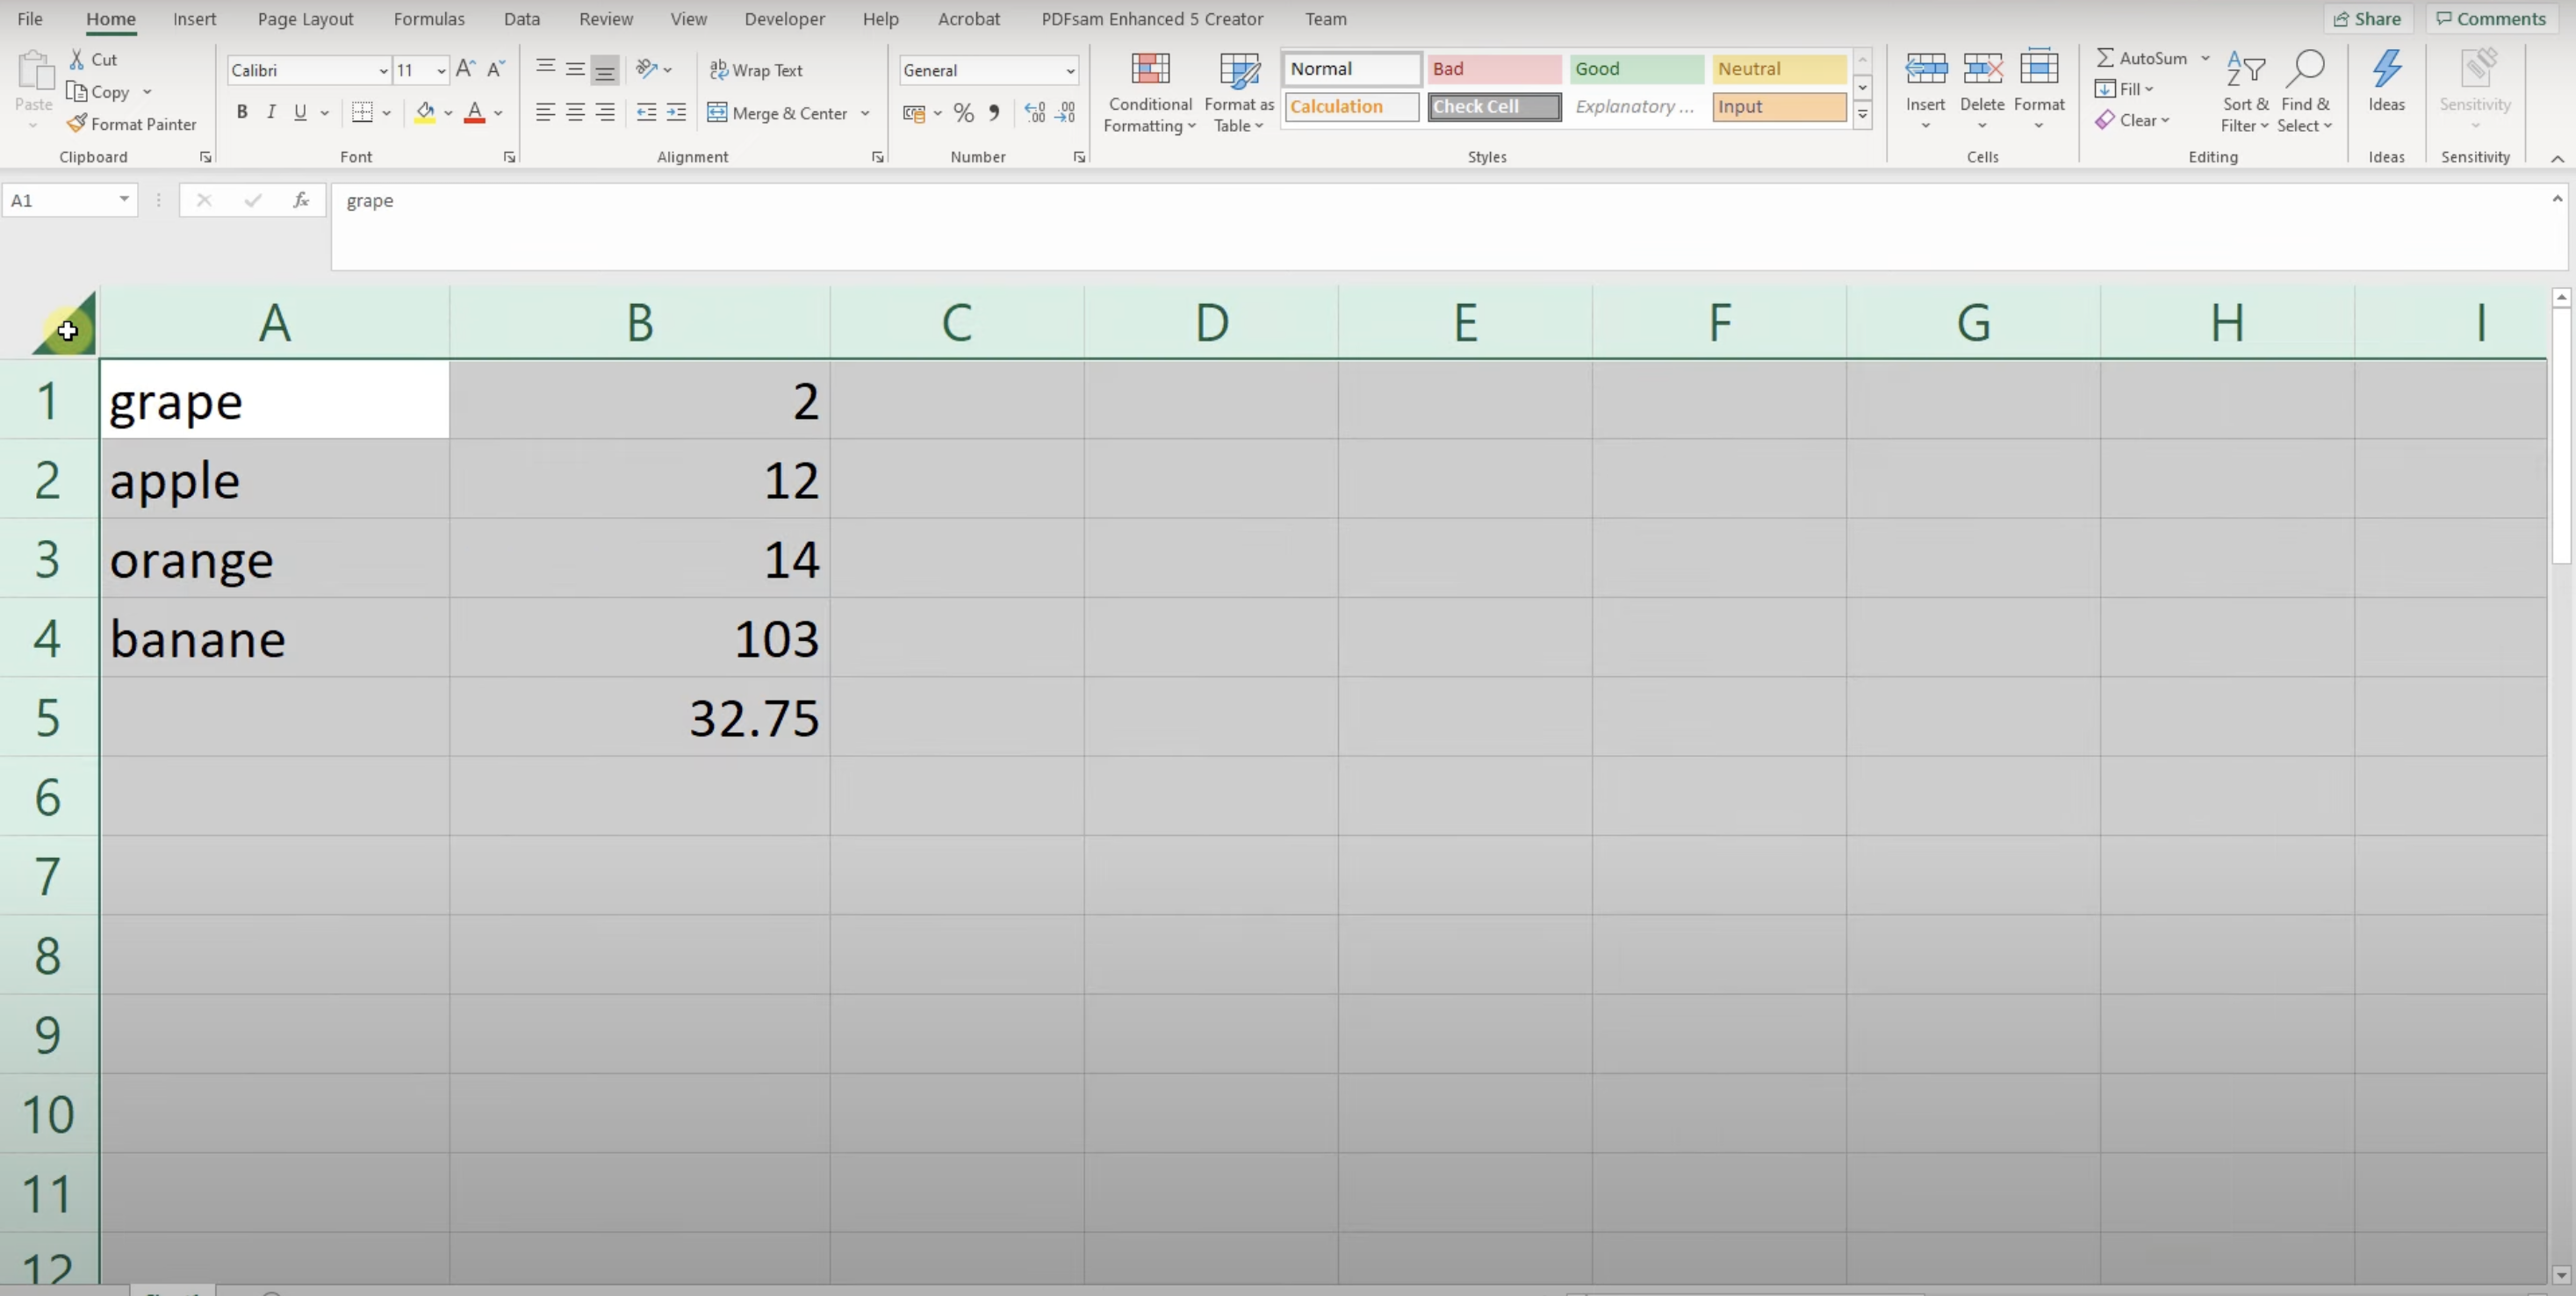
Select the whole sheet by clicking the triangle in the top left corner.
Move your mouse between columns A and B until the cursor changes to a two-sided arrow.
Double-click the boundary, and the column width will adjust to fit the content.
Quick answer: To autofit columns in Microsoft Excel, select the entire sheet by clicking the top-left triangle, position your cursor between columns A and B until it changes to a two-sided arrow, and double-click the boundary to automatically adjust the width to fit the content.
About this Microsoft tutorial
Adjust Microsoft Excel column width instantly. Select your sheet, hover between columns, and double-click to fit content. This guide shows how to autofit in Microsoft Excel in 3 steps, starting with "Select the whole sheet by clicking the triangle in the top left corner" and finishing with "Double-click the boundary, and the column width will adjust to fit the content". The interactive demo above is a click-through copy of the real Microsoft interface, so you can rehearse each step before doing it in your own account.
Frequently asked questions
How many steps does it take to autofit in Microsoft Excel?
3 steps. Each one is listed in order above, and the demo highlights exactly where to click.
Can I try it without changing my own account?
Yes. Clicking through the demo doesn't touch your Microsoft data or settings. Once you know the flow, repeat it in your own workspace.
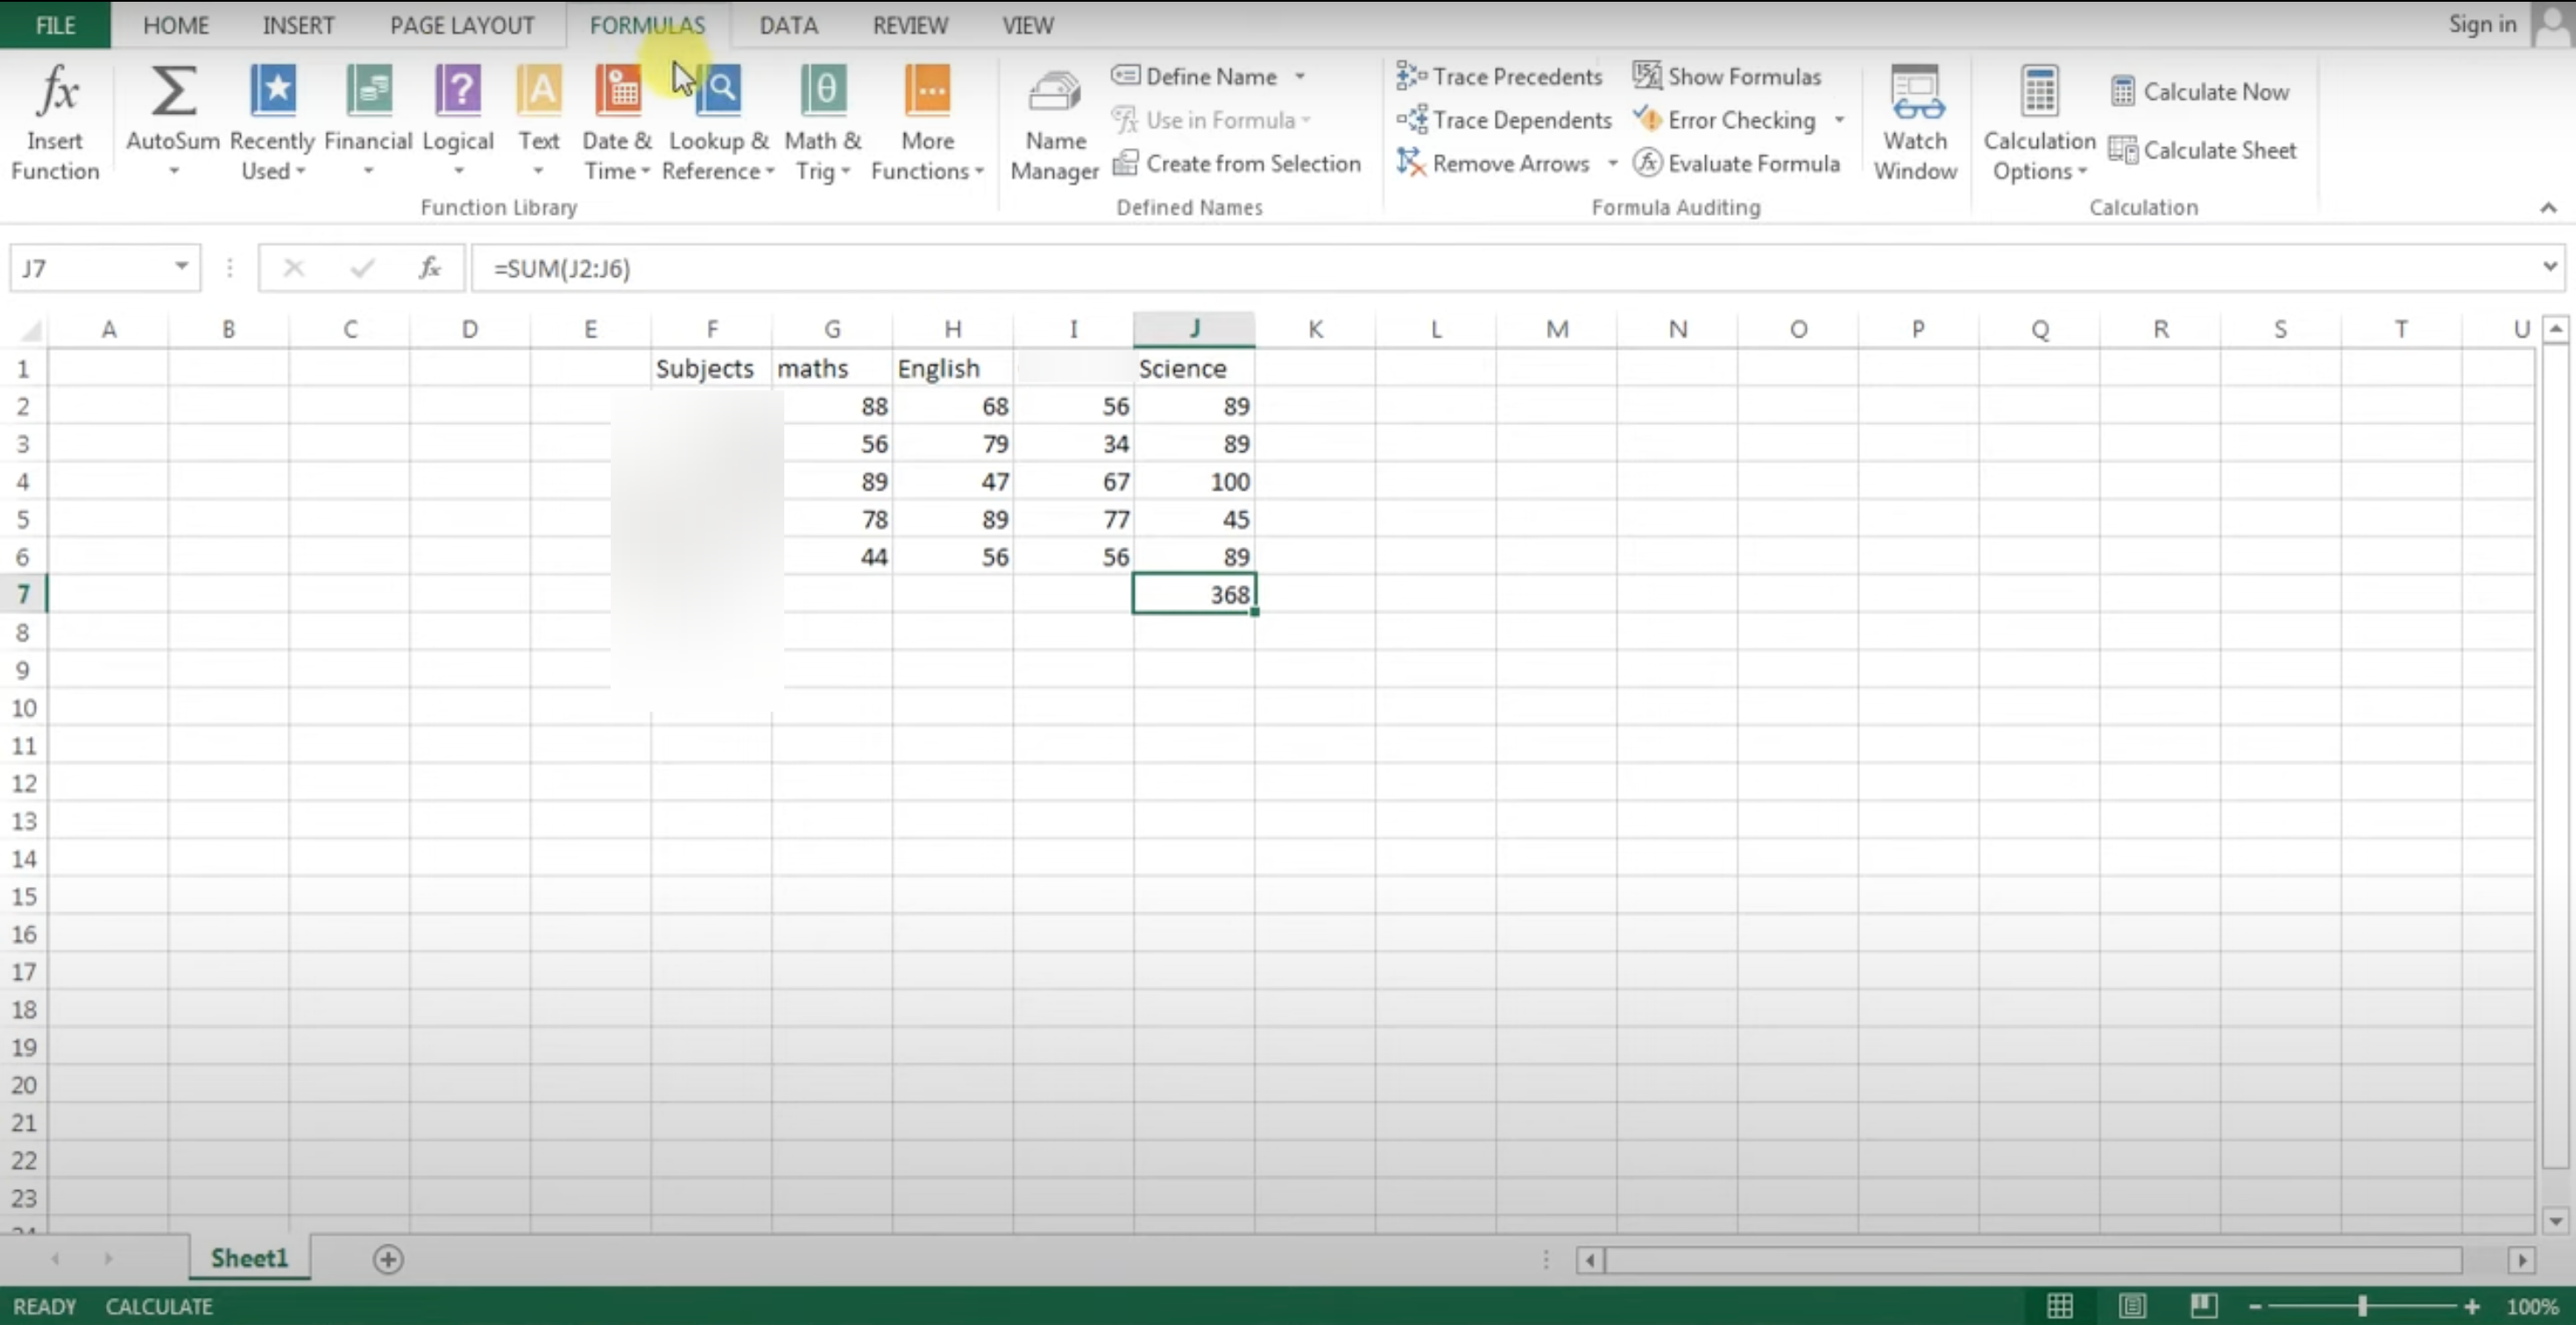
This tutorial is filed under Microsoft and Excel. Related guides: How to Automatically Calculate Microsoft Excel, How to Automatically Number Rows in Microsoft Excel and How to Back Up Microsoft Planner. Last reviewed 05 Oct 2026.

Create your first interactive demo in minutes
No credit card required • Start building today