How to Build Expense Reports in Coda with Banking Data
- George Apostolov
How to Build Expense Reports in Coda with Banking Data: step-by-step guide
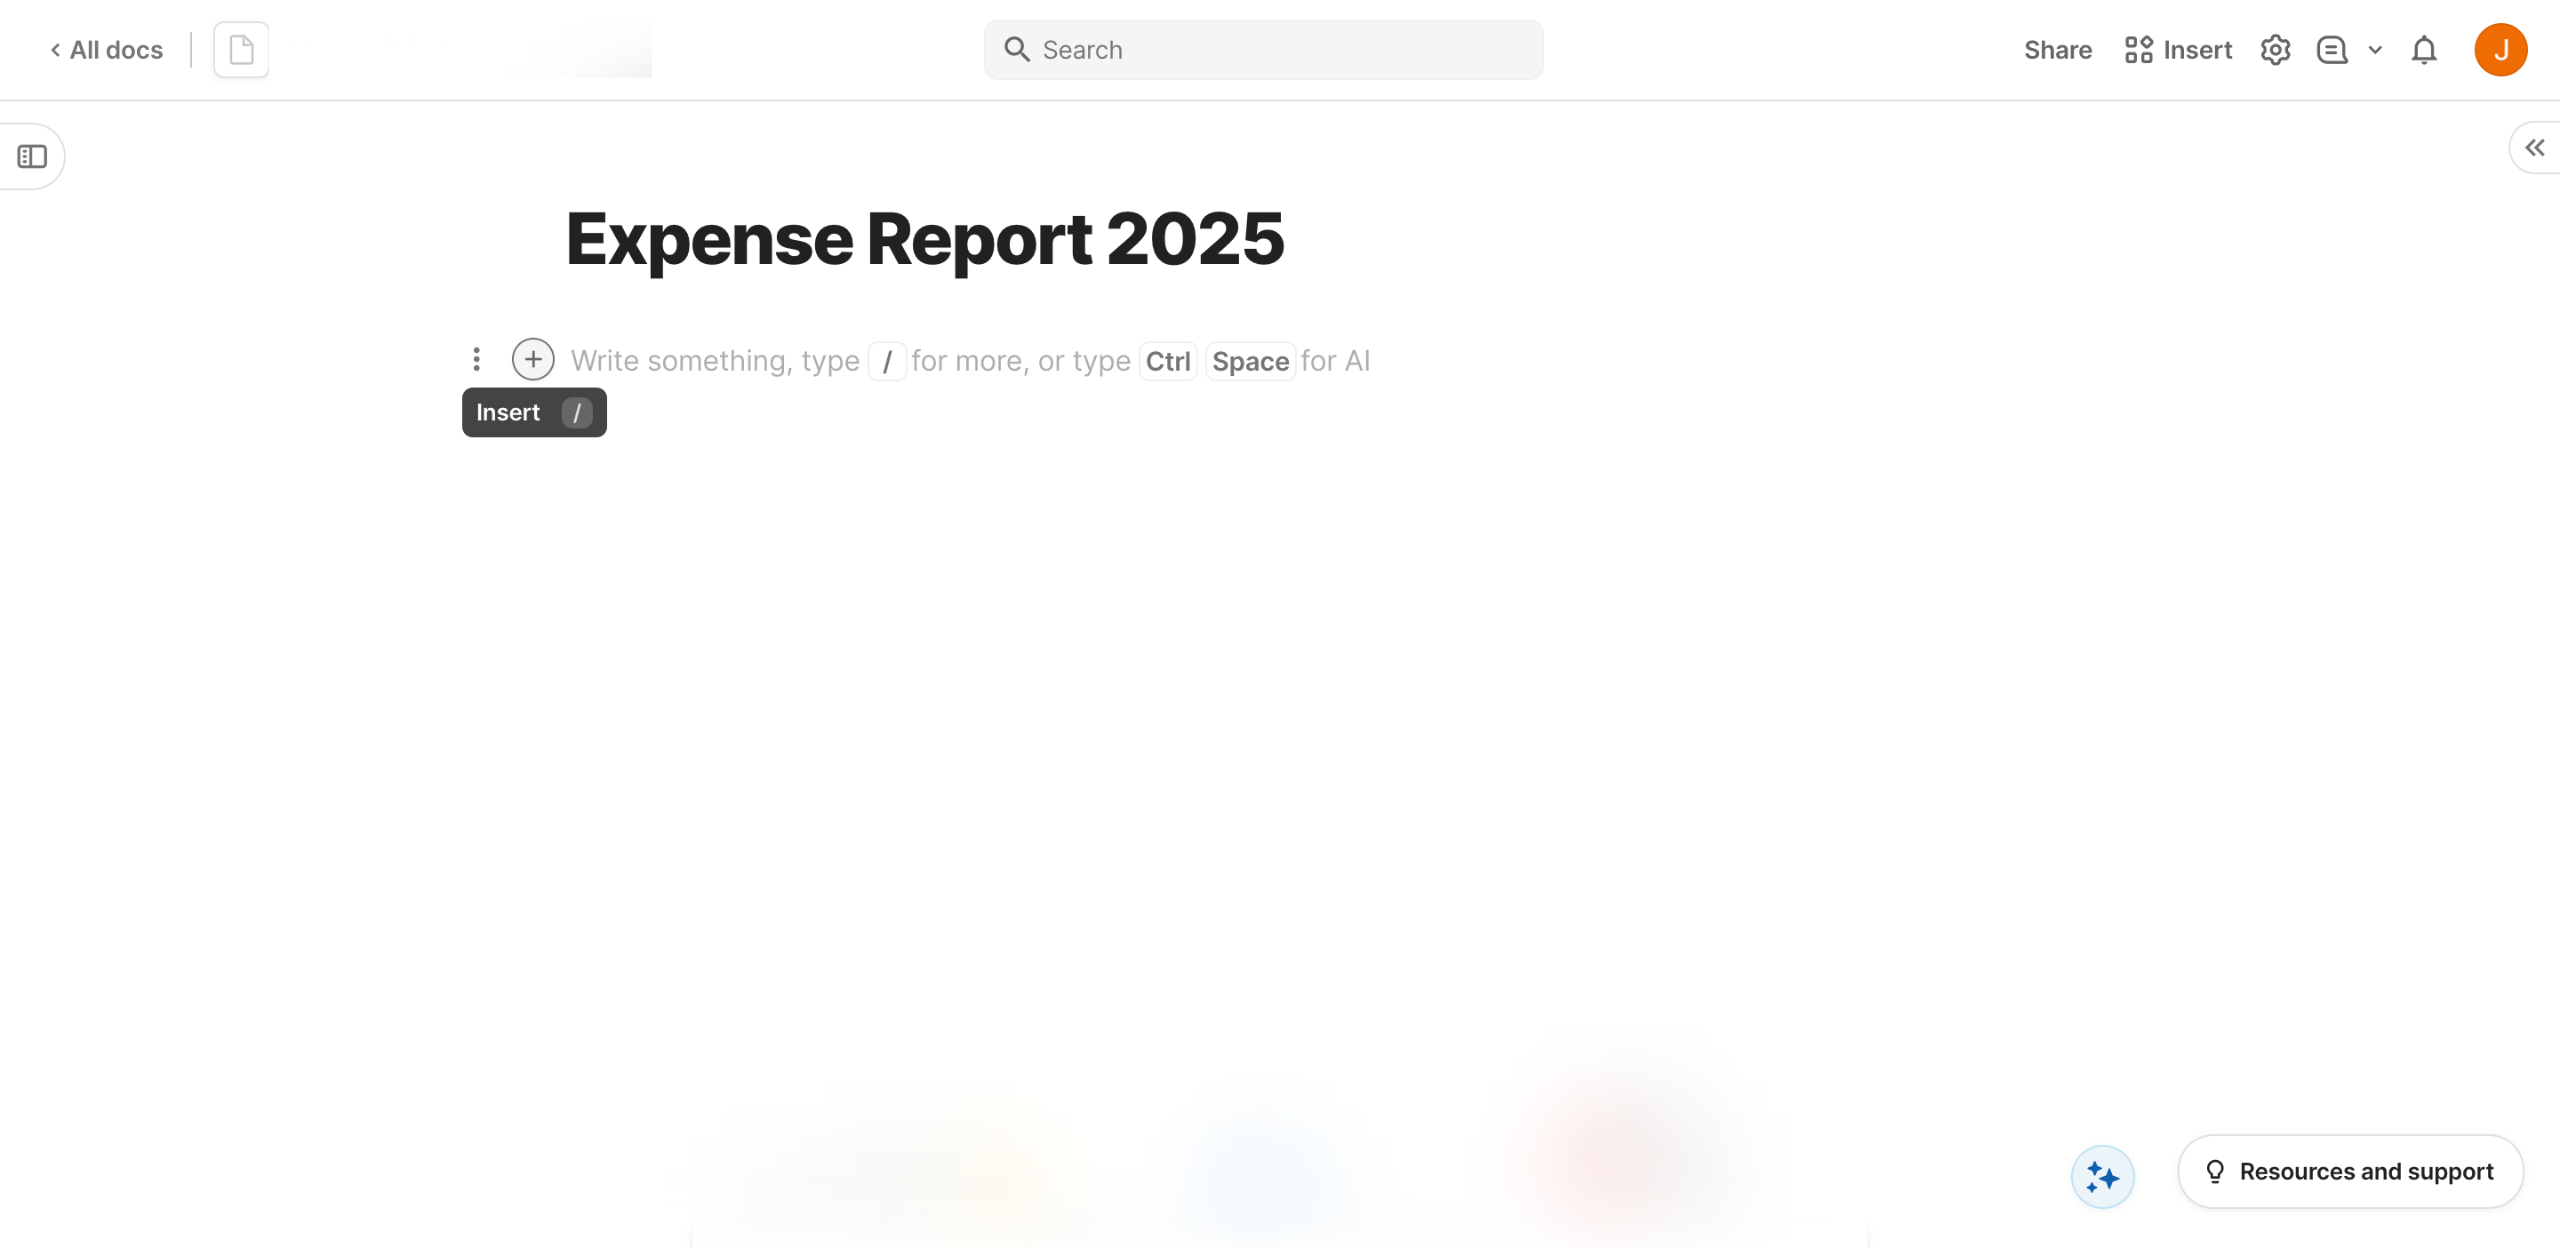
Inside your Coda doc, find and click the 'Insert' button.
Choose 'Table' from the list of options.
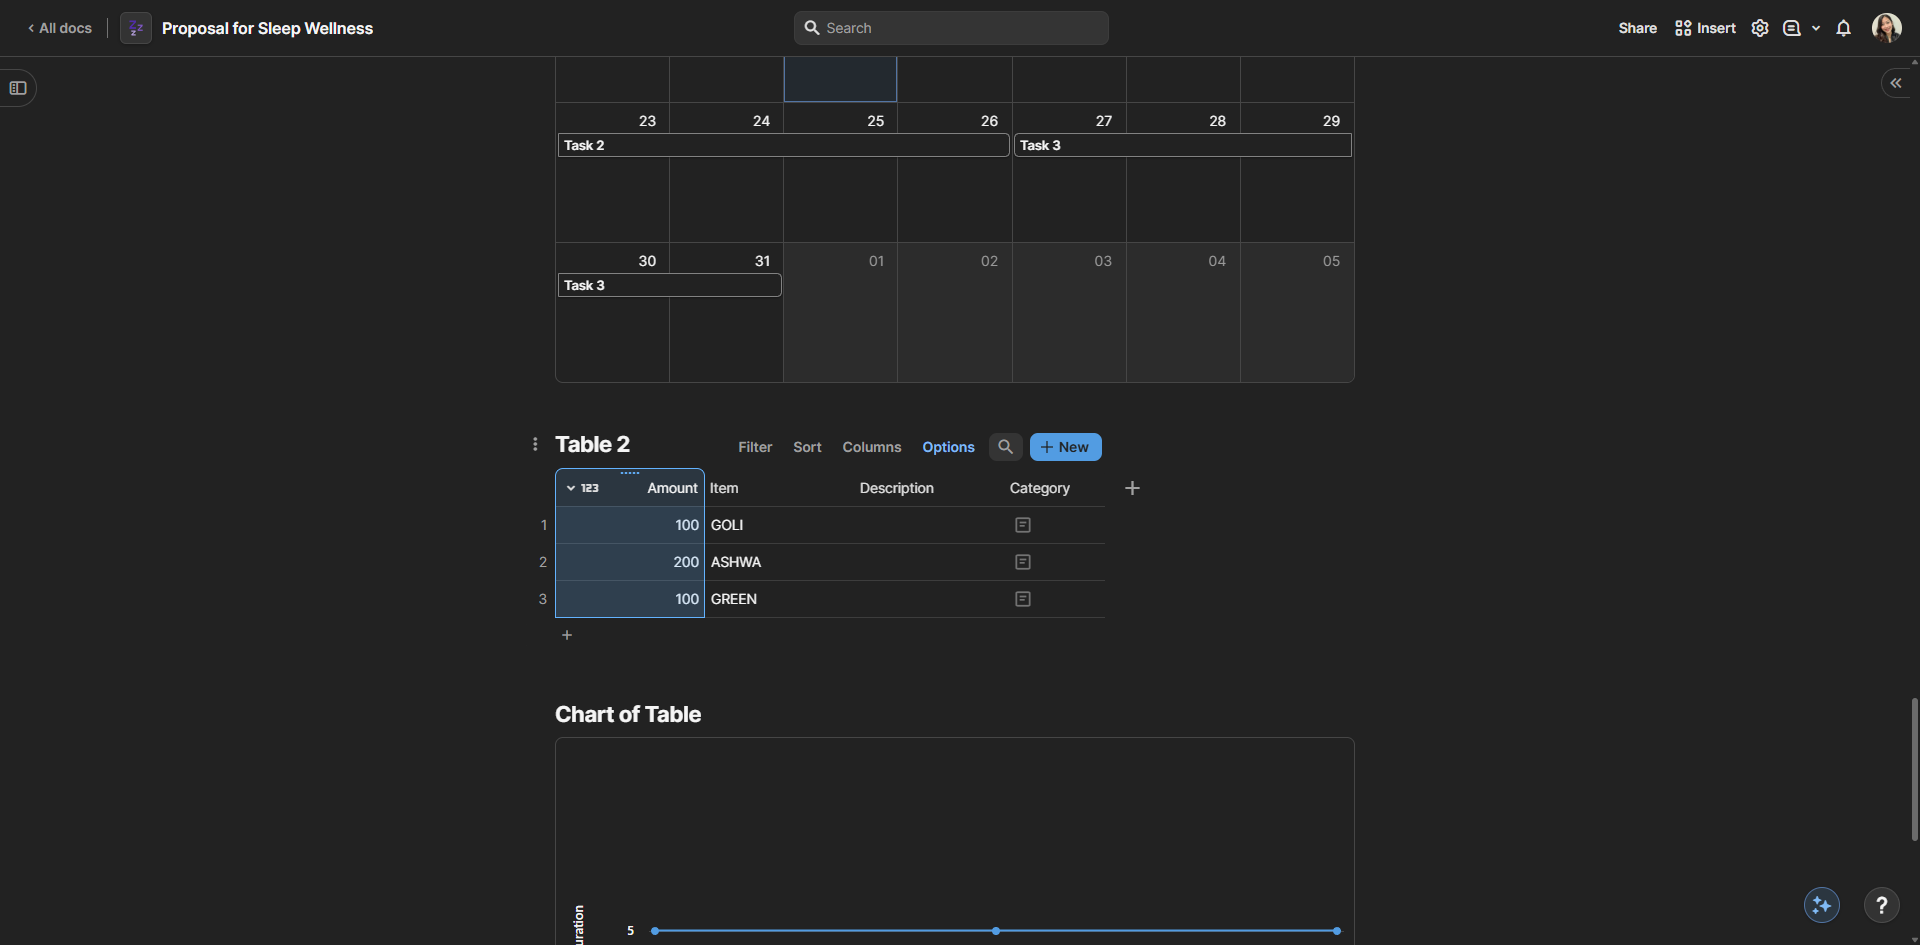
After that, come up with a unique table name and enter it into the provided input. Make sure that you include the category of the expenses to avoid confusion later on. Once done, use the options in the floating menu to customize its overall style.
To add more columns, simply click the 'Add Column' button.
Pick your preferred type of column from the list of options.
On the one hand, tap 'New Row' to insert as many rows as you need.
Edit the default column labels based on your preference. To do that, double-click on the cells in the column header and type the labels accordingly.
Subsequently, check the column type of each cell in the header and reconfigure it if necessary. Simply click the drop-down arrow beside the label to get started.
Browse the available options, then choose one based on your preference.
Following that, start encoding the banking data into the table. Simply click the cell and type the corresponding detail manually. Review each entry to ensure precision and accuracy.
Review the data carefully. Subsequently, summarize the content of each column based on your preference. To do that, right-click on the last entry in the column.
Hover your mouse cursor over the 'Summarize' option and then select the operation you wish to execute.
Customize the overall design of your table afterwards. To do that, click its corresponding 'Options' button.
Choose your preferred 'Format' and then configure the settings according to your liking.
After completing these steps, the table that contains your banking expenses data will be created and added to your Coda doc. Repeat the same series of steps to insert mo tables and finally complete your expense report.
Quick answer: To build expense reports in Coda, insert a table, name it, customize its style, add and configure columns, enter your banking data into the rows, summarize column contents, and adjust the overall table format and options.
About this Coda tutorial
Create detailed expense reports using banking data inside Coda by inserting, formatting, and summarizing tables step by step. This guide shows how to build Expense Reports in Coda with Banking Data in 15 steps, starting with "Inside your Coda doc, find and click the 'Insert' button" and finishing with "After completing these steps, the table that contains your banking expenses data will b...". The interactive demo above is a click-through copy of the real Coda interface, so you can rehearse each step before doing it in your own account.
Frequently asked questions
How many steps does it take to build Expense Reports in Coda with Banking Data?
15 steps. Each one is listed in order above, and the demo highlights exactly where to click.
Can I try it without changing my own account?
Yes. Clicking through the demo doesn't touch your Coda data or settings. Once you know the flow, repeat it in your own workspace.
This tutorial is filed under Coda. Related guides: How to Build Interactive Coda Forms That Connect to External Systems, How to Build Reports From HubSpot Data in Coda and How to Build Social Media Calendars in Coda with Buffer. Last reviewed 05 Oct 2026.

Create your first interactive demo in minutes
No credit card required • Start building today