How to Create a Social Media Post Assistant GPT
- George Apostolov
How to Create a Social Media Post Assistant GPT: step-by-step guide
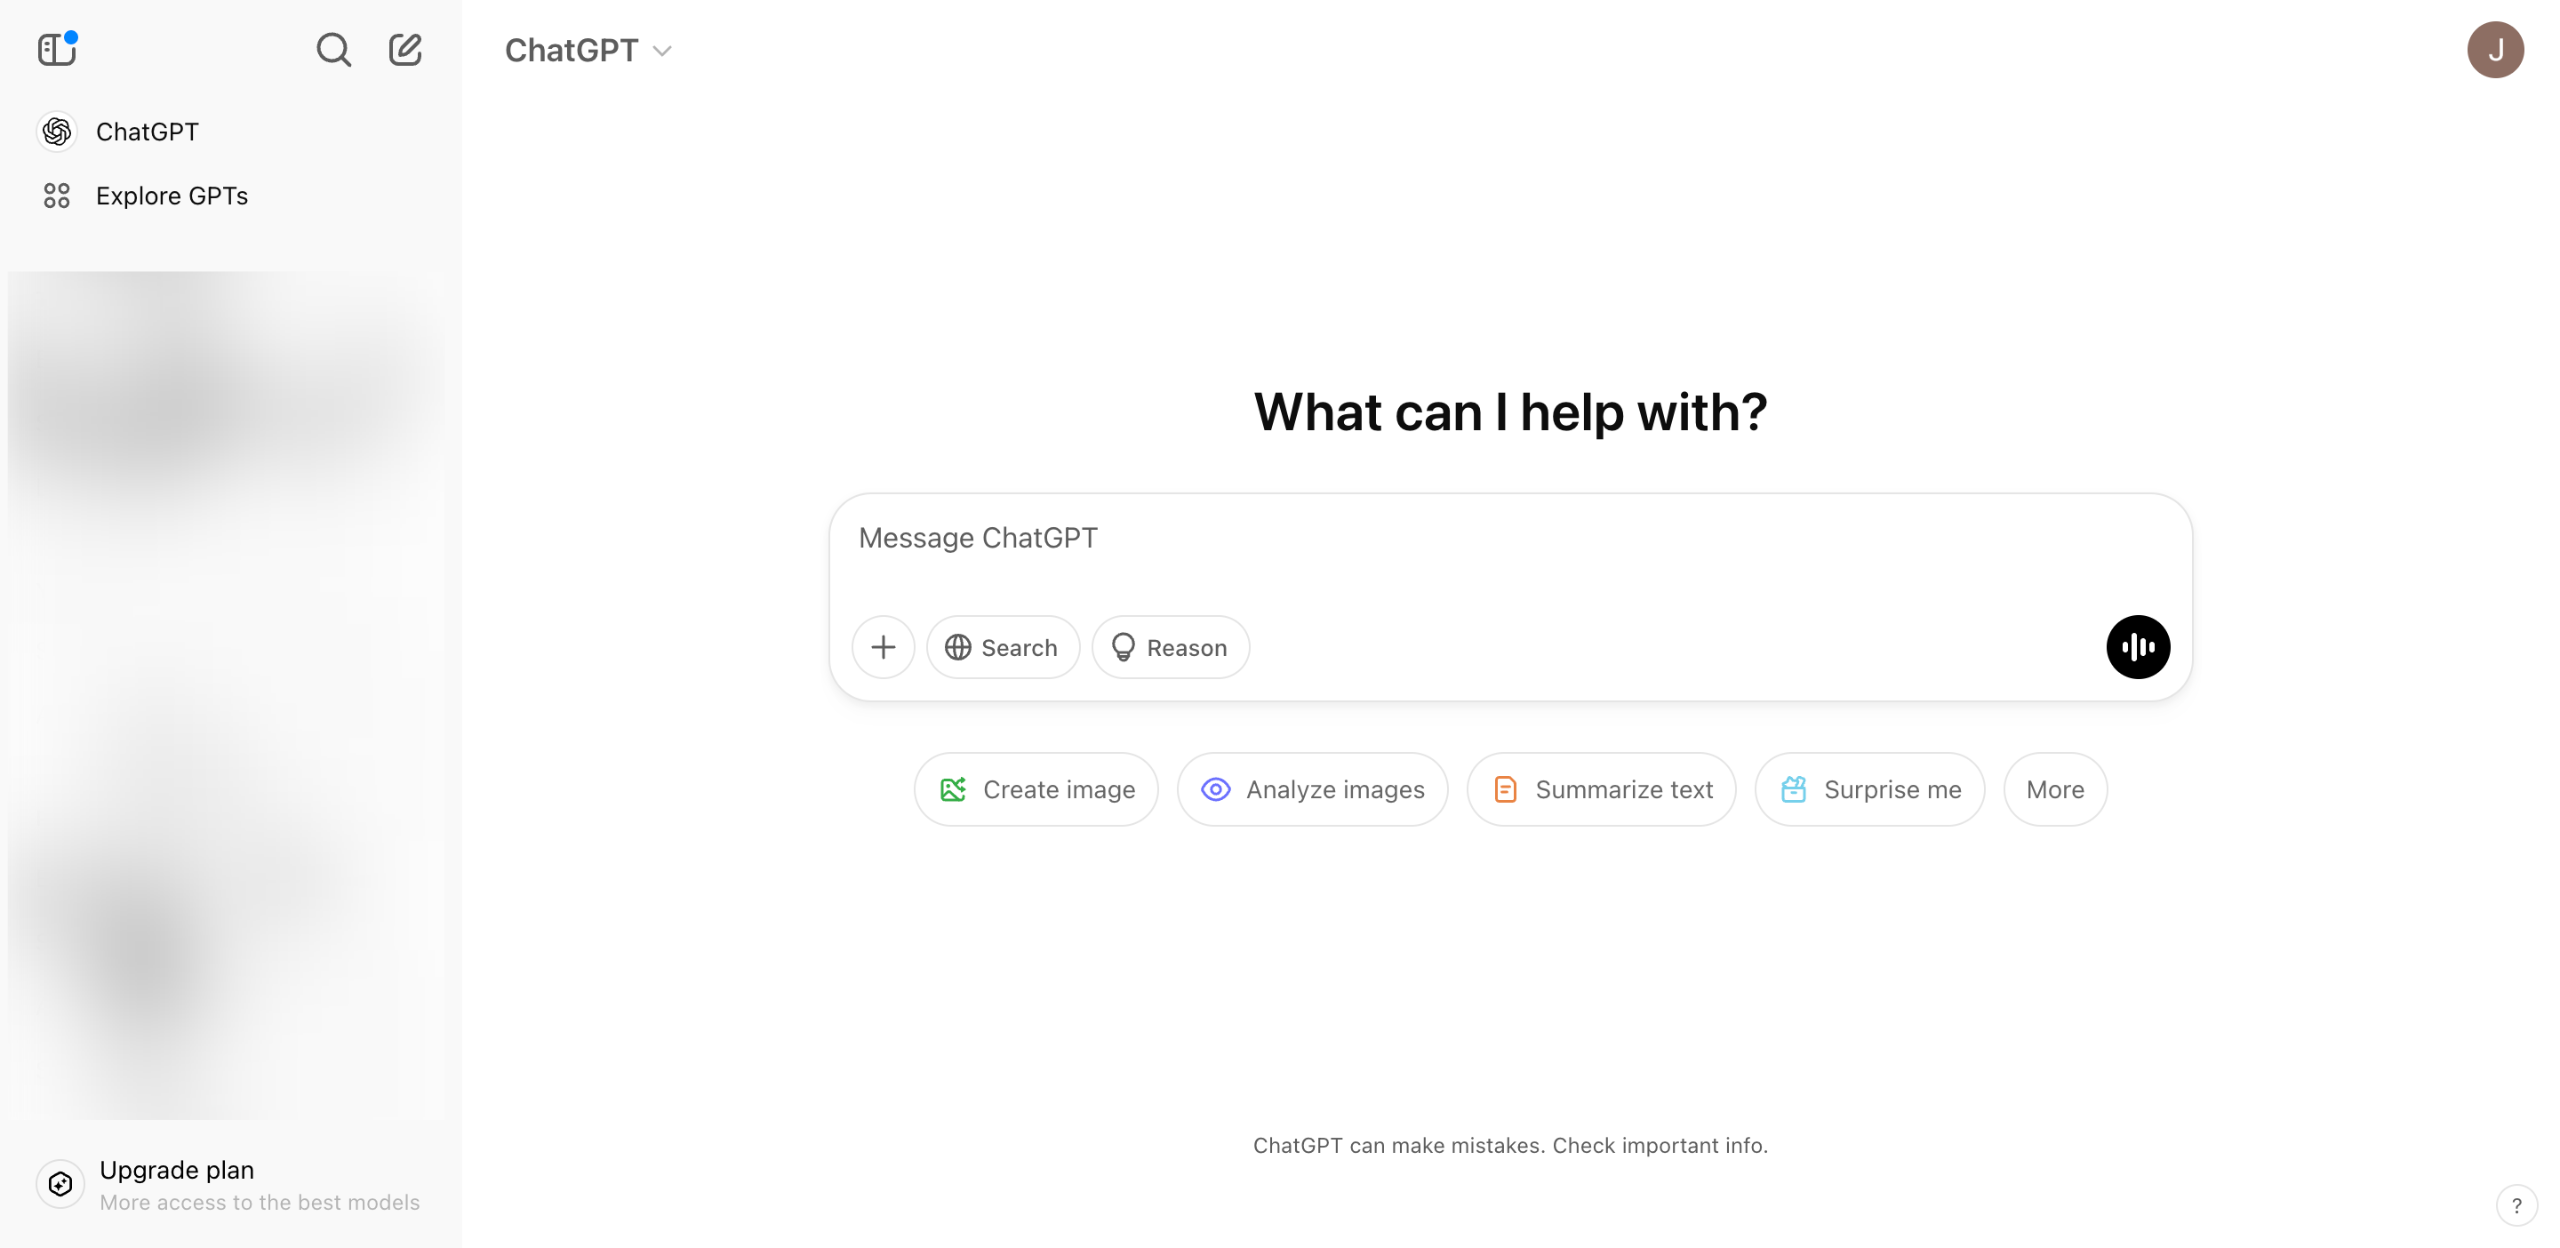
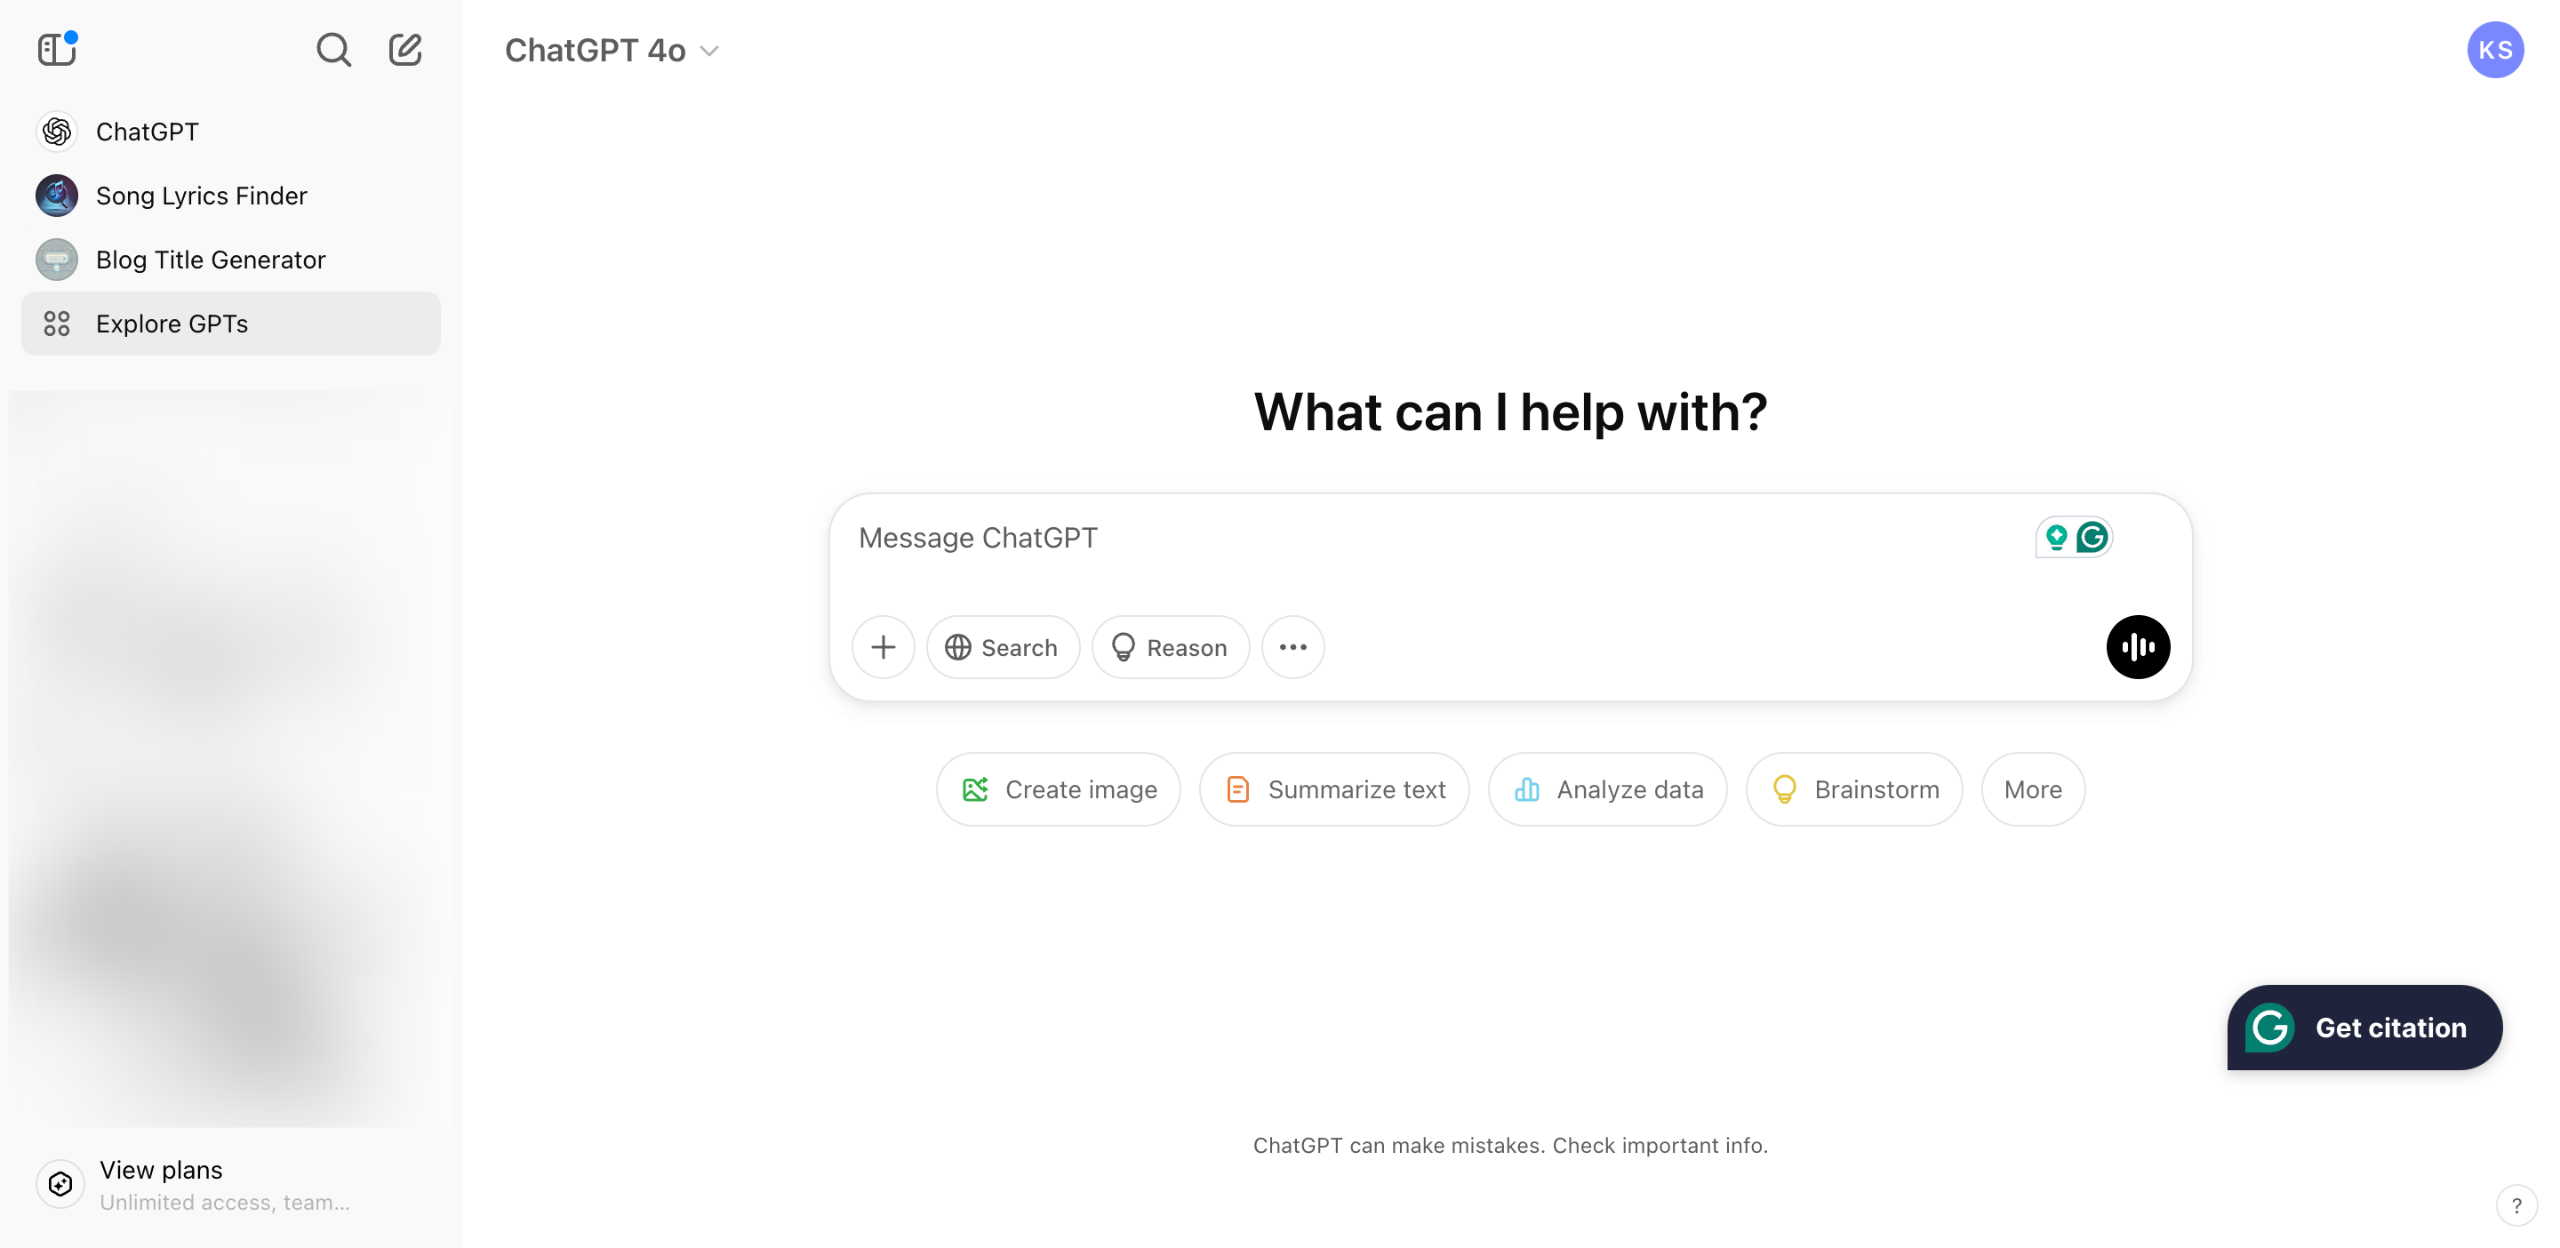
On ChatGPT's main interface, go to the left-side panel and click 'Explore GPTs'.
Click 'Create' at the top-right corner to get started.
After that, navigate to the 'Configure' tab.
Set a distinctive display photo that represents your social media post assistant GPT. Simply click the 'Add' icon and upload the image file you prefer to use.
Subsequently, add a unique GPT 'Name' and 'Description'. Enter the details into their respective input fields.
Come up with a detailed and comprehensive array of guidelines that describes the purpose, behavior, function, and capability of your social media post assistant GPT. Enter it into the 'Instruction' input field.
Provide several text prompt examples, then type them individually into the 'Conversation Starters' input field.
If you want to add extra references from external sources, tap the 'Upload Files' button under Knowledge and upload the documents that contain the data you wish to use.
Browse the Capabilities section afterwards and then tick the checkbox beside the GPT functions you want to enable. At the same time, create and calibrate several Actions if you want to integrate your social media post assistant GPT with third-party apps.
Once done, access the Preview Area and test out your social media post assistant GPT. Simply enter a text prompt into the provided input field and click 'Submit'.
If you're satisfied with the current version of your social media post assistant, click 'Create' at the top-right corner.
Specify your preferred access configuration and then click 'Save'.
After completing these steps, your social media post assistant GPT will be created and published.
Quick answer: To build a custom assistant, go to Explore GPTs on ChatGPT, click Create, configure your display photo, name, description, instructions, conversation starters, knowledge files, and capabilities, then test the preview, click Create, and save your access configuration to publish.
About this tutorial
Create and publish a custom social media post assistant on the app by configuring its profile, instructions, capabilities, and access settings. This guide shows how to create a Social Media Post Assistant GPT in 13 steps, starting with "On ChatGPT's main interface, go to the left-side panel and click 'Explore GPTs'" and finishing with "After completing these steps, your social media post assistant GPT will be created and...". The interactive demo above is a click-through copy of the real product interface, so you can rehearse each step before doing it in your own account.
Frequently asked questions
How many steps does it take to create a Social Media Post Assistant GPT?
13 steps. Each one is listed in order above, and the demo highlights exactly where to click.
Can I try it without changing my own account?
Yes. Clicking through the demo doesn't touch your data or settings. Once you know the flow, repeat it in your own workspace.

Create your first interactive demo in minutes
No credit card required • Start building today