Framer E-commerce Integration
- George Apostolov
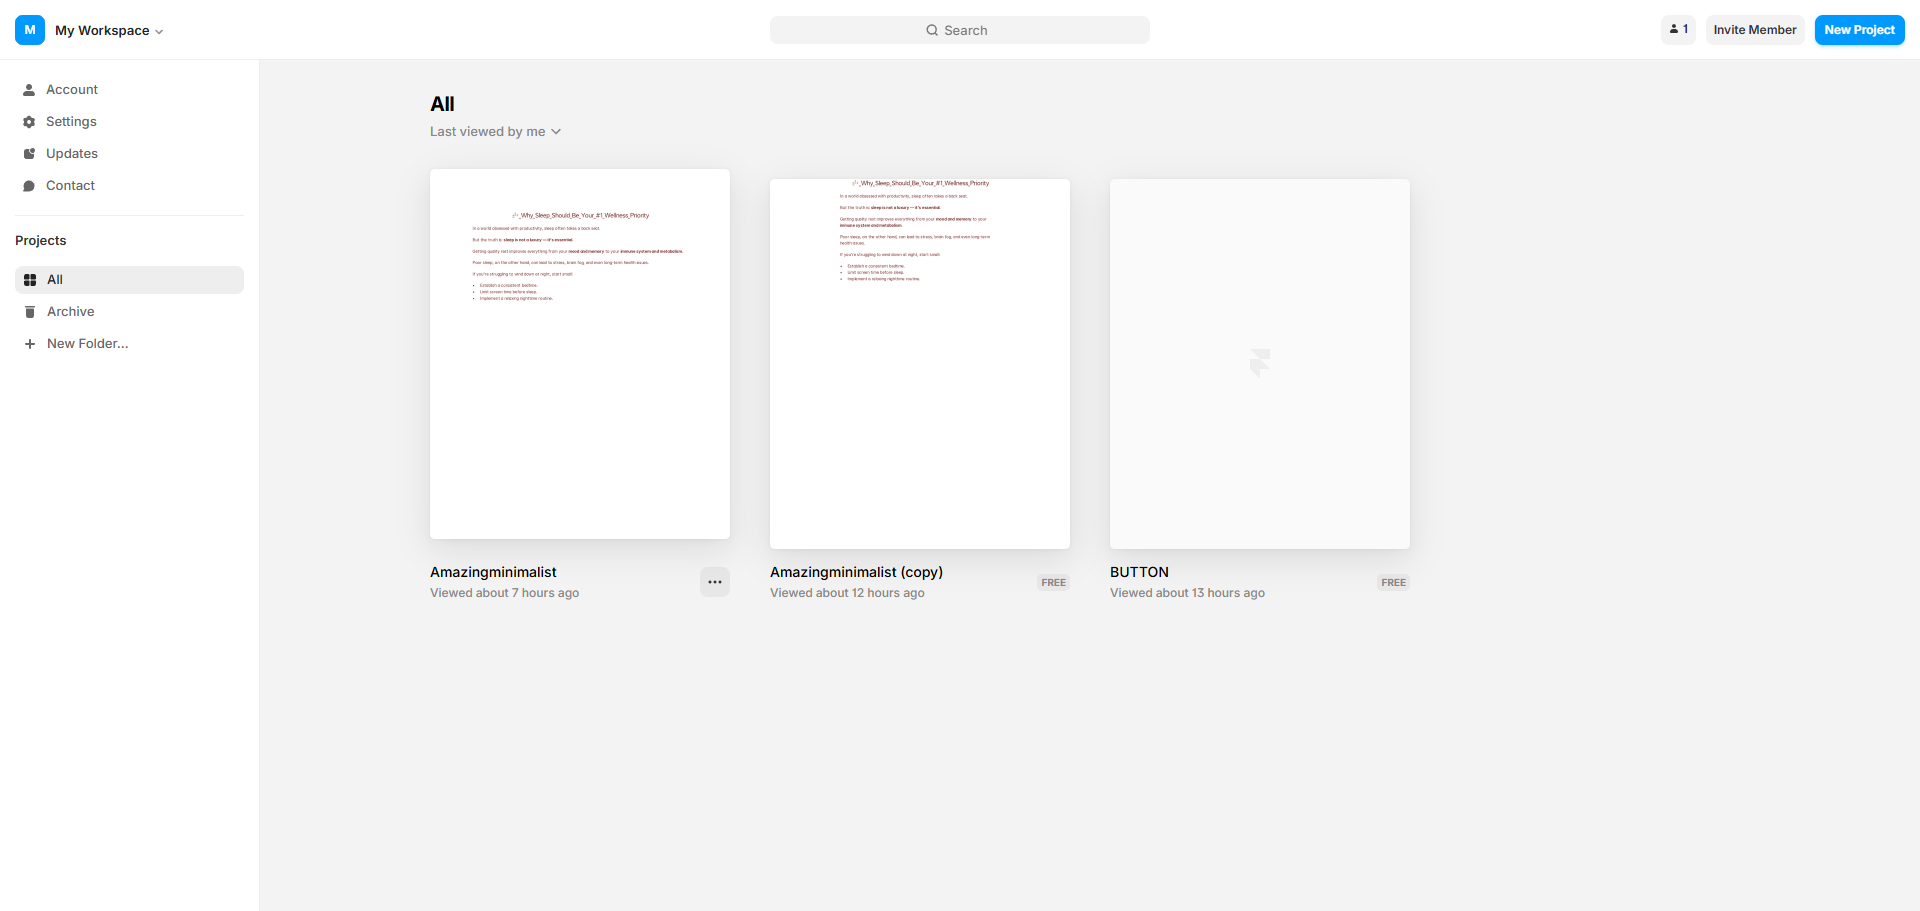
Framer E-commerce Integration: step-by-step guide
Open your Framer project where you'll set up the ecommerce integration.
Select 'Text' to create a button with clear, action-oriented text to drive conversions.
Add a Stripe payment button to let customers check out directly from your site.
Style your product displays to align with your brand's visual identity.
Preview your changes to see your ecommerce elements in action.
Connect your product pages by clicking the add icon to create a smooth shopping flow.
Adjust product properties like price, description, and SKU in the properties panel.
Build your store navigation by linking category pages and product collections.
Configure your button to point to your Stripe checkout URL.
Your Framer store is now connected to an e-commerce for processing payments.
Quick answer: To integrate e-commerce in Framer, open your project, add a conversion button and Stripe payment button, style product displays, preview changes, connect product pages, adjust product properties, build store navigation, configure the Stripe checkout URL, and complete your store connection for payment processing.
About this Framer tutorial
Set up e-commerce and Stripe payments in Framer by adding checkout buttons, styling displays, and connecting product pages. This guide covers framer E-commerce Integration in 10 steps, starting with "Open your Framer project where you'll set up the ecommerce integration" and finishing with "Your Framer store is now connected to an e-commerce for processing payments". The interactive demo above is a click-through copy of the real Framer interface, so you can rehearse each step before doing it in your own account.
Frequently asked questions
How many steps does framer E-commerce Integration take?
10 steps. Each one is listed in order above, and the demo highlights exactly where to click.
Can I try it without changing my own account?
Yes. Clicking through the demo doesn't touch your Framer data or settings. Once you know the flow, repeat it in your own workspace.
This tutorial is filed under Framer. Related guides: Framer Figma Integration, Framer Google Sheets Integration and How to Connect HubSpot to Framer. Last reviewed 05 Oct 2026.

Create your first interactive demo in minutes
No credit card required • Start building today