How To Add Annotations In Mixpanel
- George Apostolov
How To Add Annotations In Mixpanel: step-by-step guide
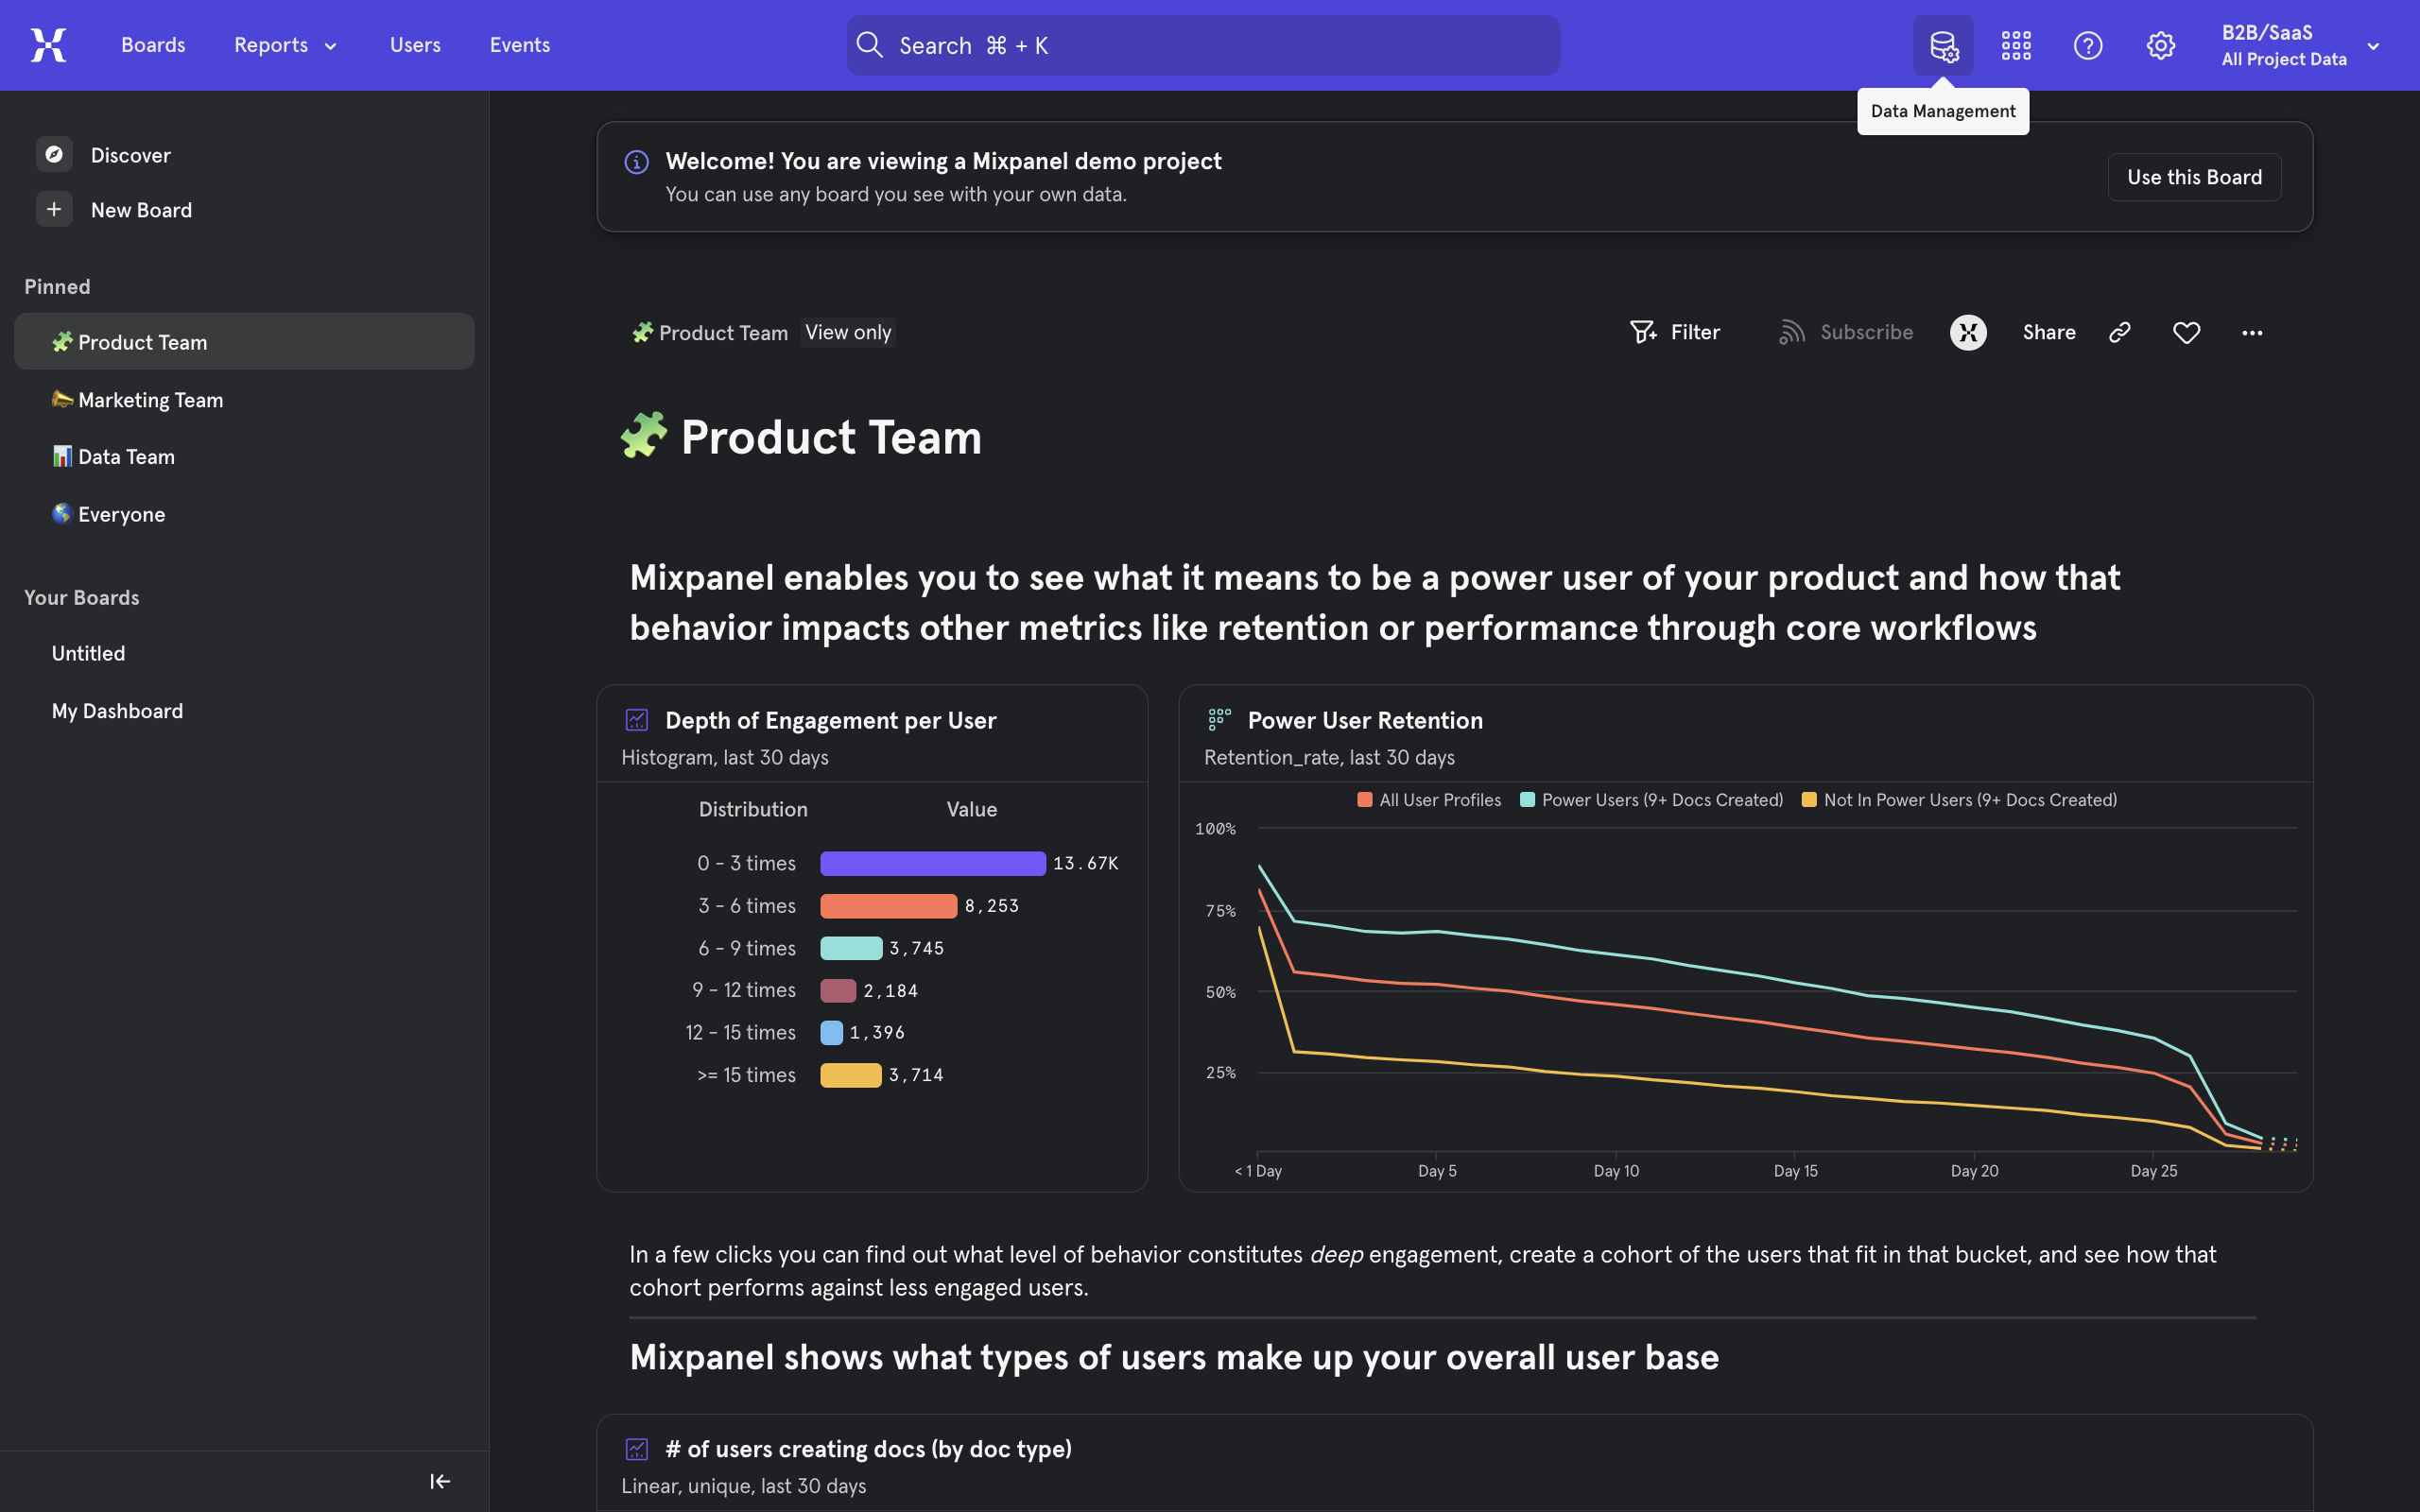
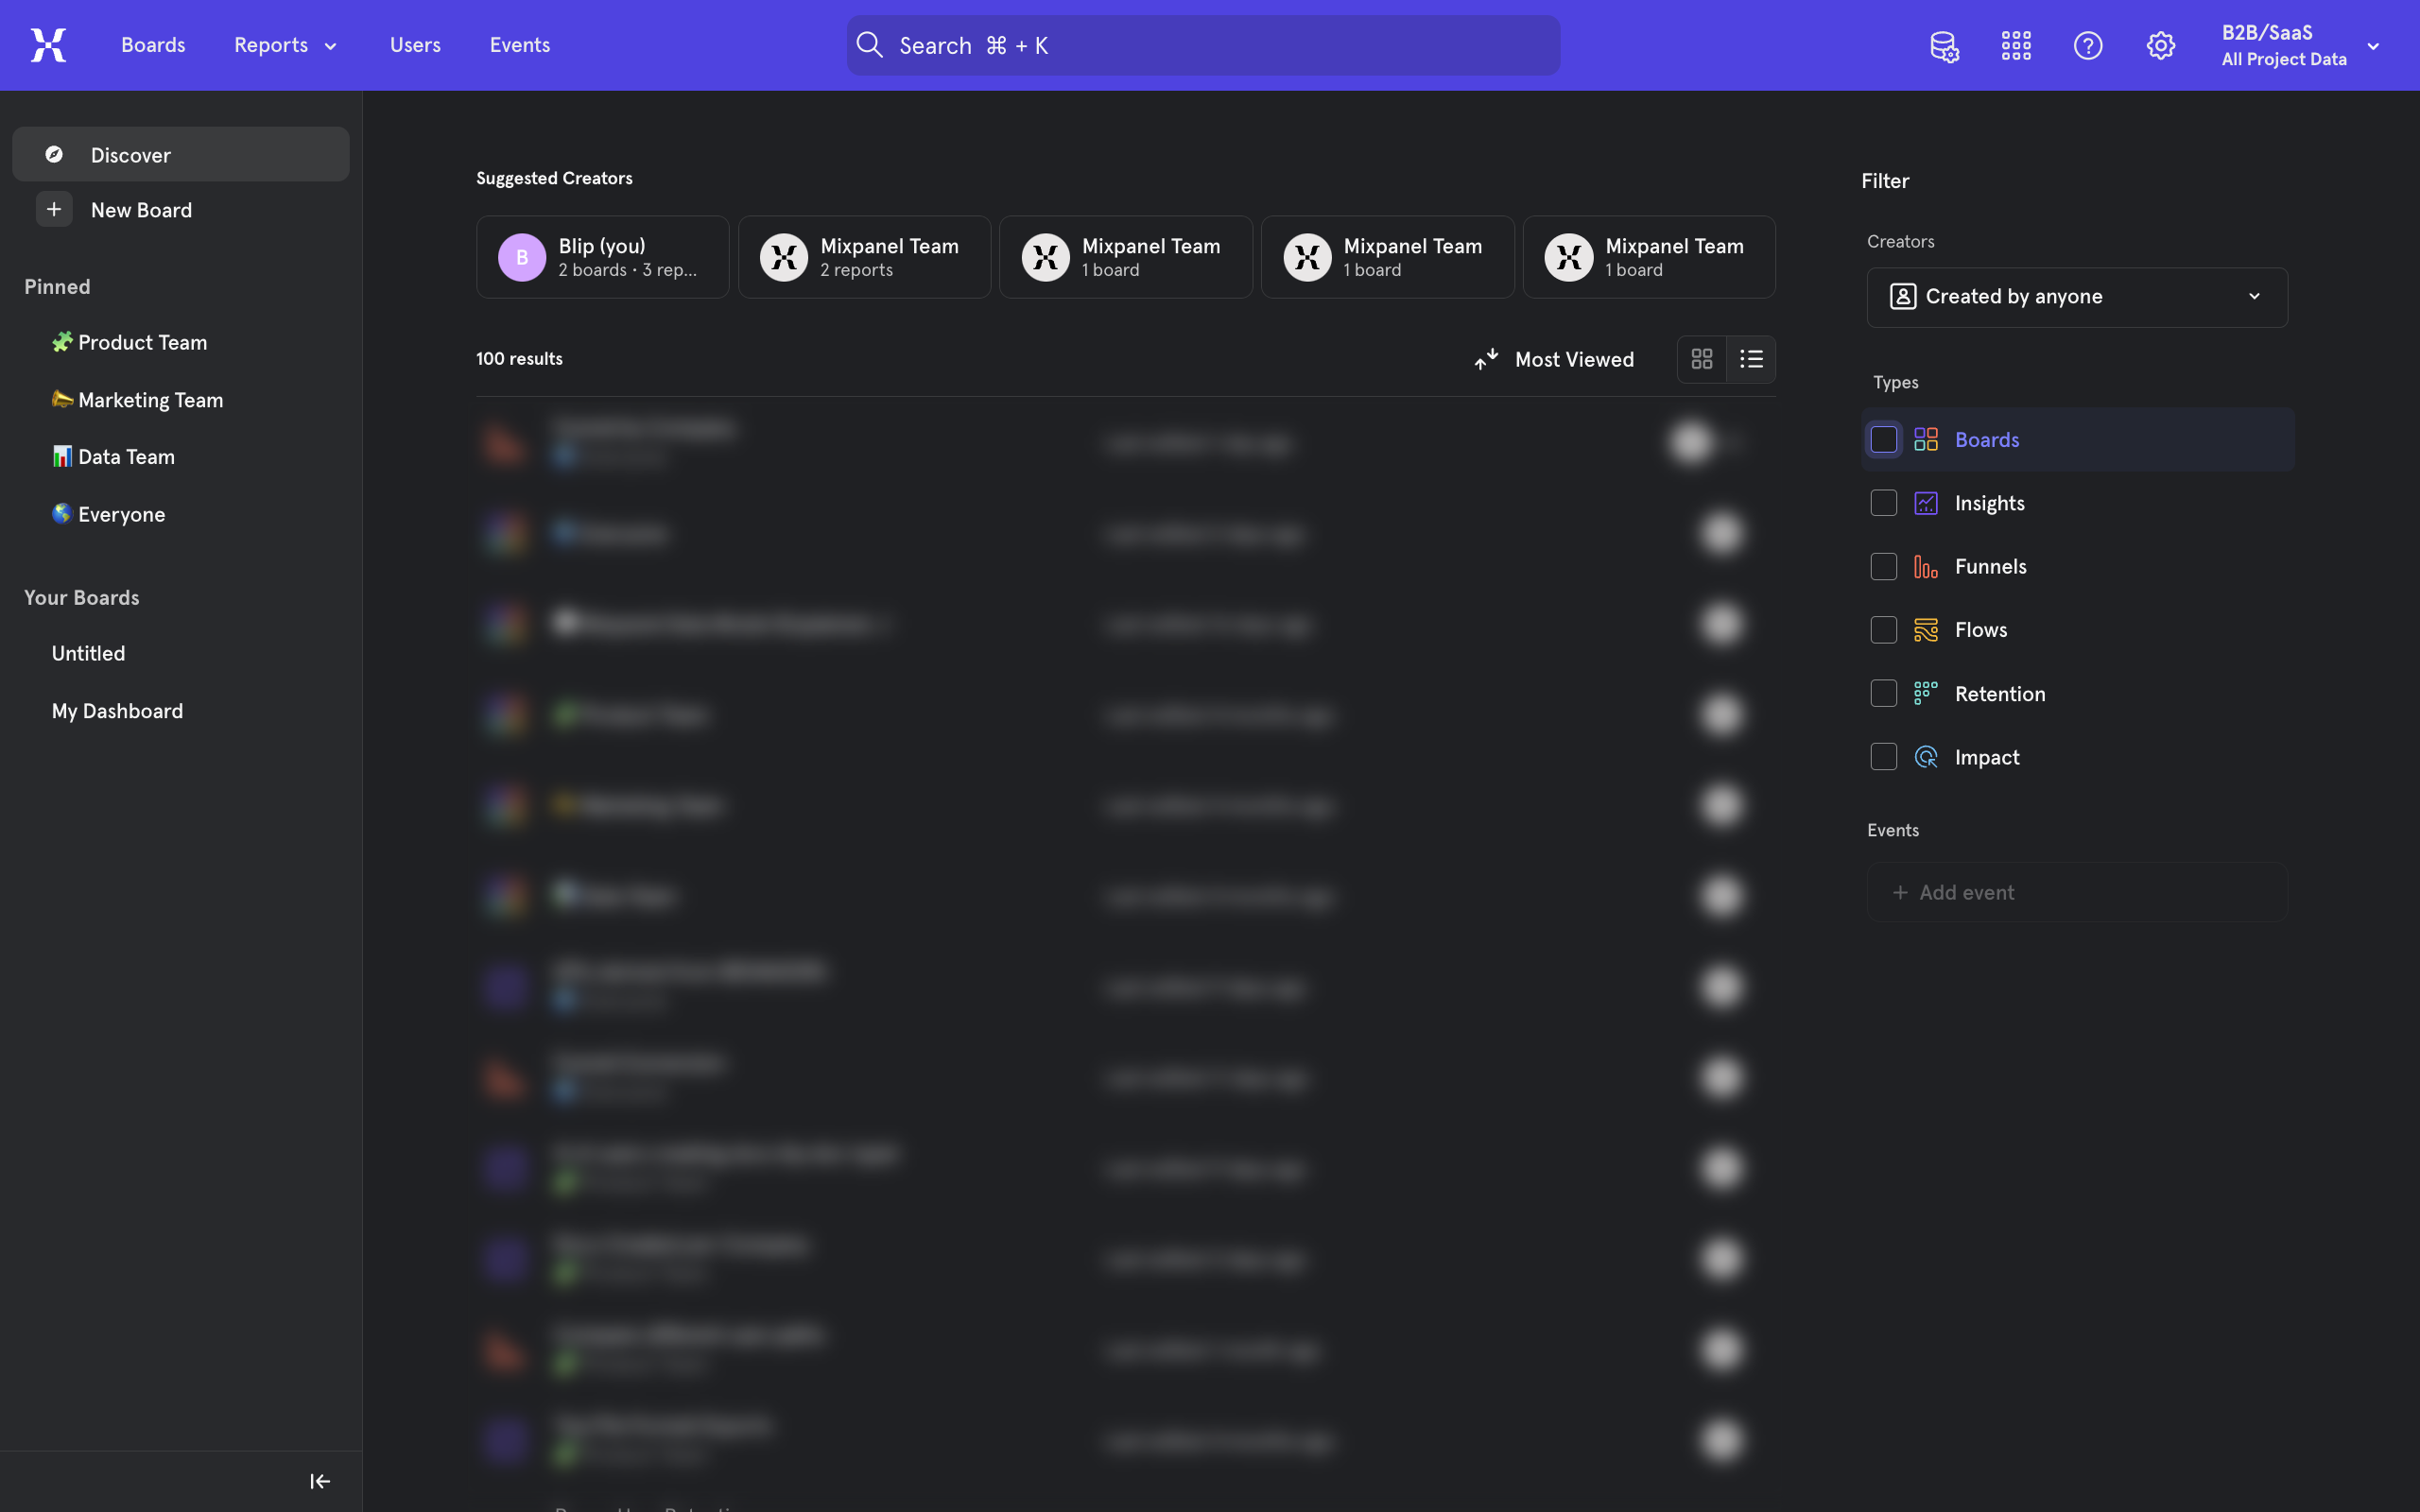
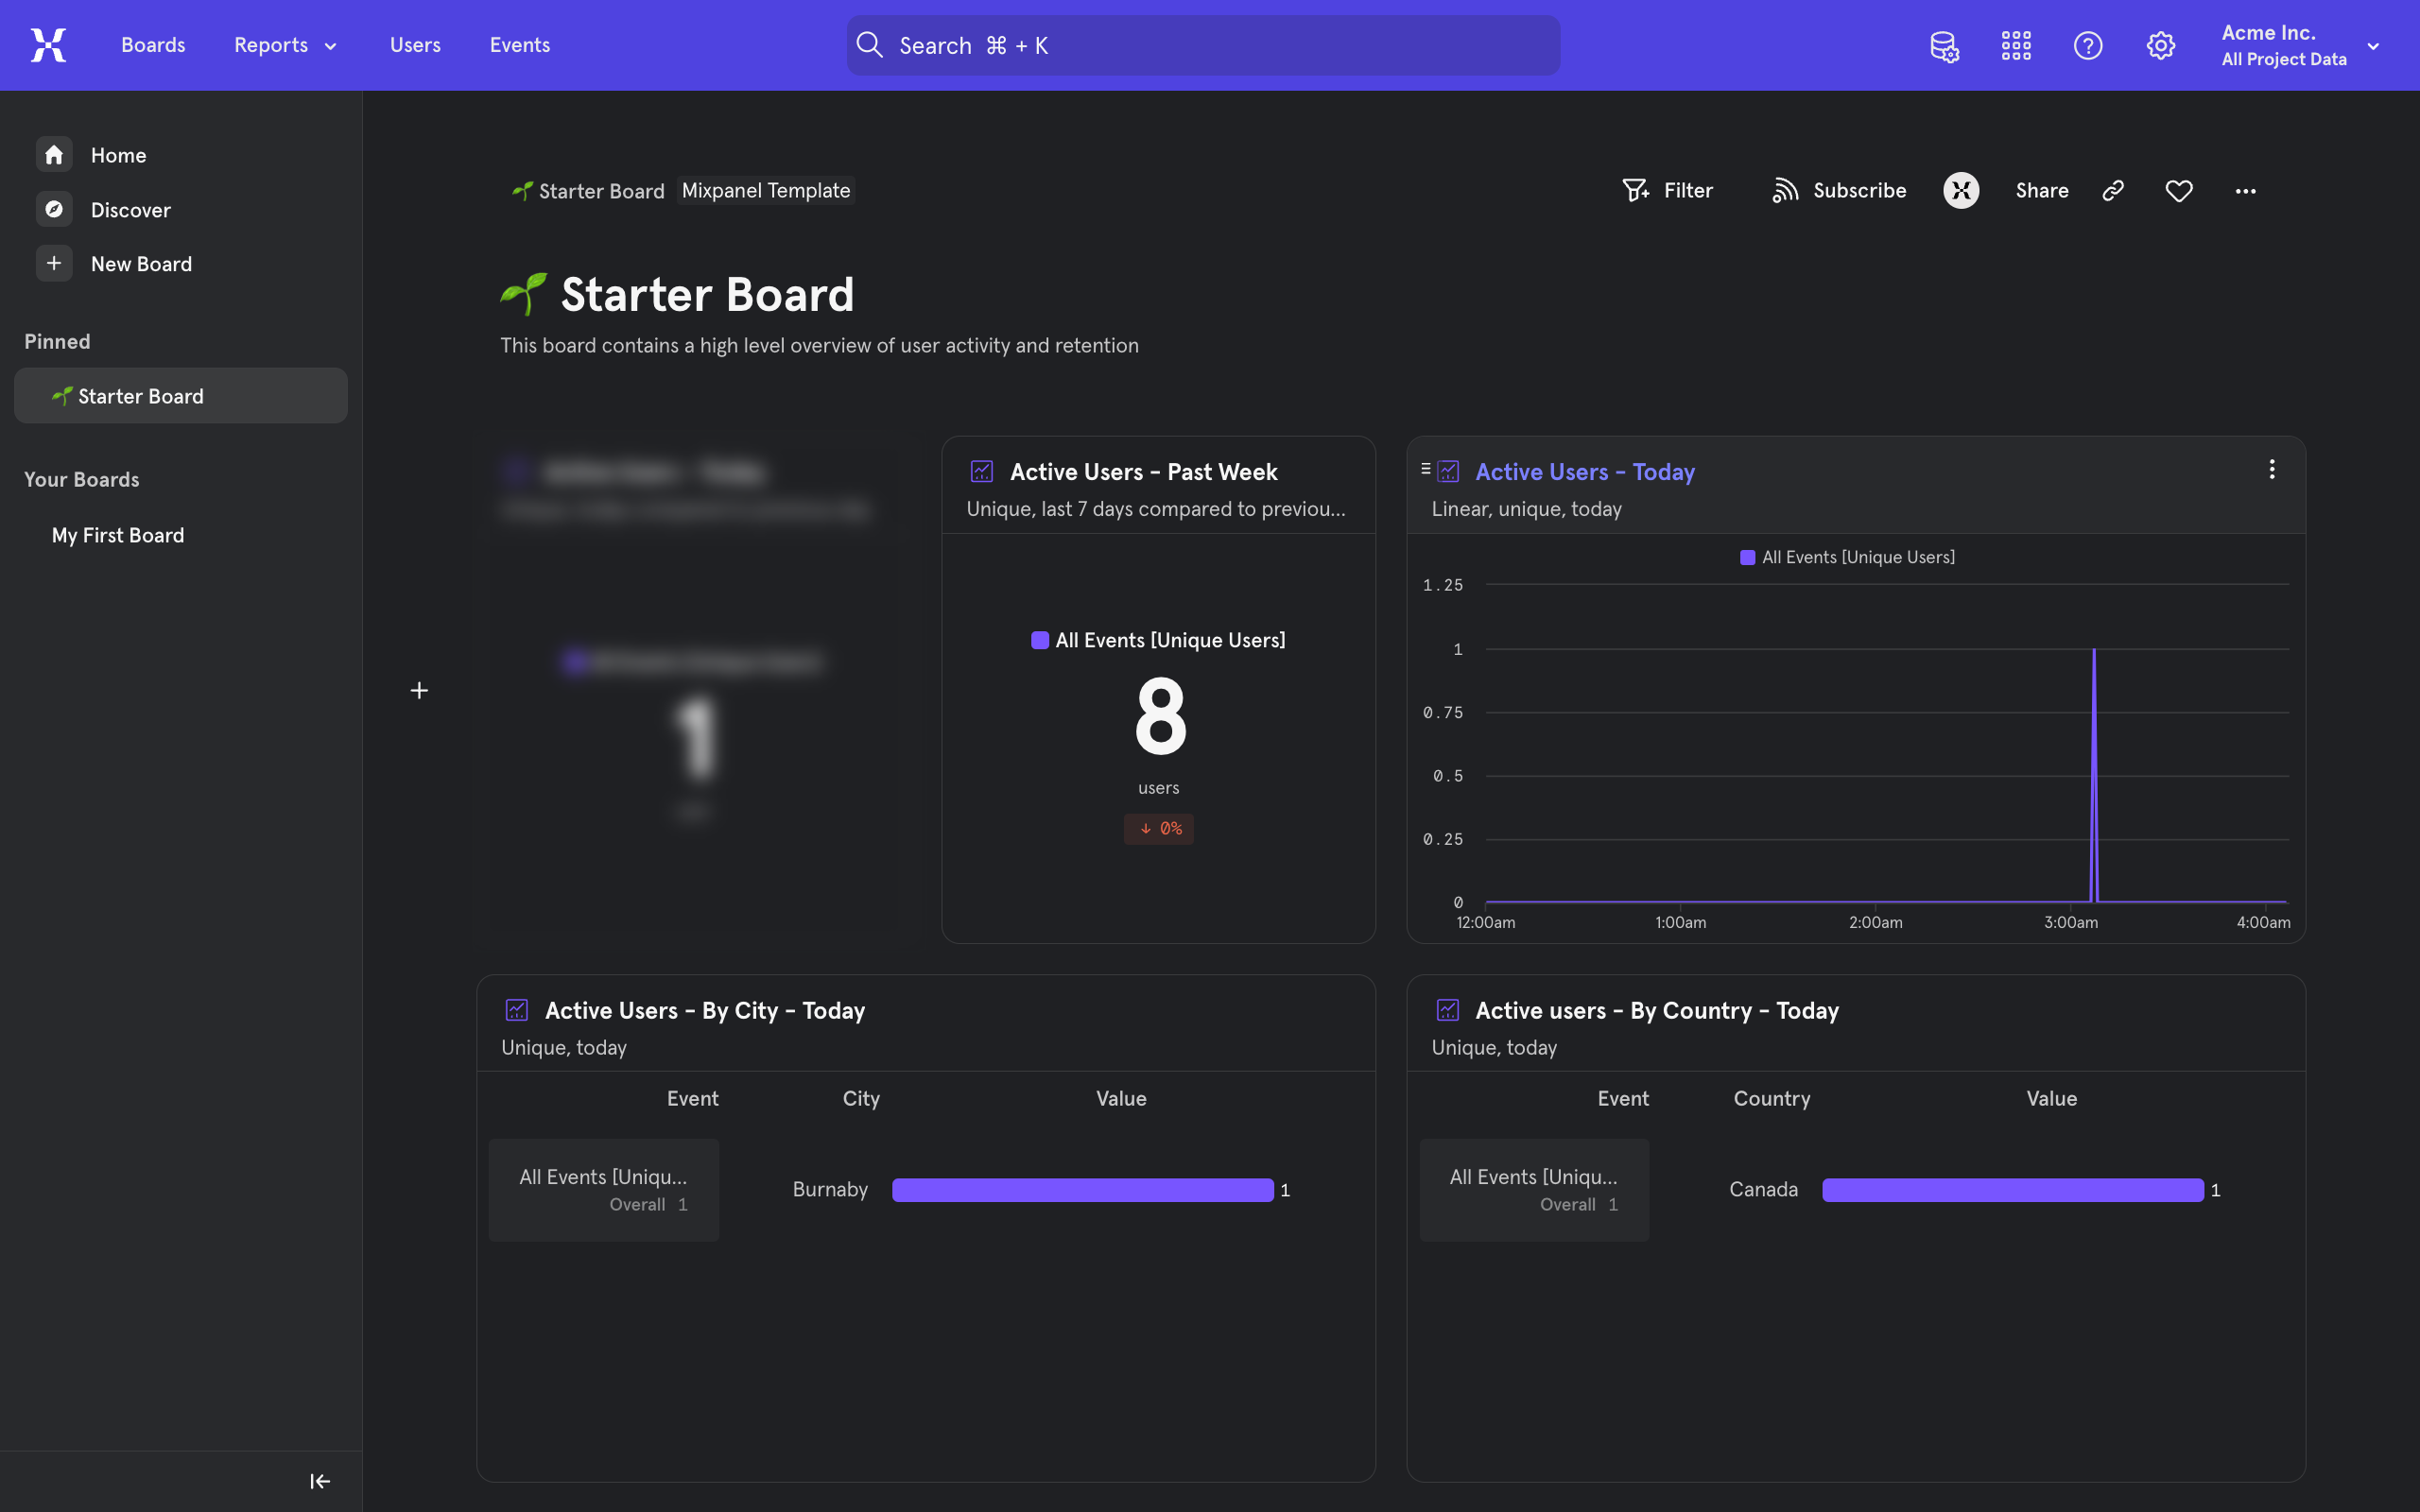
Open any report in mixpanel by clicking on its header space.
Hover your cursor over the line chart to notice a marker appear on the graph and a (+) sign appear below it. The line shows the exact space you are currently on and the (+) icon allows you to annotate that point.
Click on this icon to Add Annotation.
Enter your text and a timestamp then click on Save.
Annotated points show up with a count. Click on them to view your annotations.
Quick answer: To add annotations in Mixpanel, open any report by clicking its header, hover over the line chart to reveal a plus icon below a marker, click the icon, and enter your text and timestamp before saving.
About this Mixpanel tutorial
Document important events on your Mixpanel line charts by adding custom text and timestamps to specific data points. This guide shows how to add Annotations In Mixpanel in 5 steps, starting with "Open any report in mixpanel by clicking on its header space" and finishing with "Annotated points show up with a count. Click on them to view your annotations". The interactive demo above is a click-through copy of the real Mixpanel interface, so you can rehearse each step before doing it in your own account.
Frequently asked questions
How many steps does it take to add Annotations In Mixpanel?
5 steps. Each one is listed in order above, and the demo highlights exactly where to click.
Can I try it without changing my own account?
Yes. Clicking through the demo doesn't touch your Mixpanel data or settings. Once you know the flow, repeat it in your own workspace.
This tutorial is filed under Mixpanel. Related guides: How To Create A Cohort In Mixpanel, How To Create A Mixpanel Funnel and How To Create A Report In Mixpanel. Last reviewed 05 Oct 2026.

Create your first interactive demo in minutes
No credit card required • Start building today