How to Create Reports in ClickUp
- George Apostolov
How to Create Reports in ClickUp: step-by-step guide
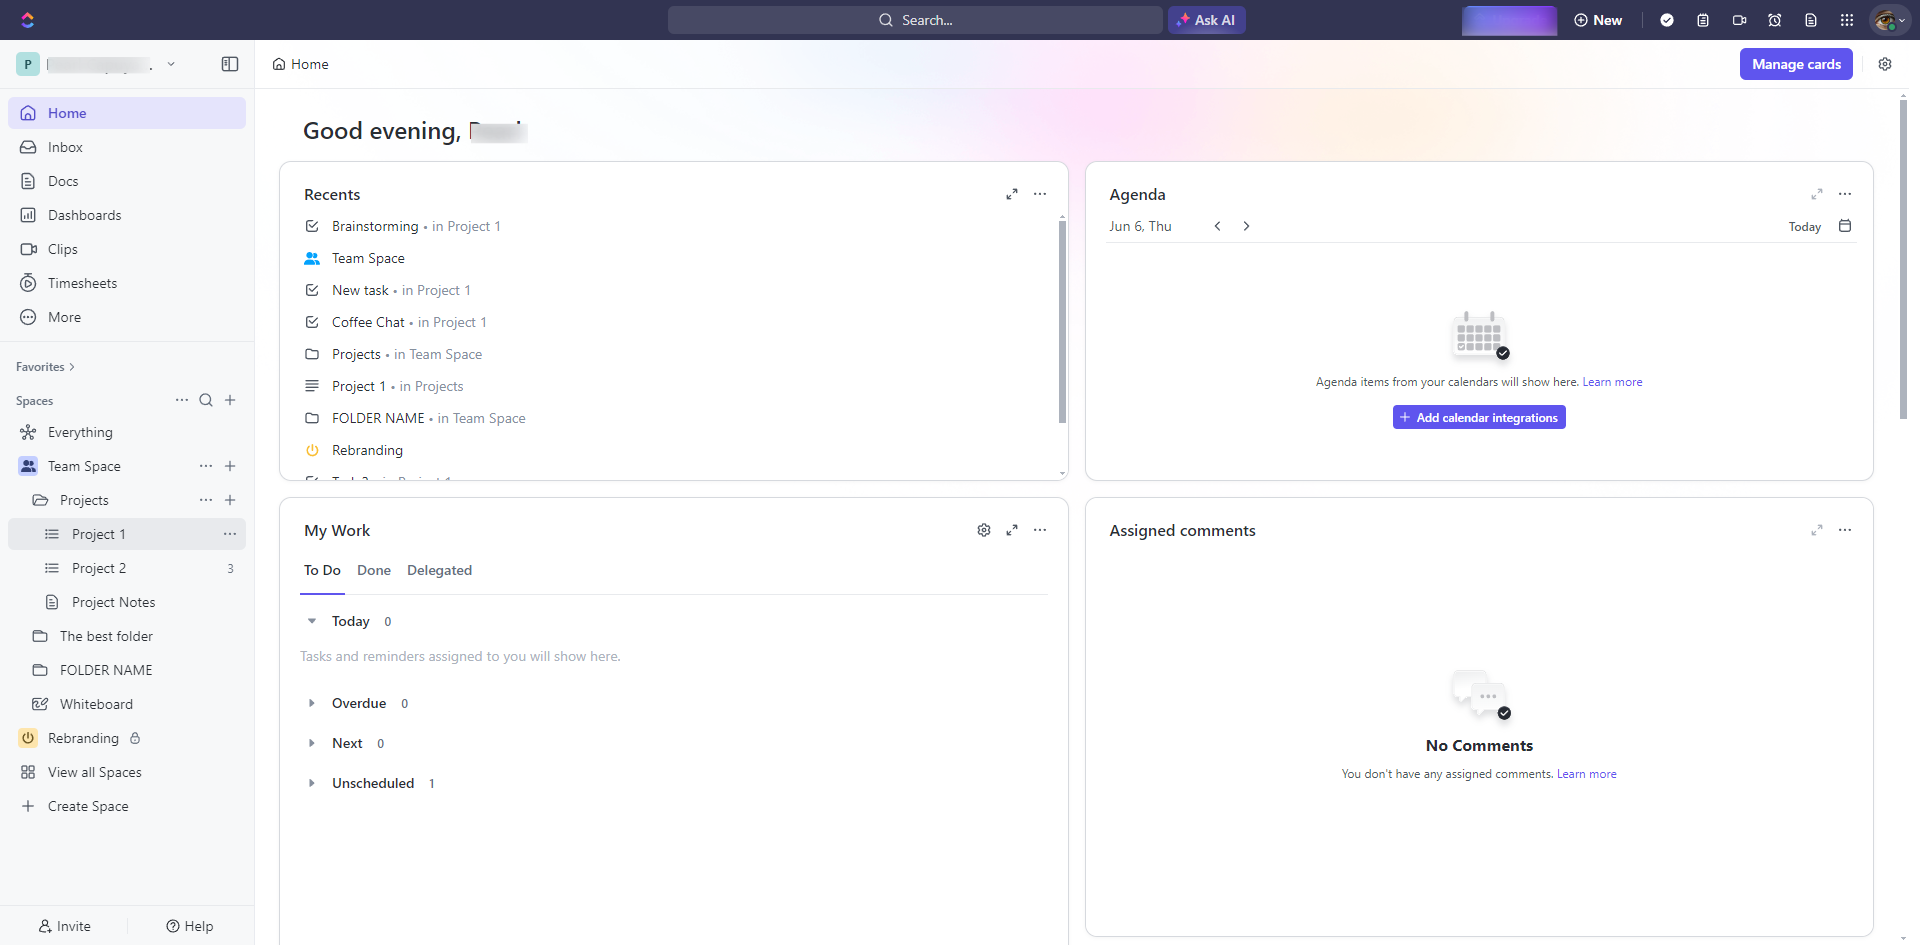
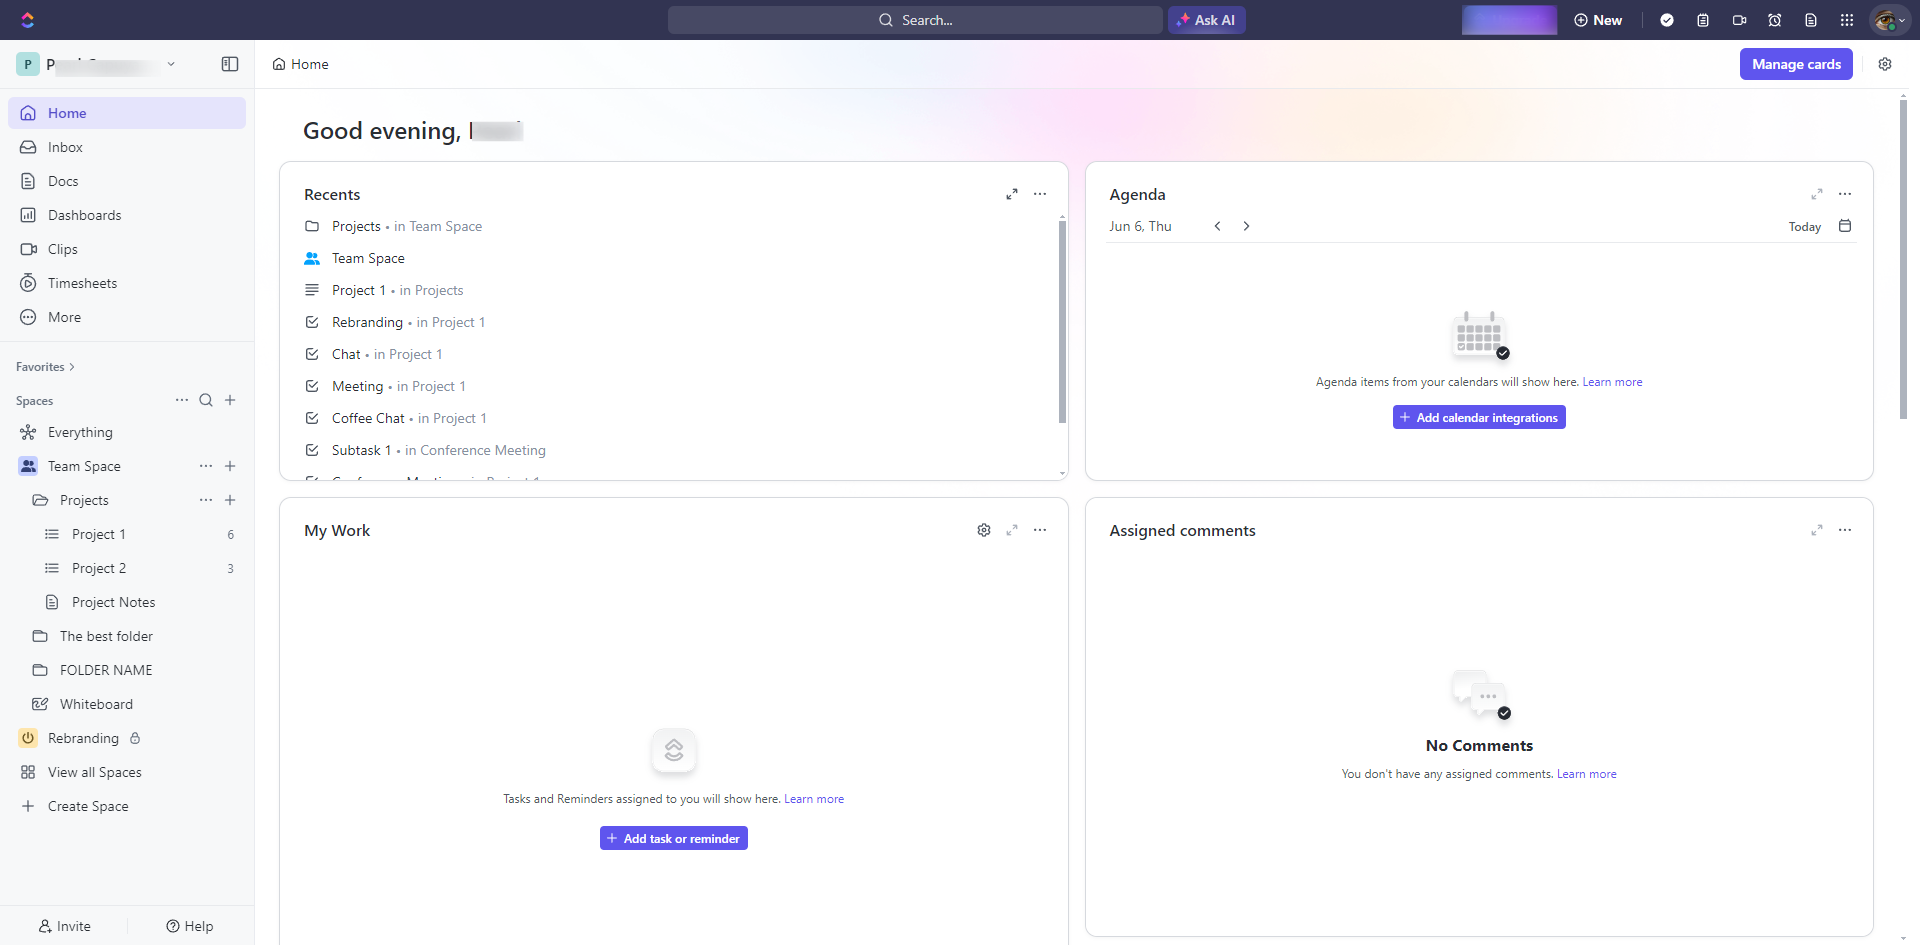
Go to your team space and click on it.
Click on the list that you want to create a report to.
Click the '+View' option.
Select 'Dashboard'.
Provide a name and choose your preferred dashboard.
Select a location to source your data from and click 'Create Dashboard'.
Shows a pie chart representation of total tasks by Assignee.
Useful for tracking progress towards project completion.
Displays a bar chart to compare tasks across different categories like assignees.
In your dashboard, you will also find the lists of overdue tasks.
The latest activity made or timeline history.
In your Dashboard, you will be able to track your tasks by cards. If you desire to add a card you can do it by clicking the 'Add card' option.
Click the 'Share' button at the top of the dashboard to set sharing permissions.
Quick answer: To create reports in ClickUp, navigate to your team space and list, click the '+View' option, and select 'Dashboard'. Provide a name, choose a dashboard, select a data source, and click 'Create Dashboard'. View charts, overdue tasks, and activity, add cards, and click 'Share' to set permissions.
About this ClickUp tutorial
Generate custom reports in ClickUp by setting up a dashboard, tracking tasks with charts, and sharing your project progress easily. This guide shows how to create Reports in ClickUp in 13 steps, starting with "Go to your team space and click on it" and finishing with "Click the 'Share' button at the top of the dashboard to set sharing permissions". The interactive demo above is a click-through copy of the real ClickUp interface, so you can rehearse each step before doing it in your own account.
Frequently asked questions
How many steps does it take to create Reports in ClickUp?
13 steps. Each one is listed in order above, and the demo highlights exactly where to click.
Can I try it without changing my own account?
Yes. Clicking through the demo doesn't touch your ClickUp data or settings. Once you know the flow, repeat it in your own workspace.
This tutorial is filed under ClickUp. Related guides: How to Create Subtask in Clickup, How to Create Templates in ClickUp and How to Delete Status in Clickup. Last reviewed 05 Oct 2026.

Create your first interactive demo in minutes
No credit card required • Start building today