How to Escalate a Ticket in Zendesk
- George Apostolov
How to Escalate a Ticket in Zendesk: step-by-step guide
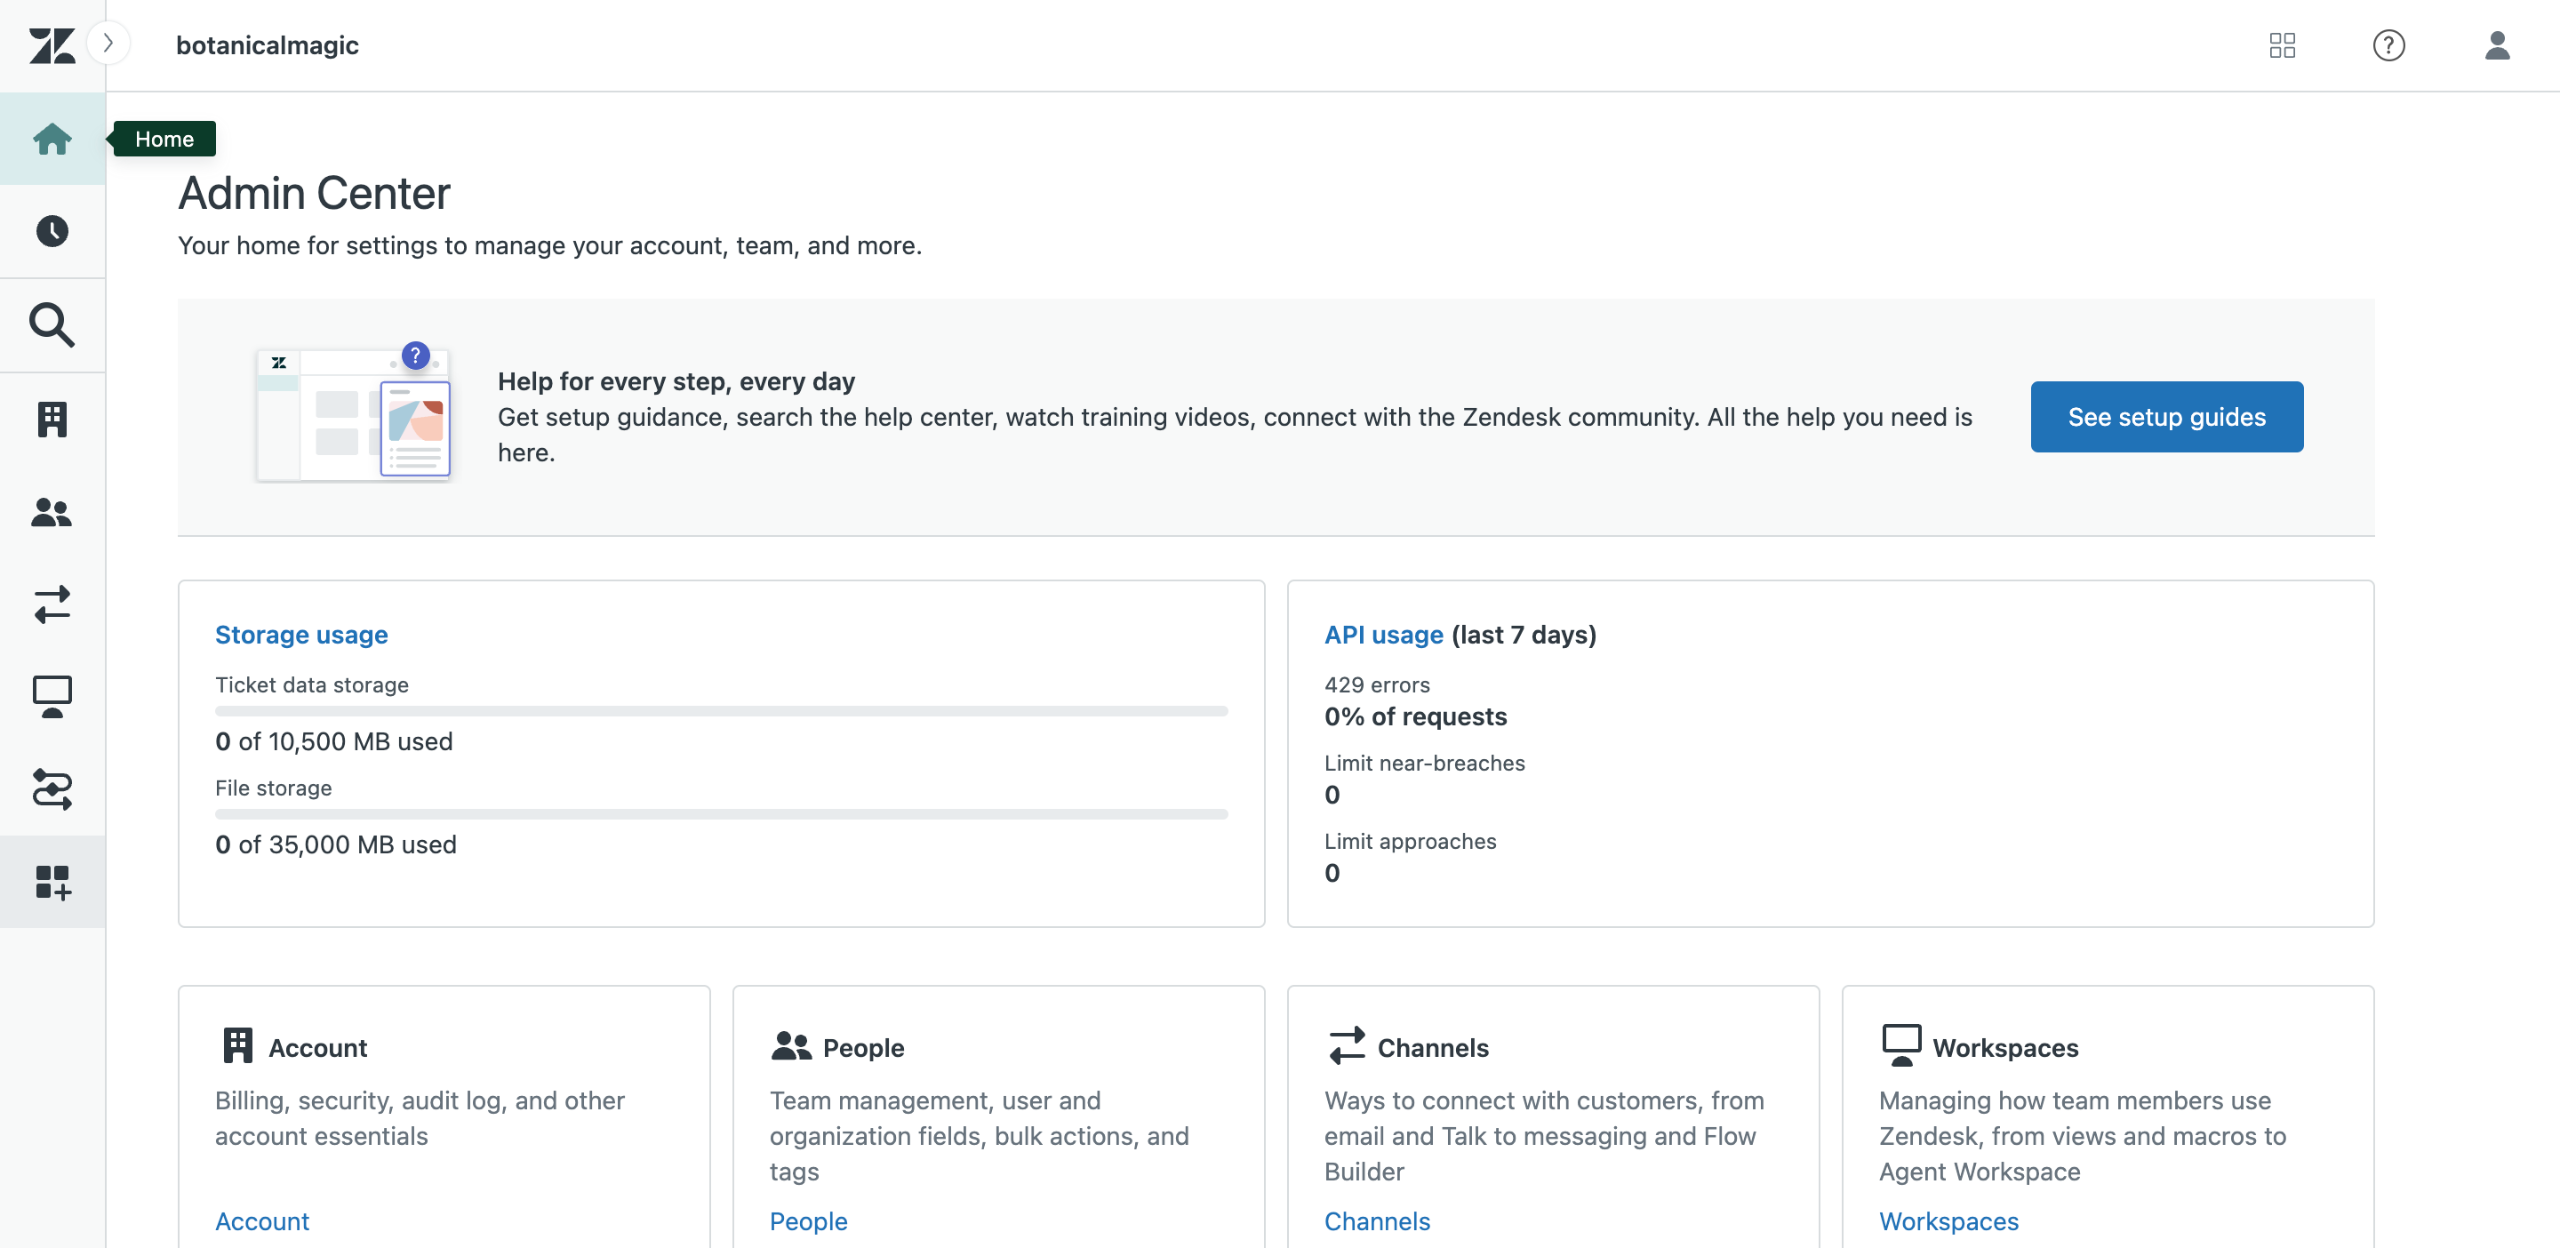
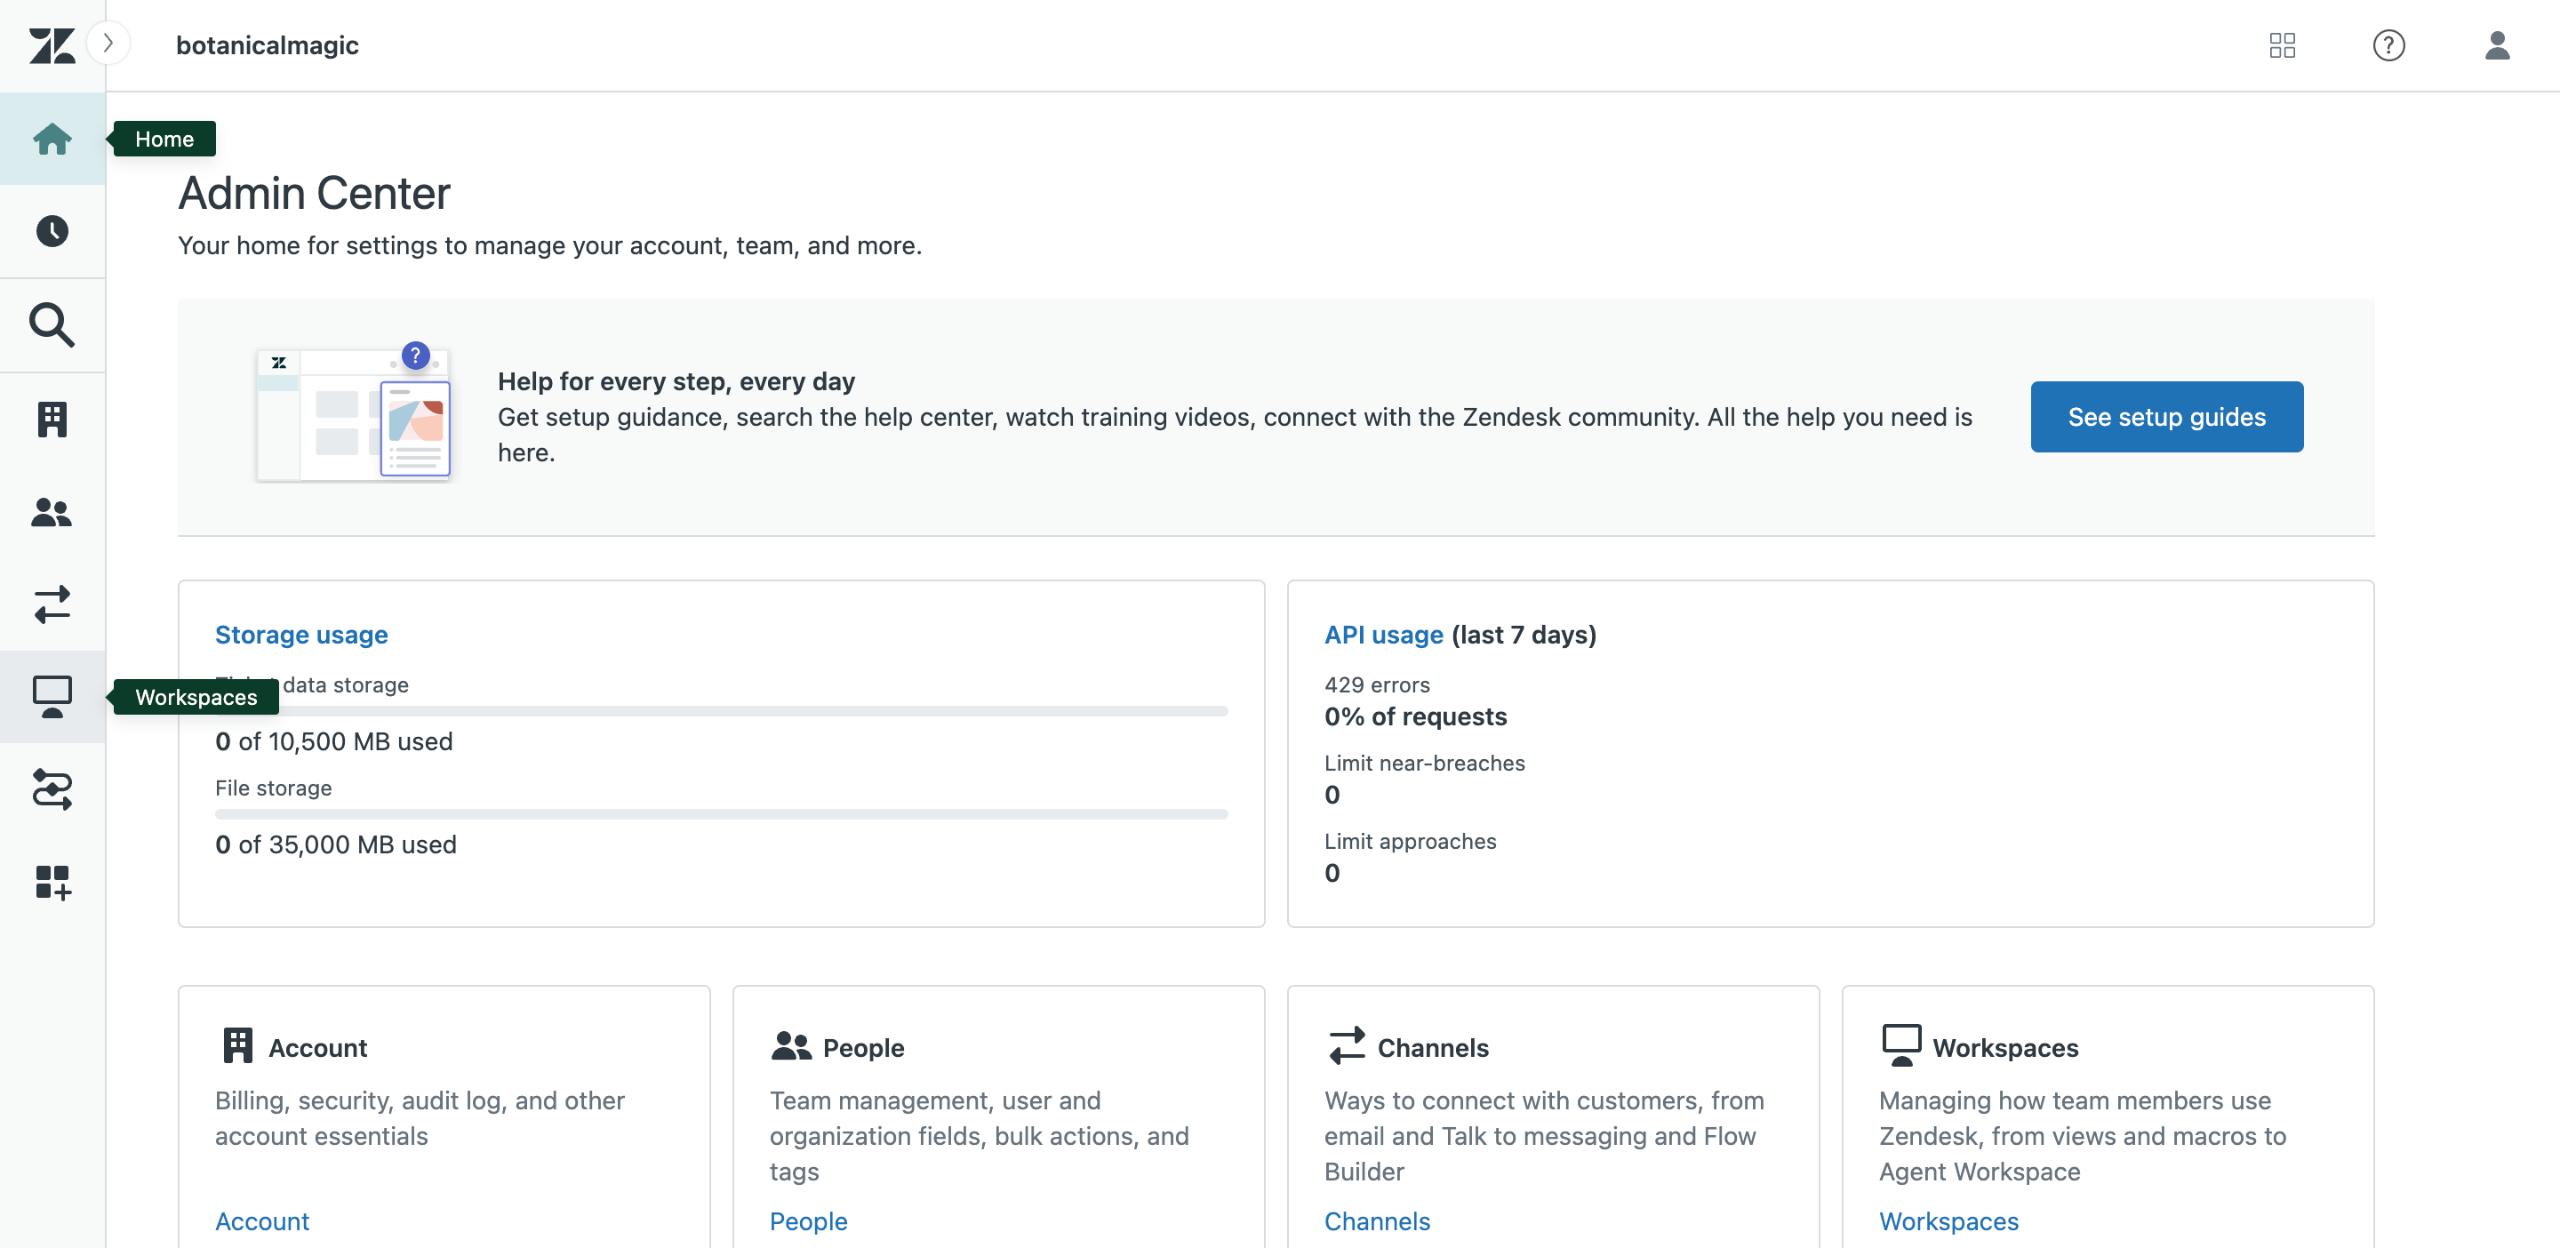
On the Admin Center tab, go to the left-side panel and click 'Workspaces'.
Select 'Macros' under Agent Tools.
Click 'Create Macro' afterwards.
Assign a unique name to the macro you're about to create.
Subsequently, write a short description and configure the privacy settings afterwards.
Following that, scroll down to the Actions section and click 'Add Action'.
In the first drop-down menu, select 'Group'.
After that, choose your preferred group of agents in the next.
Once again, click the 'Add Action' button below the first setup.
In the first drop-down menu, tap 'Priority'.
Subsequently, select 'High' in the next.
Once more click 'Add Action' to set up the third action.
In the first drop-down menu, choose 'Status Category'.
Following that, tap 'Open' in the next.
Finally, click 'Create' to proceed.
After completing these steps, the macro will be generated and activated instantly. Agents who wish to escalate a ticket can simply use this macro for such matters.
Quick answer: To escalate a ticket in Zendesk, navigate to Workspaces and Macros in the Admin Center to create a new macro. Assign a name, description, and privacy settings, then add actions to set the group, high priority, and open status category. Finally, click create to generate and activate the macro.
About this Zendesk tutorial
Create and activate a ticket escalation macro in Zendesk by configuring group, priority, and status actions within the Admin Center. This guide shows how to escalate a Ticket in Zendesk in 16 steps, starting with "On the Admin Center tab, go to the left-side panel and click 'Workspaces'" and finishing with "After completing these steps, the macro will be generated and activated instantly. Agen...". The interactive demo above is a click-through copy of the real Zendesk interface, so you can rehearse each step before doing it in your own account.
Frequently asked questions
How many steps does it take to escalate a Ticket in Zendesk?
16 steps. Each one is listed in order above, and the demo highlights exactly where to click.
Can I try it without changing my own account?
Yes. Clicking through the demo doesn't touch your Zendesk data or settings. Once you know the flow, repeat it in your own workspace.
This tutorial is filed under Zendesk. Related guides: How to Export the Talk Dashboard in Zendesk, How to Export Zendesk Tickets as CSV and How to Forward a Ticket in Zendesk. Last reviewed 05 Oct 2026.

Create your first interactive demo in minutes
No credit card required • Start building today